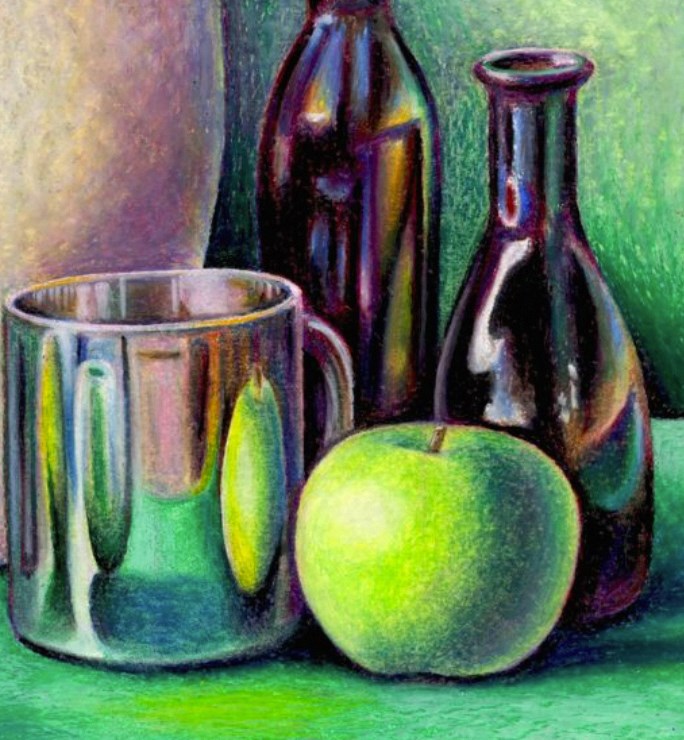
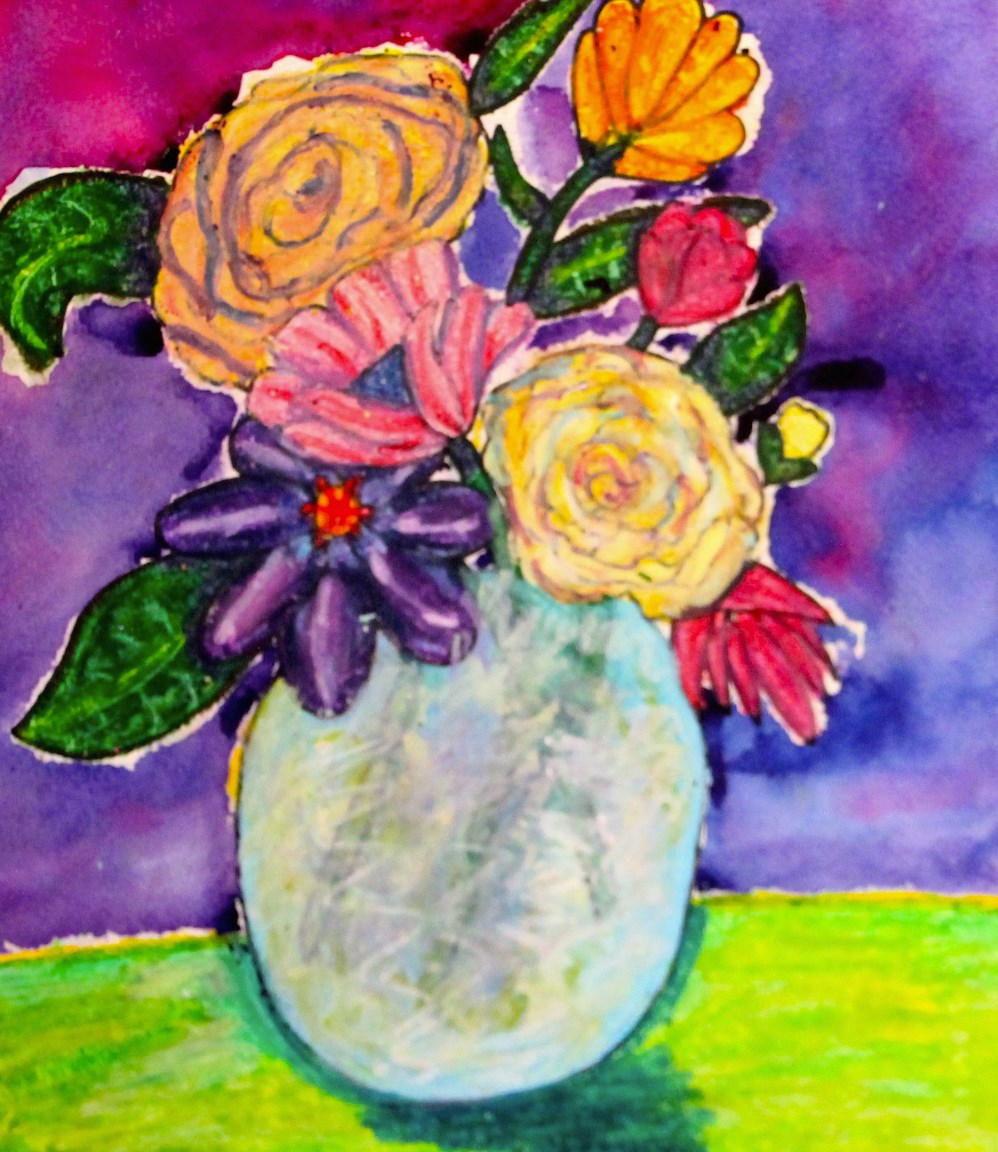
Oil pastels offer a vibrant and expressive medium for artists. Unlike dry pastels, their oil content allows for smooth blending, creating stunning effects and seamless color transitions. But unlocking the full potential of oil pastels lies in mastering their blending techniques. This guide delves into four key methods to elevate your artwork and transform your oil pastels from crayons to a powerful artistic tool.
Part 1: Layering and Pressure Control
Building the Base: Layering for Depth
Unlike traditional drawing, where you might start with light and build to dark, oil pastels excel with a reversed approach. Begin by laying down your darkest colors first. This creates a rich base that peeks through subsequent layers, adding depth and vibrancy to your artwork.
As you layer, apply lighter colors on top. The oils in the pastels will help blend the colors, creating smooth transitions. Experiment with the number of layers to achieve the desired intensity and effect.
Pressure Makes Perfect: Controlling the Blend
The amount of pressure you exert while working with oil pastels plays a crucial role in the blending process. Lighter strokes deposit a smaller amount of color, enabling subtle transitions and detailed blending. This method is ideal for creating soft, nuanced color gradations and intricate textures within the artwork. Conversely, applying heavier pressure when using oil pastels results in the deposition of a thicker layer of color, which yields bolder hues and a more opaque effect. By practicing and varying the pressure applied, you can master the art of creating soft blends and defined edges within your pieces. Utilize the side of the pastel for broader strokes, covering larger areas, while the tip can be used to add finer details and intricate lines. By understanding and experimenting with the influence of pressure on oil pastels, you can achieve a diverse range of blending effects and enhance the depth and dimensionality of your artwork.
Part 2: Blending Tools: Beyond the Fingers

The Trusty Finger: A Natural Blending Tool
Our fingers are the most accessible and instinctive blending tool for working with oil pastels. The natural oils present in our fingertips aid in softening and spreading the pastel color, enabling the creation of seamless and smooth transitions between different hues. Due to its simplicity and effectiveness, finger blending is an ideal technique for beginners and can be utilized to produce soft and dreamlike effects in artworks. However, it is important to be mindful of color transfer when using this method. To prevent colors from getting muddied, it’s advisable to either clean your fingers frequently during the blending process or use a separate finger for each color. This simple precaution ensures that the integrity and vibrancy of each color are preserved, allowing for precise and controlled blending without compromising the quality of the artwork. By understanding and implementing these mindful techniques, artists can make the most of finger blending while producing captivating and visually appealing oil pastel creations.
Expanding Your Toolkit: Blending Stumps and Tortillions
Blending stumps and tortillions are paper or fabric tools specifically designed for blending. They offer a cleaner and more controlled alternative to fingers.
Stumps have a pointed tip ideal for blending in small areas, while tortillions have a broader tip for larger areas. Use a light touch and circular motions to achieve a seamless blend. These tools also help to lift excess pastel and create a more polished look.
Part 3: Solvent Blending: A Touch of Liquid Magic (Optional)
Solvent Power: Unlocking New Possibilities
Introducing a solvent, such as linseed oil or odorless mineral spirits, adds another dimension to oil pastel blending. A small amount of solvent applied with a cotton swab or paintbrush can dramatically soften and blend the pastels, creating a painting-like effect.
This technique allows for highly detailed blends and washes of color. However, it requires caution. Too much solvent can cause the pastels to bleed excessively or lift from the paper.
Safety First: Working with Solvents Responsibly
When using solvents, it is essential to work in a well-ventilated area to minimize exposure to strong fumes. Wearing a mask is recommended for additional protection. Before applying the solvent to your artwork, it’s crucial to test it on a scrap piece of paper to ensure its compatibility with your pastels and paper. This allows you to assess how the solvent interacts with the materials without risking damage to your main artwork. When applying the solvent, begin with a small amount and gradually add more as needed. By starting with a minimal quantity, you have better control over the intensity of the blending effect. It’s important to remember that you can always add more solvent, but removing excess can be challenging and may affect the overall appearance of your artwork. Therefore, exercising caution and patience when using solvents is key to achieving the desired blending results without compromising the quality of your pastel artwork.
Part 4: Experimentation and Practice: The Key to Mastery
Embrace the Experiment: Exploring Techniques
Embracing experimentation is key to discovering new and unique effects with oil pastels. Don’t hesitate to combine various blending methods to achieve different textures and visual outcomes in your artwork. For example, you can experiment with layering and then use finger blending to achieve interesting transitions and textures. Additionally, consider using a solvent to soften a heavily blended area, creating a smooth, painterly effect. As you explore different color combinations, take note of how they interact when blended together. The more you experiment with blending techniques and color combinations, the more confident and comfortable you will become with using oil pastels. Each experiment provides valuable insight and allows you to develop your own artistic style. Embracing the element of play and exploration in your creative process will lead to a deeper understanding of the medium and open up a world of creative possibilities with oil pastels.
Practice Makes Progress: Refining Your Skills

As with any art form, mastering oil pastel blending takes practice. Set aside time to create small studies or practice sheets specifically focused on blending techniques.
The more you practice, the better you’ll understand how the pastels react and how to achieve the desired results. Embrace the learning process and enjoy the journey of discovery with this vibrant medium.
By incorporating these techniques and fostering a spirit of exploration, you’ll unlock the full potential of oil pastel blending. From subtle transitions to dramatic flourishes, your art will come alive with a spectrum of color and depth. So, grab your oil pastels, experiment with these methods, and watch your artistic vision take flight!