Oil pastels, with their vibrant colors and smooth texture, are a versatile art medium that can be enjoyed by artists of all levels. Unlike crayons, oil pastels contain pigment mixed with wax and oil, allowing for richer color blending and layering techniques. This beginner’s guide will explore the wonderful world of oil pastels, providing you with the essential knowledge and techniques to get you started on your creative journey.
Part 1: Gathering Your Supplies
Choosing Your Pastels:
Oil pastels come in a wide range of qualities and price points. A good starter set typically includes around 24-36 colors. Look for brands known for their richness and smoothness, such as Sennelier, Caran d’Ache, or Crayola. While student-grade pastels are a perfectly acceptable choice for beginners, professional-grade pastels tend to offer a higher concentration of pigment and smoother application.
Selecting the Right Paper:
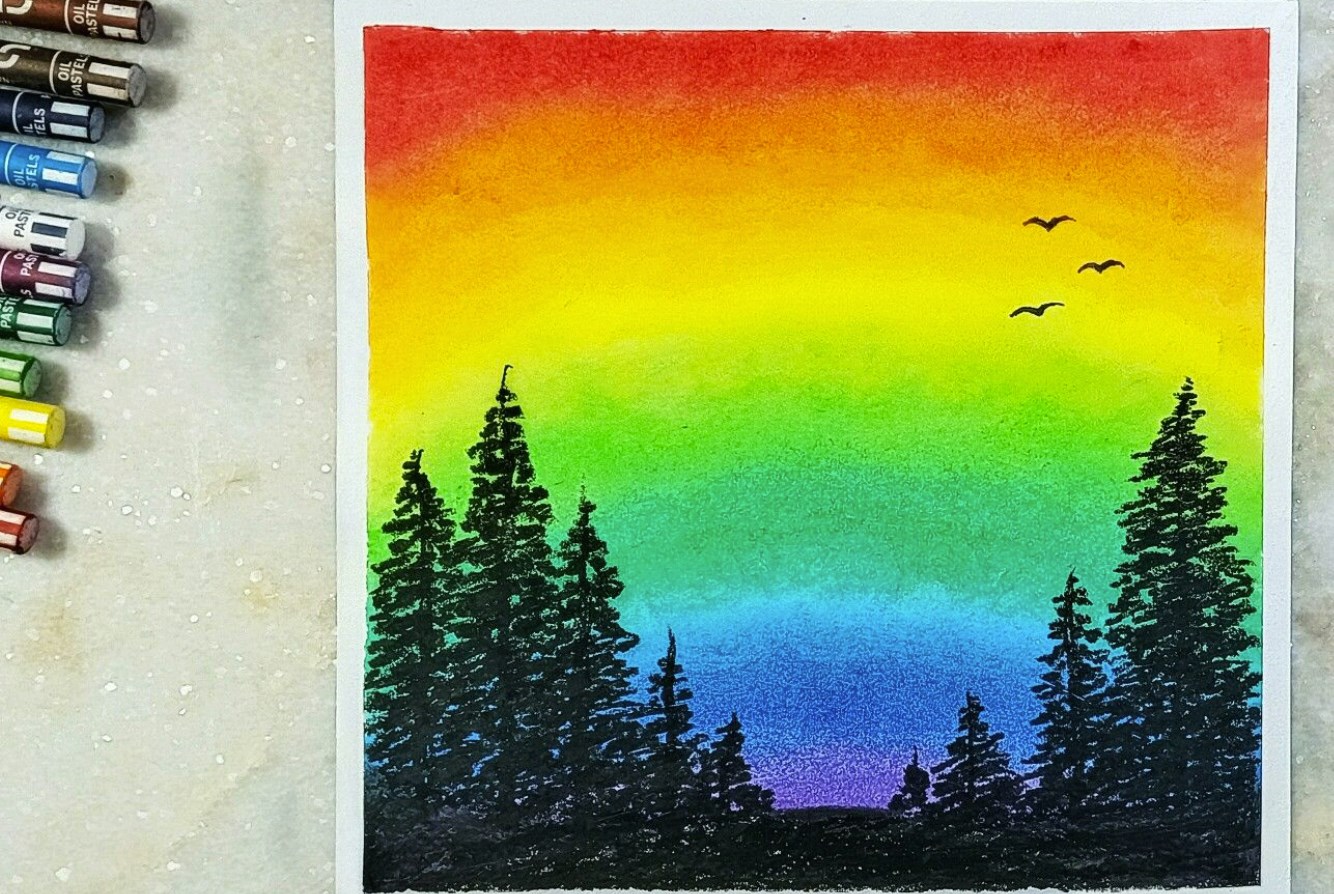
When working with oil pastels, it’s important to choose the right surface that can handle the wax and oil content of the medium without smudging or tearing. Heavyweight papers specially designed for pastels, such as sanded pastel paper or heavyweight mixed media paper, are well-suited for oil pastel work. These papers feature a slightly toothy surface that provides enough grip to hold the pastel pigment in place, preventing excessive blending and smudging. This texture allows for better control over the application of the medium. It helps to maintain the integrity of your artwork. Additionally, experimenting with toned paper can add another dimension to your artwork. The subtle base color can influence the overall mood and atmosphere of your piece. By selecting the appropriate surface for your oil pastel work, you can ensure that your medium performs optimally. This allows you to explore and express your creativity with confidence and control.
Part 2: Basic Techniques
Layering and Blending:
One of the joys of oil pastels is their ability to be layered and blended to create smooth transitions and depth. Apply light initial layers to build up color gradually. There are several blending techniques you can use: direct blending (applying colors directly next to each other and smudging them with your finger or a blending tool), solvent blending (using a solvent such as mineral spirits with a cotton swab), and blending with a colorless blender pastel.
Scumbling and Hatching:
Blending, scumbling, and hatching are essential techniques that can add depth and dimension to your oil pastel artwork. While blending creates soft and hazy effects, scumbling and hatching contribute texture and definition to your pieces. Scumbling, for instance, involves gently applying light strokes of one color over another, allowing glimpses of the underlayer to remain visible. This technique can create a sense of depth and complexity within your artwork, adding visual interest and a layered effect. On the other hand, hatching involves creating close parallel lines to build up shadows, textures, or color intensity, providing a method to create intricate details and patterns within your compositions. Experimenting with different mark-making techniques allows you to explore how they influence the overall feel and aesthetic of your artwork, giving you the opportunity to develop a unique and expressive style that suits your artistic vision and creative intent. By mastering these techniques, you can enhance the visual impact and artistic quality of your oil pastel creations, adding a captivating and dynamic element to your work.
Part 3: Inspiration and Subject Matter
Finding Inspiration:
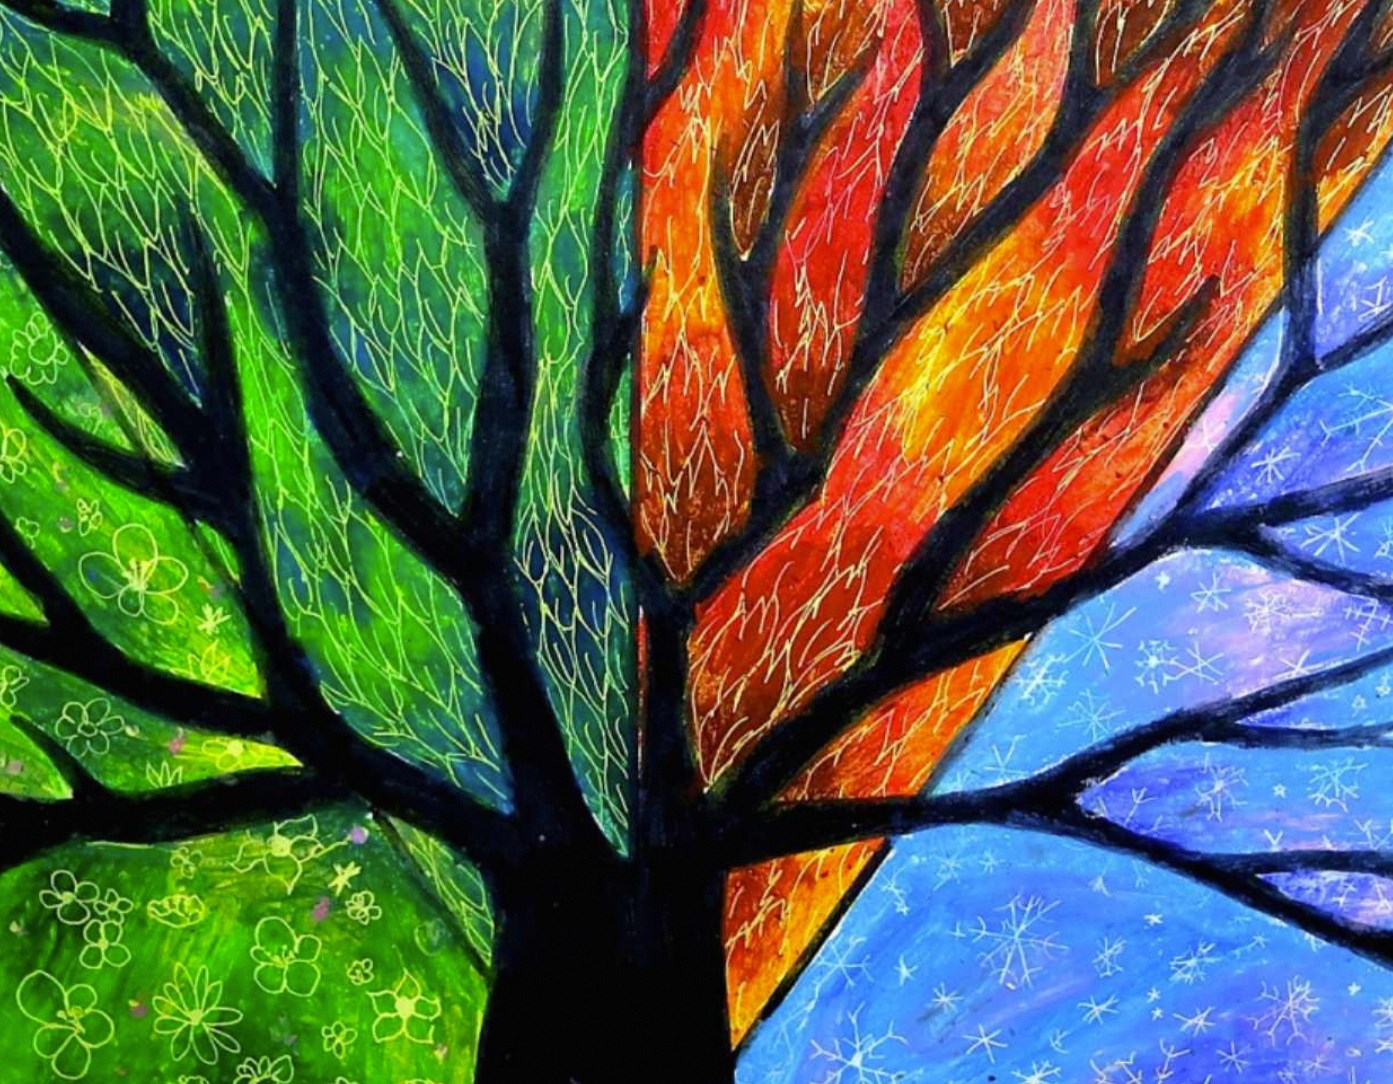
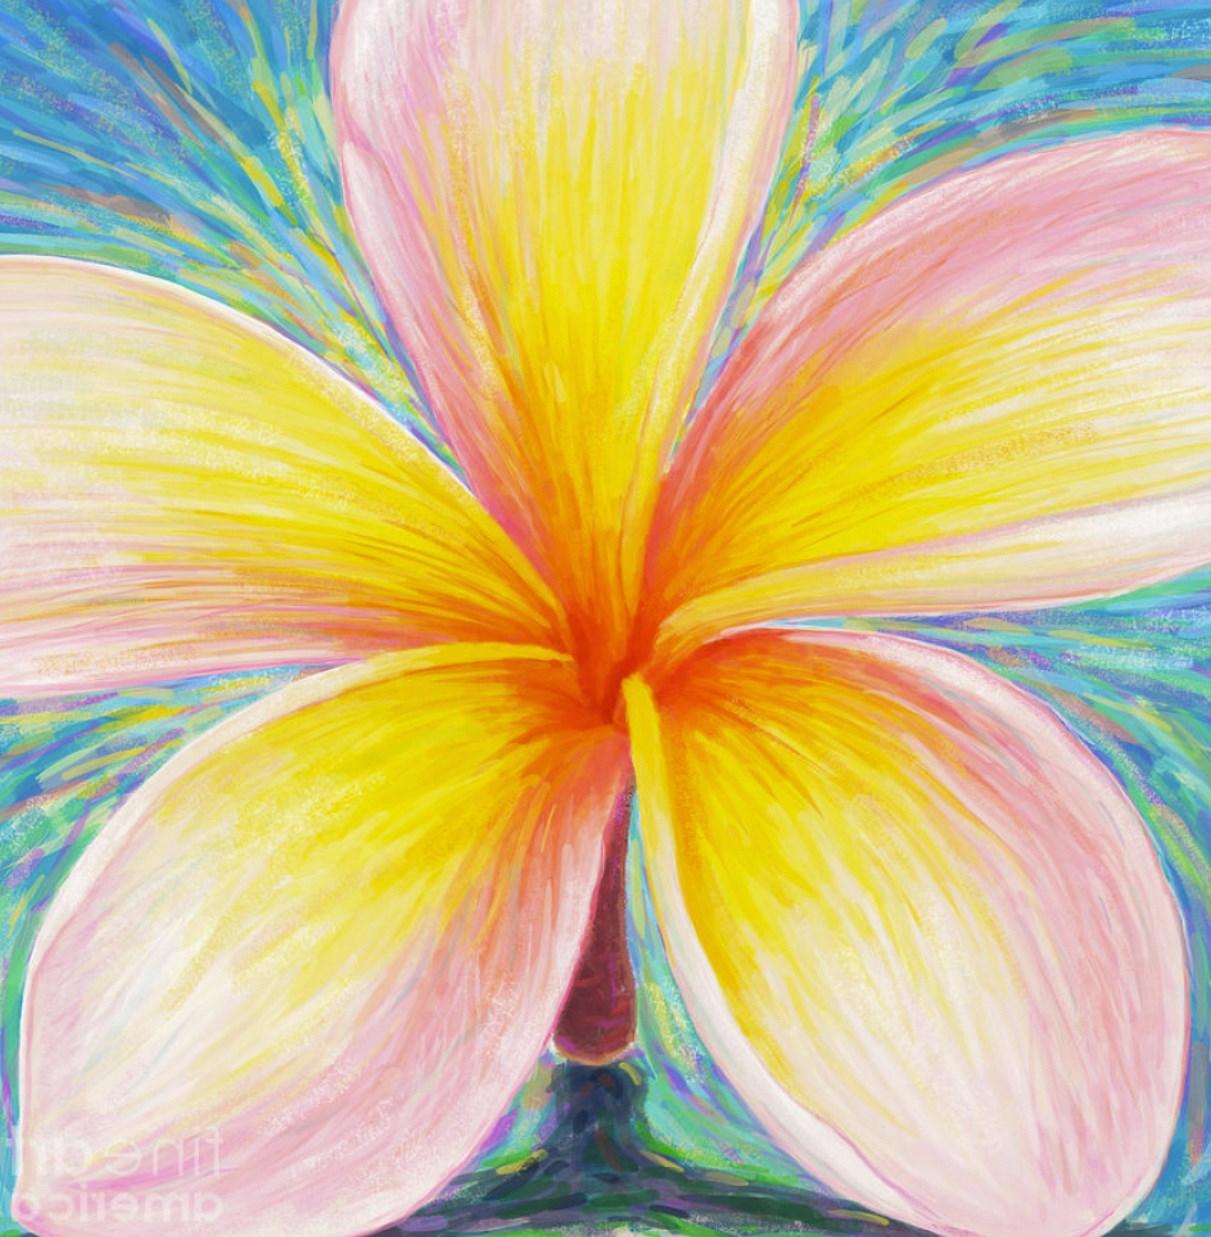
The beauty of oil pastels is that they can be used to create a wide variety of artwork. Flip through art magazines, browse online galleries dedicated to oil pastels [search online oil pastel art galleries], or visit your local museum for inspiration. Pay attention to how artists use color, composition, and light in their work. Don’t be afraid to experiment with different styles and subject matter to discover what excites you creatively.
Choosing Beginner-Friendly Subjects:
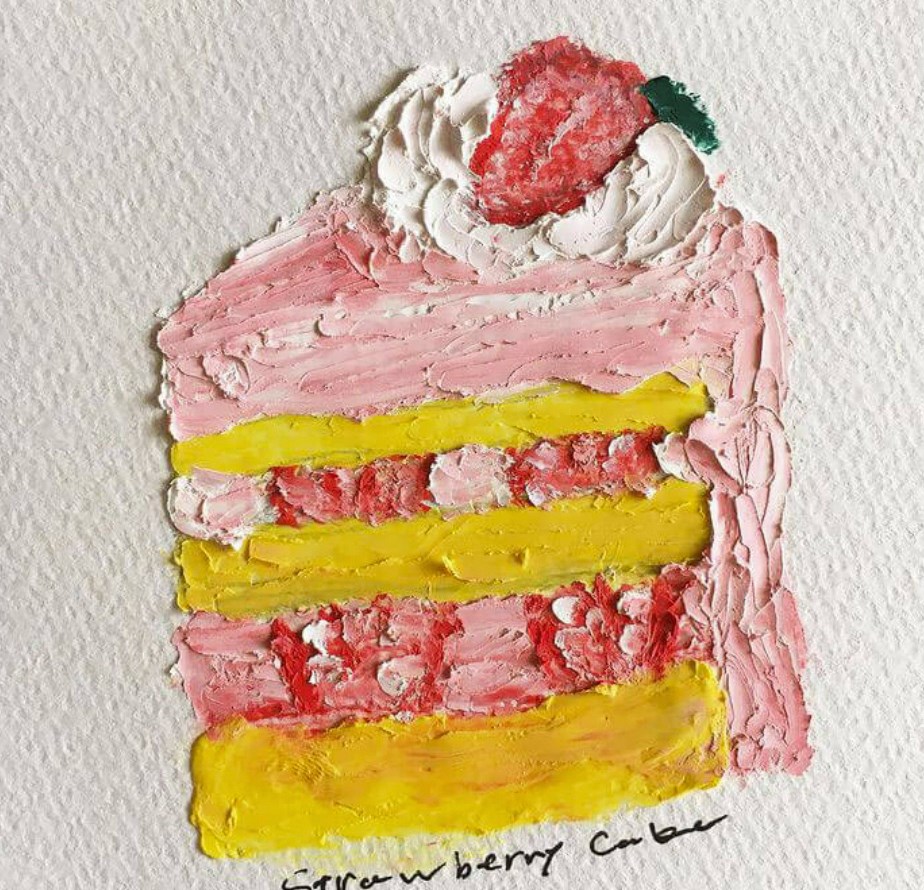
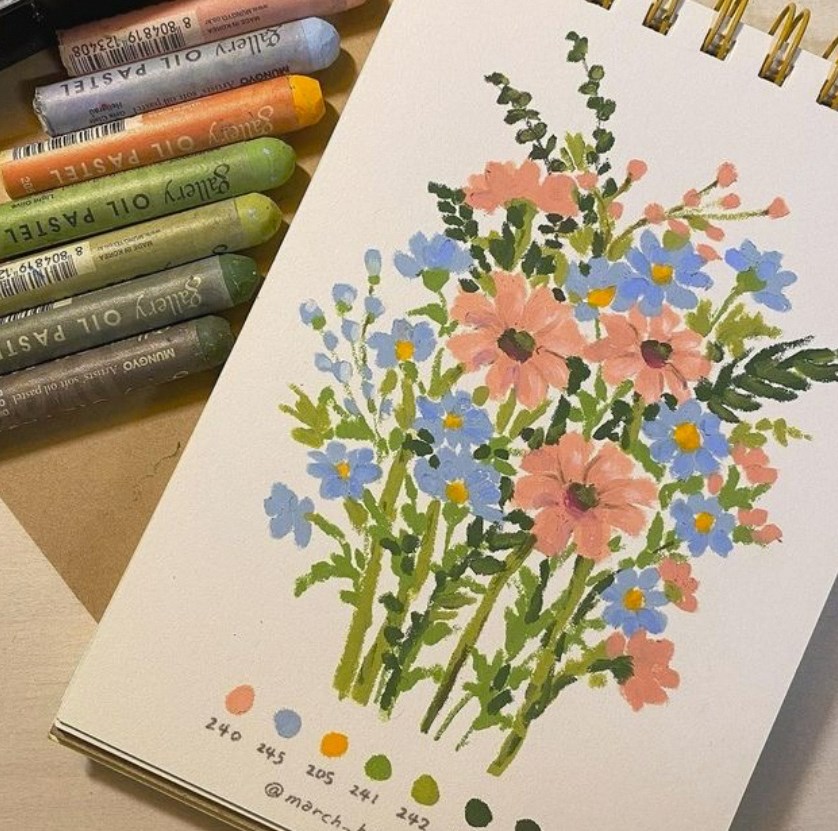
For beginners, it’s advantageous to begin with simple subjects. These enable you to concentrate on mastering fundamental techniques with oil pastels. Still life compositions featuring fruits, flowers, or uncomplicated objects provide an excellent opportunity to practice color blending. It also helps in capturing the interplay of light and shadow. These subjects offer a chance to develop your understanding of form, color, and composition. They allow you to gradually build confidence and proficiency with the medium. Landscapes with bold, blocky shapes and defined lines can also serve as an ideal starting point. They provide an opportunity to experiment with creating depth and perspective using oil pastels.
As you become more comfortable and adept with the medium, you can progressively transition to more complex subjects such as portraits or animals. These subjects encompass a greater level of detail and challenge, offering an opportunity to further refine your techniques and expressiveness. By gradually progressing to more intricate subjects, you can expand your skills and artistic horizons, allowing for continued growth and development as an oil pastel artist.
Part 4: Caring for Your Artwork
Fixatives:
When working with oil pastels, it’s important to consider their susceptibility to smudging. Once you have completed your artwork, it’s essential to apply a fixative to protect the colors and prevent them from rubbing off. Selecting a workable fixative that allows you to add additional layers on top, if desired, is crucial. This type of fixative enables you to continue working on your piece without any limitations, providing flexibility for future enhancements. When applying the fixative, it’s recommended to spray it in light, even coats from a distance, following the specific instructions provided by the manufacturer. By doing so, you can ensure an even and consistent application, effectively securing the vibrant colors and textures of your oil pastel artwork.
Framing:
Framing your artwork not only protects it from dust and damage but also elevates it to a finished piece. Choose a mat and frame that complement your artwork’s colors and style. Since oil pastels are sensitive to light, opt for UV-protective glass to prevent fading over time.
With a little practice and exploration, you’ll be well on your way to creating beautiful and expressive artwork with oil pastels. Remember, the most important thing is to have fun and experiment!