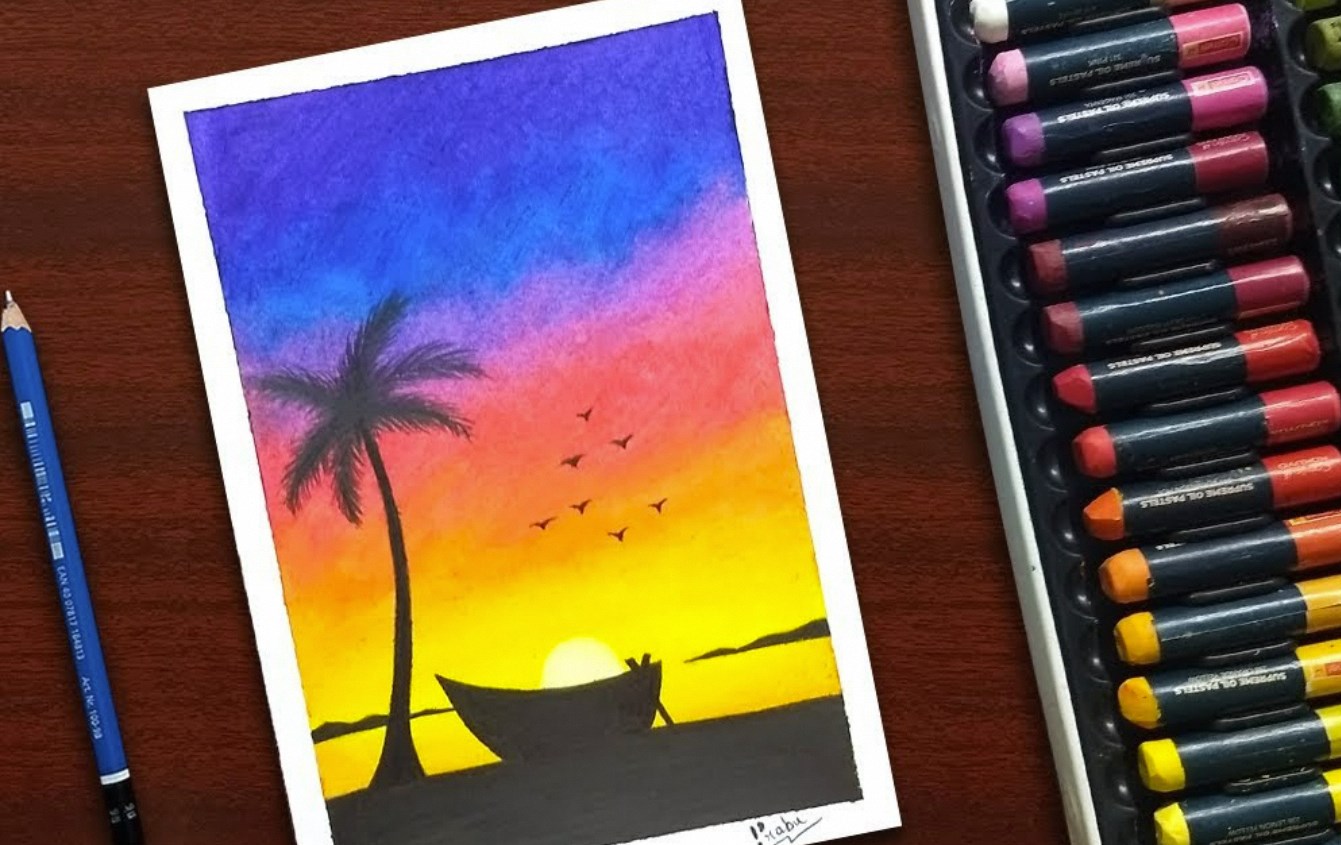
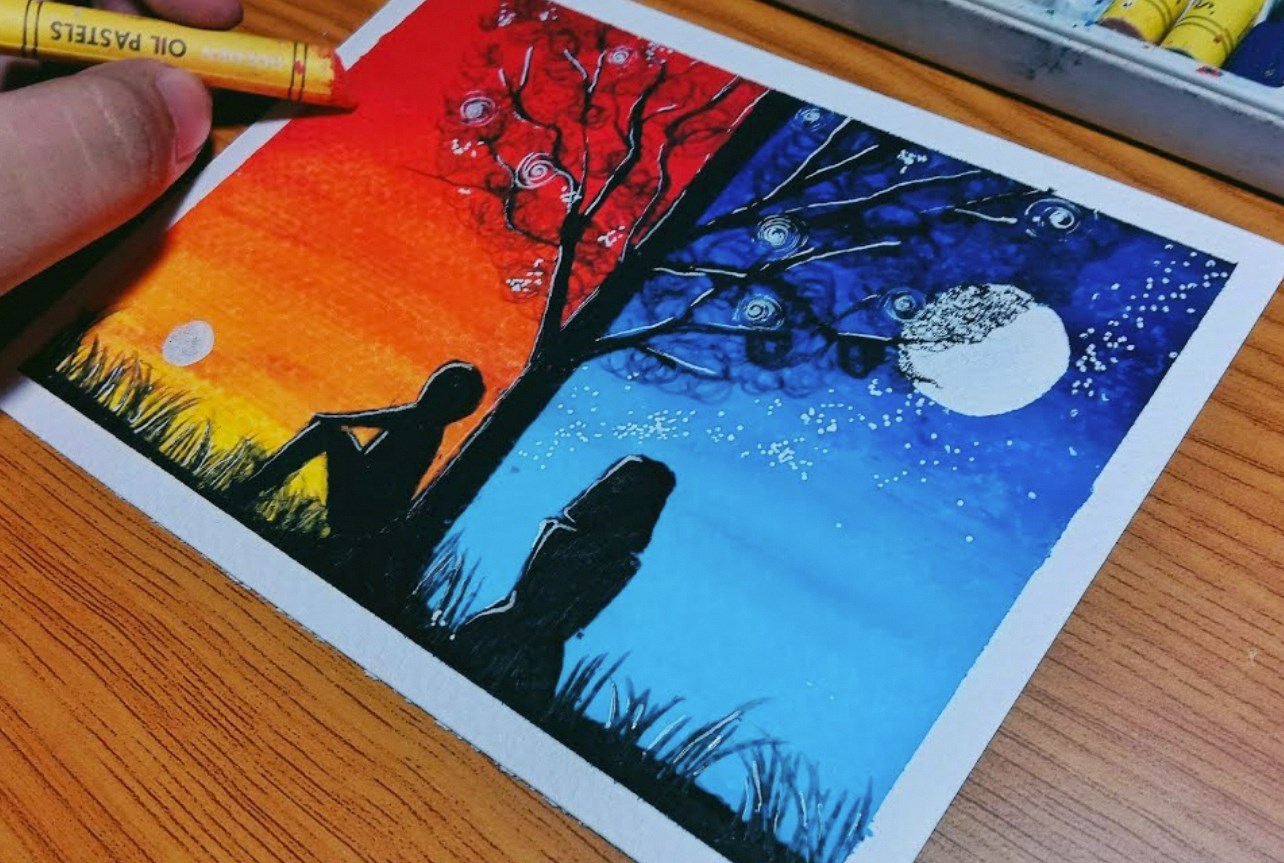
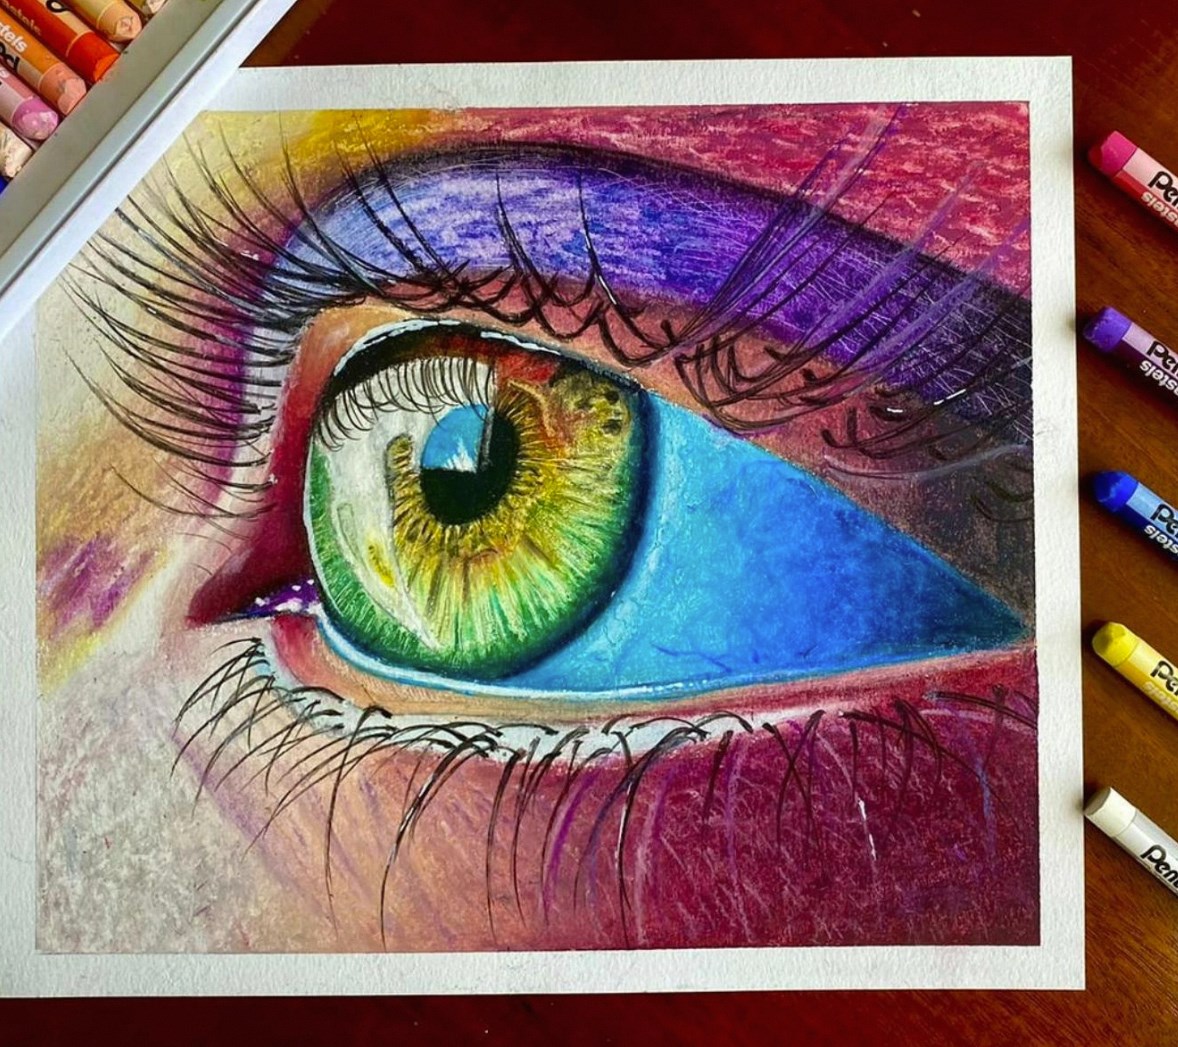
Oil pastels offer a vibrant and forgiving medium for artistic exploration. Their smooth texture and blendability make them perfect for beginners who want to create bold and colorful artwork. This tutorial will guide you through the essentials of getting started with oil pastels, from gathering your supplies to creating your first masterpiece.
Part 1: The Essential Tools
Oil Pastels:
Invest in a good quality set of oil pastels. Student-grade sets offer a decent range of colors at an affordable price. As you progress, consider upgrading to professional-grade pastels for richer pigments and smoother blending.
Paper:
When working with oil pastels, it’s important to choose a suitable surface that can effectively hold the pigment. It’s recommended to use heavyweight papers specifically designed for oil pastels, with a minimum weight of at least 100gsm. These papers have a slightly textured surface. It is known as “toothy.” It provides the necessary grip to hold the pastel pigment in place. This prevents excessive smudging. The textured surface also allows for better control over the application of the medium. This enables you to create more defined and detailed artwork. The toothiness of the paper ensures that the pastels adhere well. This allows you to layer and blend colors without the worry of the pigment rubbing off. By selecting the right paper for oil pastels, you can enhance the overall quality of your artwork. You can achieve optimal results when working with this versatile medium.
Part 2: Basic Techniques
Layering and Blending:
Oil pastels excel at layering colors to create depth and dimension. Apply light layers first, gradually building up the intensity. Use your fingers, a blending stump (a tool with a tortillon tip), or a paper towel to blend the colors smoothly. Experiment with different pressures and strokes to achieve various effects.
Detailing and Sharpening:
While oil pastels are known for their blendability, you can still achieve sharp lines and details. Use the pointed tip of the pastel or a sharpened pencil for fine lines. You can also create textured lines by scraping the side of the pastel against the paper.
Part 3: Creating Your First Artwork
Light Sketching:
To start your artwork, begin by lightly sketching your subject in pencil. It is important to use a light touch to avoid smudging the graphite when you apply the oil pastels. This will help to maintain the cleanliness and vibrancy of the pastel colors. Furthermore, by lightly sketching, you can easily adjust and modify the outlines or details as needed without leaving permanent marks on the paper. If you make any mistakes or want to refine the sketch, a kneaded eraser can be used to remove unwanted marks without damaging the paper texture. The kneaded eraser is a pliable eraser that can be molded into different shapes, making it a versatile tool for erasing precise areas or creating highlights in your artwork. With the use of these tools, you can ensure that your initial sketch is accurate and ready for the application of oil pastels.

Building Your Colors:
When you start coloring with oil pastels, begin by filling in large areas with base colors using light pressure in the initial layers. Gradually build up the color intensity as you work. Don’t hesitate to experiment with different color combinations and blending techniques to achieve the desired effects. Remember that oil pastels are versatile, and you can always layer additional colors on top of each other to create richer tones or blend colors to create unique hues. By layering and blending, you can create depth, dimension, and variation within your artwork. This process allows for creativity and spontaneity, as well as the opportunity to refine and adjust the colors throughout the artistic process. The versatility of oil pastels makes them an exciting medium to work with and encourages exploration and discovery as you create your artwork.
Part 4: Pro Tips and Finishing Touches
Protect Your Work:
Oil pastels tend to smudge easily, which can affect the longevity of your artwork. To preserve your completed piece, it’s advisable to consider spraying it with a fixative. This helps create a protective layer that prevents the colors from rubbing off. It is important to opt for a fixative specifically designed for oil pastels, as it will provide the best protection and ensure that the colors remain vibrant and intact. When applying the fixative, be sure to do so in a well-ventilated area and follow the manufacturer’s instructions carefully. Additionally, it’s a good idea to apply the fixative in several thin layers rather than one thick layer to ensure even coverage and allow the colors to remain true to their original vibrancy. By taking these steps, you can help safeguard your oil pastel artwork and ensure its longevity for years to come.
Embrace Experimentation:
Oil pastels are a remarkably versatile medium that promotes creative exploration. As you delve into this medium, don’t hesitate to experiment with various techniques and color combinations. The true beauty of oil pastels lies in their capacity to produce vibrant and expressive art with rich textures and striking colors. Embrace the unexpected and joyful “accidents” that can arise during the creative process, as they often lead to unique and captivating results. Let go of any constraints and have fun exploring the endless possibilities that oil pastels offer. Whether you’re blending, layering, or creating intricate details, allow your creativity to flow freely and adapt as you work. With oil pastels, there’s always room for spontaneity and discovery, so relish the journey of uncovering new ways to express yourself through this dynamic and engaging medium.
Bonus Tip:
Here are some additional resources to enhance your oil pastel journey:
Online tutorials: There are numerous online tutorials that offer visual demonstrations of oil pastel techniques. Search for “[YouTube oil pastel tutorials]” to find a variety of beginner-friendly lessons.
Books: Explore books dedicated to oil pastel art. Libraries often have a good selection of art instruction books, or you can find them at art supply stores.
With this basic guide and a touch of creativity, you’re well on your way to creating stunning artwork with oil pastels. Remember, practice makes perfect! The more you experiment and explore, the more comfortable you’ll become with this vibrant artistic medium. So grab your oil pastels, unleash your creativity, and get ready to be amazed by the world of color you can create!