Introduction: The Art of Making Charcoal Briquettes
Charcoal briquettes have long been a staple for grilling enthusiasts and are celebrated for their ability to produce a consistent heat source, ideal for cooking. If you’re looking for a fun and eco-friendly project, learning how to make charcoal briquettes is an engaging way to spend time outdoors while creating a useful product for your cooking endeavors. Unlike store-bought options, homemade briquettes can offer various advantages, including cost-effectiveness and customization.
In this guide, we’ll delve into the entire process of making charcoal briquettes—from understanding the benefits of homemade charcoal to gathering the right materials and following precise steps to create your own. Embrace the DIY spirit and enhance your grilling experience by mastering this skill!
Why Make Your Own Charcoal Briquettes?
1. Cost-Effectiveness
Making your own charcoal briquettes can lead to significant savings in the long run. Store-bought charcoal can be expensive, especially if you frequently grill or barbecue.
- Utilizing Waste: You can often use leftover wood or other organic materials that might otherwise go to waste, thereby making this project not only cost-efficient but also environmentally friendly.
- Unlimited Supply: Once you learn the process, you can create briquettes at any time, ensuring you have a constant supply on hand without the need for running to the store.
2. Environmental Benefits
The environmental advantages of making your own briquettes are noteworthy.
- Reduced Carbon Footprint: By using locally sourced materials, you reduce the emissions associated with transporting packaged charcoal products.
- Sustainable Practices: Utilizing biodegradable materials promotes sustainable living and showcases responsible waste management practices, contributing positively to the planet.
3. Customization and Flavor
Making your own charcoal briquettes allows you to tailor them to your specific needs.
- Material Selection: You can choose the types of wood or organic materials used, which can affect the flavor and burn characteristics of the briquettes. For instance, using fruit woods like oak or cherry adds a unique, flavorful profile to grilled foods.
- Adjusting Burn Time: The mix of materials and the binder used can be adjusted to influence the burn time and heat produced, ensuring that you have the perfect briquette for various grilling methods.
Materials Needed for Making Charcoal Briquettes
1. Essential Ingredients
To create charcoal briquettes, you will need the following fundamental materials:
- Wood: The primary ingredient for making charcoal briquettes is wood. Utilizing hardwoods like oak, hickory, or maple is recommended since they burn longer and hotter. Softwoods can also work if hardwood isn’t available but may produce more ash.
- Binder: You will require a binder to help the briquettes hold their shape. Common binders include cornstarch, flour, or even molasses. Experimenting with different binders can change the texture and burn properties of the briquettes.
- Water: Water is crucial for activating the binder and forming a cohesive mixture.
2. Optional Additives
To enhance your briquettes, consider including the following additives:
- Other Organic Materials: Integrating biomass, like sawdust or corn husks, can improve the briquettes’ combustion characteristics and reduce ash production.
- Flavor Profile Enhancers: For those seeking a unique grilling flavor, consider adding herbs or spices to the mix that will impart delightful notes to your grilled food once the briquettes are used.
Step-by-Step Instructions: How to Make Charcoal Briquettes
1. Prepare Your Wood
How to make charcoal? Begin with the preparation of your wood, which will be the foundation of your briquettes.
- Choosing Your Wood: Gathering old firewood, lumber scraps, or untreated wood cuttings is a great starting point. Avoid chemically treated wood.
- Cutting the Wood: Cut the wood into smaller pieces or shavings to help facilitate the carbonization process. The smaller the pieces, the easier they will be to carbonize.
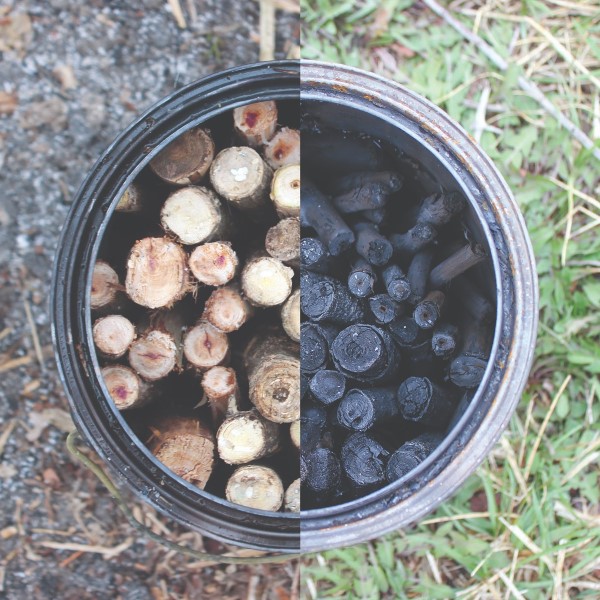
2. Carbonize the Wood
The carbonization process is essential in producing charcoal from wood.
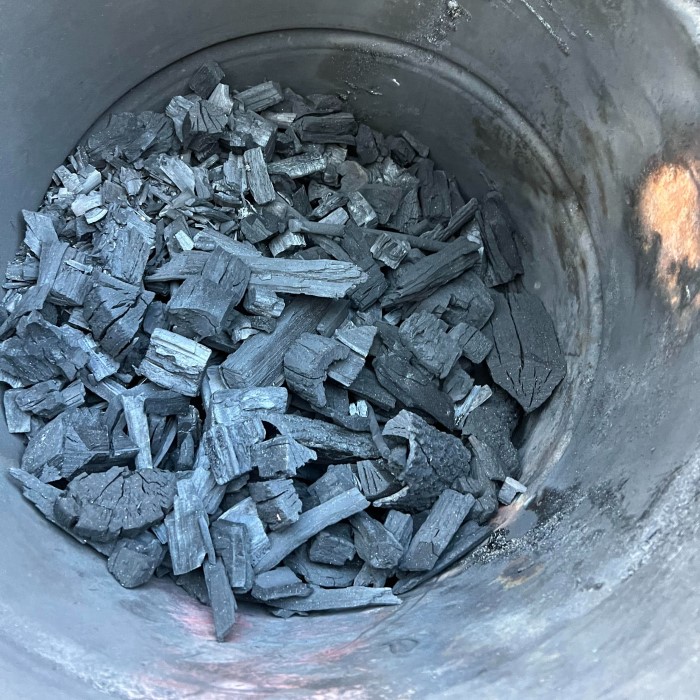
Using a Charcoal Drum
- Basic Technique Overview: One of the most popular methods for carbonizing wood involves using a charcoal drum. This container is specifically designed to facilitate the carbonization process by controlling airflow.
- Preparing the Drum: Start by placing your cut wood pieces inside the charcoal drum. Ensure that the wood is packed loosely enough to allow air circulation while still being compact to facilitate the burn.
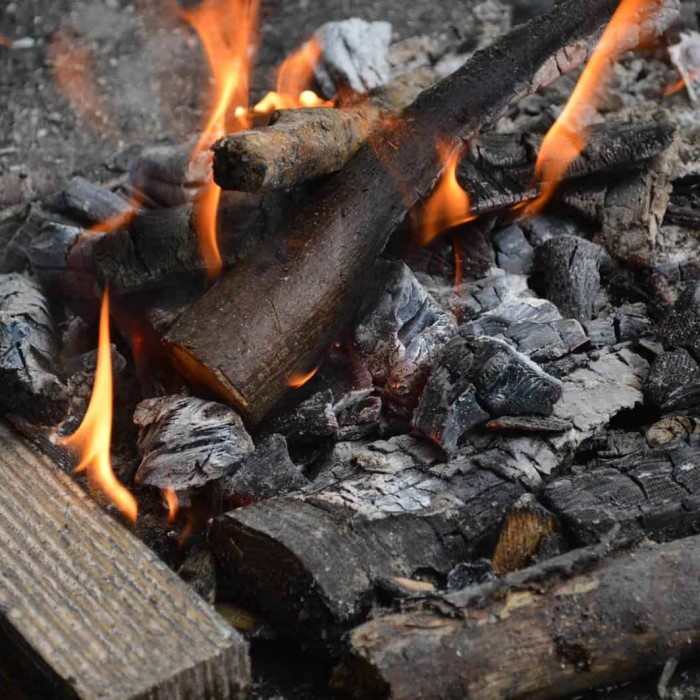
- Lighting the Fire: Once the wood is inside the drum, light a fire using kindling or other flammable materials. This initial flame will begin the carbonization process.
- Controlling Oxygen Intake: It is crucial to limit the amount of oxygen that reaches the burning wood. Too much oxygen can lead to complete combustion, turning the wood to ash instead of charcoal.
- Covering the Drum: To restrict oxygen flow, cover the charcoal drum with its lid. If a lid is not available, you can use soil or dirt to create a seal around the top. This prevents too much air from entering while still allowing some smoke to escape, which is necessary for the process.
- Monitoring the Process: During carbonization, monitor the drum to ensure that the fire is burning steadily. Check for any signs that might indicate too much oxygen is being introduced, which could jeopardize the quality of the charcoal.
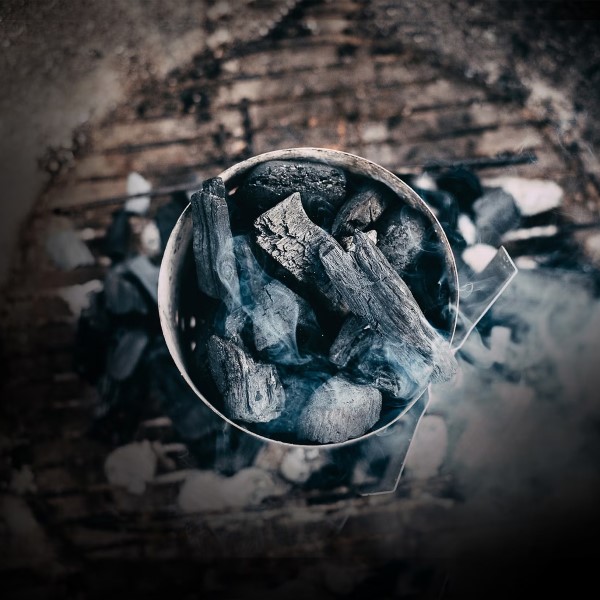
- Duration of Carbonization: The process typically takes several hours, depending on the size of the pieces and the temperature inside the drum. Once completed, cool the drum before opening it to safely access your new charcoal.
Kiln Method
- Introduction to the Kiln Method: For those seeking a more controlled carbonization process, constructing a simple kiln offers a great option. This method allows you to heat the wood without the risk of burning it entirely.
- Kiln Construction: Create a kiln from materials such as bricks, metal sheets, or large drums that can withstand high temperatures. Ensure the kiln has an opening for adding wood and a separate vent for smoke release.
- Positioning the Wood: Stack your wood neatly inside the kiln. The arrangement should allow for consistent airflow while maximizing space for the carbonization process.
- Heating Mechanism: Introduce heat into the kiln. You can use multiple techniques for this, such as a small fire inside the kiln, external burners, or using electric heat sources, depending on the setup you’ve created.
- Maintaining Conditions: It’s essential to maintain the right temperature and airflow conditions. Too much air can cause combustion, while too little can prevent proper carbonization. Experimenting with the vent openings can help refine the process.
- Monitoring Temperature: Use a thermometer, if possible, to track the internal temperature of the kiln. The ideal range typically falls between 600°F to 1200°F (315°C to 650°C).
- Resulting Charcoal: After the wood has undergone the proper heating duration, carefully open the kiln. Allow the charcoal to cool before removing it. This method yields high-quality charcoal, with better control over the final product’s characteristics.
-
Versatility in Use: The kiln method can be adapted for different scales. You can build a small kiln for home use or larger models for higher production quantity, depending on your needs.
3. Creating the Briquette Mixture
Once the wood is carbonized, it’s time to prepare the briquette mixture.
- Grind Carbonized Wood: After carbonization, the wood should be ground into fine charcoal dust; this increases surface area for more effective burning and binding.
- Mix with Binder: In a large bowl, combine the charcoal dust with your chosen binder. For every cup of charcoal dust, add approximately one tablespoon of binder and enough water to create a pasty consistency.
4. Molding the Briquettes
Now, shape the mixture into briquettes.
- Forming the Briquettes: Use your hands or molds to shape the mixture into briquette forms. Square or round shapes are common, but you can get creative with designs if desired.
- Drying Time: Place the molded briquettes on a rack or tray. Allow them to dry for 24 to 48 hours in a cool, dry area, where they can completely harden.
Using Your Charcoal Briquettes
1. Lighting the Briquettes
How to make charcoal? Once your briquettes are dry, you can use them for grilling:
- Lighting Techniques: You can use a chimney starter, lighter cubes, or newspaper to ignite the briquettes. Ensure that there’s good airflow for efficient combustion.
- Cooking Considerations: Charcoal briquettes are perfect for various cooking techniques, including grilling, smoking, and even roasting. Each method can benefit from the unique properties of your homemade briquettes.
2. Best Practices for Storage
To maintain the quality of your briquettes, proper storage is vital:
- Preventing Moisture: Keep your homemade briquettes dry and store them in a cool place. If they absorb moisture, they won’t burn properly.
- Utilizing Airtight Containers: Consider using airtight containers or bags to protect your briquettes from humidity and the elements. Label the storage with the date for easy tracking.
Frequently Asked Questions
How do you make charcoal at home?
To make charcoal at home, you need to carbonize wood. This can be accomplished by burning wood in a low-oxygen environment, grinding it into dust, mixing it with a binder, and shaping it into briquettes.
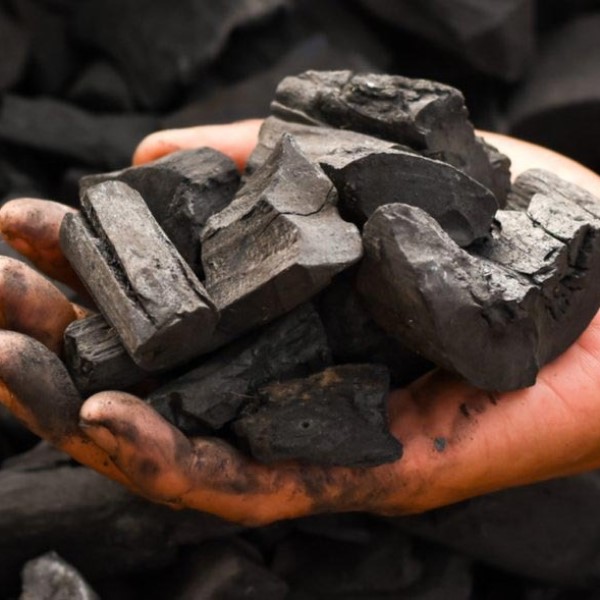
Is charcoal just burned wood?
No, charcoal is the product of burning wood in the absence of oxygen, a process known as pyrolysis. This process concentrates the carbon content and removes moisture and volatile compounds.
How do Chinese make charcoal?
Traditional Chinese charcoal-making methods involve carefully stacking wood in a large mound, covering it with soil, and slowly burning it. This method reduces oxygen exposure and allows for efficient carbonization.
How did the Vikings make charcoal?
The Vikings used similar techniques to create charcoal. They built large pits lined with wood, covered it, and burned it slowly, controlling airflow. This method produced high-quality charcoal necessary for their iron production.
Conclusion: Embrace the Craft of Making Charcoal Briquettes
Understanding how to make charcoal briquettes opens up a fantastic experience that combines practical skills with creativity. This enjoyable DIY project can elevate your outdoor cooking and align with sustainable practices. You’ll enhance your skills while fostering an appreciation for homemade products.
By following the detailed instructions provided, you can make your briquettes at home, ensuring a consistent supply for your grilling needs. Embrace the opportunity to experiment with materials, flavors, and formulations to create the best possible briquettes for your culinary adventures. As we move through 2026, enjoy the art of crafting charcoal briquettes that not only serve a practical purpose but also resonate with your passion for cooking and sustainability!