Introduction
Crafting is a beautiful way to express creativity, and nothing exemplifies this better than a colorful origami balloon. These delightful paper creations add flair to any space, making them perfect for decorations, gifts, or fun activities. Not only are origami balloons visually appealing, but they also encourage hands-on creativity and focus, making them a great project for both kids and adults.
In this article, we will explore the art of making origami balloons that are full of color and personality. We’ll provide step-by-step instructions, tips for selecting the right materials, and creative ways to incorporate origami balloons into your decor. By the end of this guide, you’ll be inspired to brighten up your space with beautifully crafted origami balloon.
The Art of Origami: A Brief Overview
1. Understanding Origami
Origami is the traditional Japanese art of paper folding that transforms simple sheets of paper into intricate designs. This artistic practice has been around for centuries, promoting creativity and mindfulness.
- Cultural Impact: Origami is not just a craft; it has significant cultural roots in Japan, where it symbolizes peace and hope. The art form has evolved globally, inspiring countless DIY enthusiasts.
- Benefits of Practicing Origami: Engaging in origami can enhance fine motor skills, improve concentration, and promote relaxation. Each fold requires focus, making it a therapeutic activity for many.
2. The Evolution of Origami Balloons
The creation of origami balloons combines traditional folding techniques with innovative designs. This evolution not only adds variety to the art of origami but also introduces fun and whimsical elements to paper crafts.
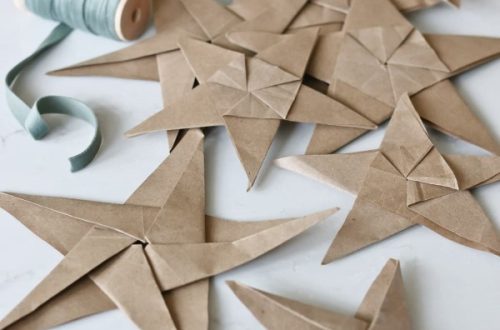
- Different Styles: Origami balloons come in various styles, from simple designs suited for beginners to complex structures that challenge advanced practitioners.
- Versatile Uses: These balloons can serve multiple purposes, such as decorative pieces for parties, gifts, or even educational tools for teaching patterns and geometry.
Essential Materials for Crafting Origami Balloons
1. Selecting the Right Paper
Choosing the right type of paper is crucial when creating origami balloons. While traditional origami paper is ideal, there are other options to consider.
- Origami Paper: Usually square and lightweight, origami paper is designed specifically for folding. It is available in various colors and patterns, making it suitable for vibrant balloon designs.
- Cardstock: For sturdier balloons that can stand on their own, consider using cardstock. However, keep in mind that heavier paper may require more effort to fold.
- Creative Choices: You can also experiment with patterned scrapbook paper, wrapping paper, or recycled paper for unique textures and designs. The choice of paper can greatly influence the overall aesthetic.
2. Required Tools
While origami is typically done with just paper, having a few essential tools can improve the crafting experience.
Bone Folder: A Tool for Precision
- Understanding the Purpose of a Bone Folder:
- A bone folder is a valuable tool in the world of origami that allows for the creation of sharp, crisp folds. This tool is typically made of a smooth material that glides over paper without causing damage, resulting in clean creases.
- By using a bone folder, you can enhance the overall precision of your folds, making your origami pieces look professional and polished. The crispness of the folds is essential, especially in intricate designs.
- Benefits of Using a Bone Folder:
- The use of a bone folder helps to distribute even pressure across the paper, reducing the likelihood of tearing or bending the material improperly.
- Many advanced origami designs require precise folds to achieve the desired shape. A bone folder aids in making these accurate folds, allowing for more intricate structures.
- Alternative Options:
- If you don’t have a bone folder, there are effective alternatives. A flat, hard object like a plastic credit card can serve as a substitute for creating folds. While it may not provide the same level of smoothness, it can still impart the necessary pressure to achieve reasonably crisp creases.
- Other alternatives could include a butter knife or the edge of a ruler, as long as the object is smooth and rigid enough to apply pressure without damaging the paper.
Cutting Tools: Preparing Your Paper
- Importance of Cutting Tools:
- While traditional origami often involves square sheets of paper, there are instances where you might need to resize larger sheets to fit specific designs. In such cases, scissors become essential to ensure that your paper dimensions are correct.
- Precision in cutting is crucial in origami. Improper dimensions can lead to misalignments in your final design, making sharp cutting tools invaluable.
- Choosing the Right Scissors:
- A good pair of scissors is essential when working with origami. Look for sharp, pointed scissors that allow for precision cutting, as this will help you manage both fine and coarse cuts effectively.
- Using child-safe scissors for younger crafters may provide assurance, but ensure they are still sharp enough for clean cuts.
- Alternative Cutting Methods:
- If you feel confident, consider using a paper cutter or a rotary cutter for straight edges. These tools can help you achieve precise cuts and help streamline your cutting process, especially if you’re preparing multiple sheets for a larger project.

Ruler and Pencil: Measuring for Success
- The Role of a Ruler:
- Using a ruler is essential for measuring and marking precise dimensions on your paper. Accurate measurements are vital for achieving uniform shapes and ensuring that your origami folds line up correctly.
- When preparing paper for specific designs, having a ruler on hand allows you to determine exact lengths, which helps reduce waste and increases the final appearance of your origami piece.
- Marking Techniques:
- A pencil is recommended for marking measurements on your paper because it allows for easy erasing if adjustments are necessary. This is particularly useful when you’ve made a mistake or need to alter measurements slightly.
- Lightly marking your paper ensures that you can see your lines while folding without significantly affecting its aesthetic appeal after the project is complete.
- Creating Templates:
- If you frequently create specific designs, consider using the ruler to create templates on cardboard or thicker paper. These templates will allow for consistent sizing and quicker preparation in future origami projects.
- Templates can serve as valuable guides, making it easier for beginners to cut their paper accurately and gain confidence as they progress in their origami skills.
Step-by-Step Instructions for Making Colorful Origami Balloons
1. Basic Origami Balloon Design
To get started, let’s create a simple origami balloon. Follow these easy steps:
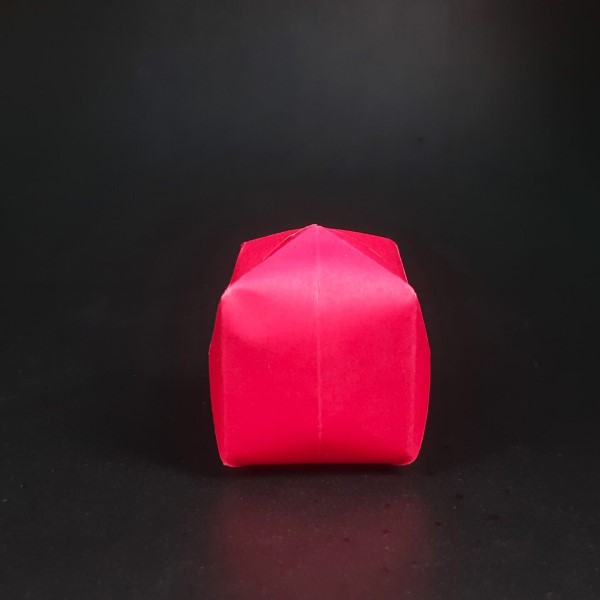
- Step 1: Begin with a square piece of origami paper, color side up. Fold the paper in half diagonally to form a triangle, then unfold it to reveal the crease.
- Step 2: Fold the top point of the triangle down to the center point at the base. This will create another triangle.
- Step 3: Fold the left and right corners of this triangle to meet at the top point. This forms a smaller triangle.
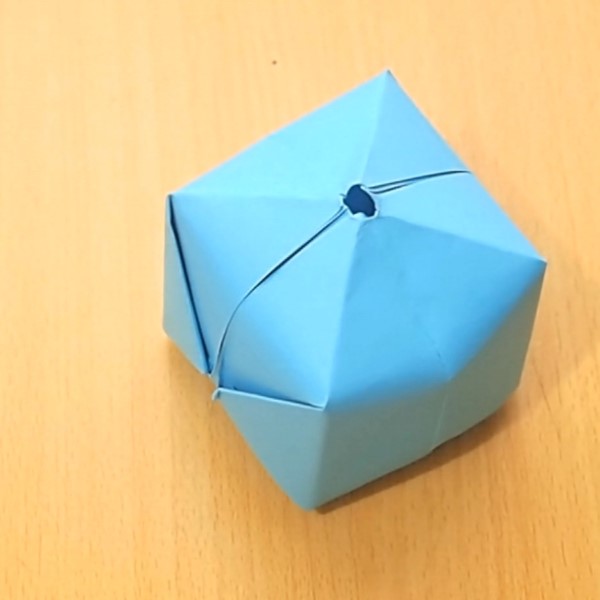
- Step 4: Flip the paper over and fold the bottom point up towards the top, creating a pocket at the bottom. This is the foundation for your balloon.
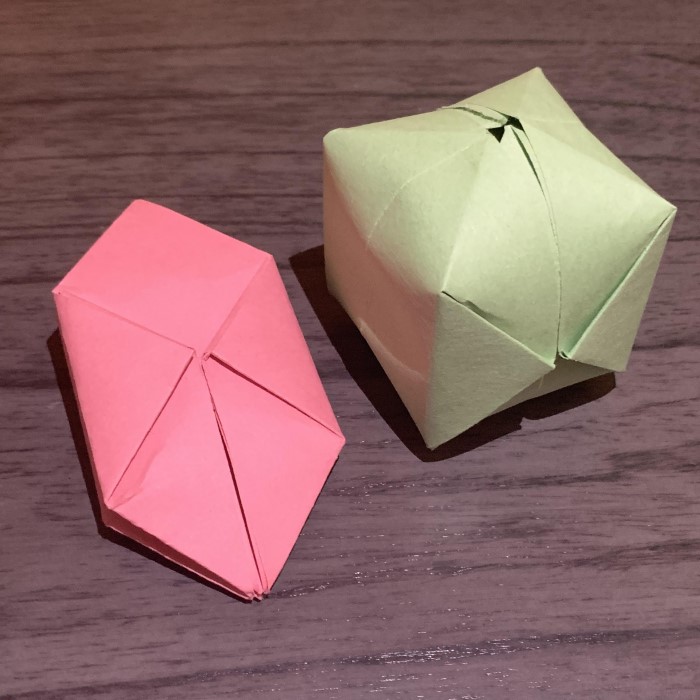
- Step 5: Gently inflate the pocket by blowing air into it through the unsealed opening at the bottom. Once inflated, tweak the shape to achieve a balloon-like look.
2. Adding Details and Decorative Elements
Once you have mastered the basic design, consider embellishing your origami balloon to make it more colorful and unique.
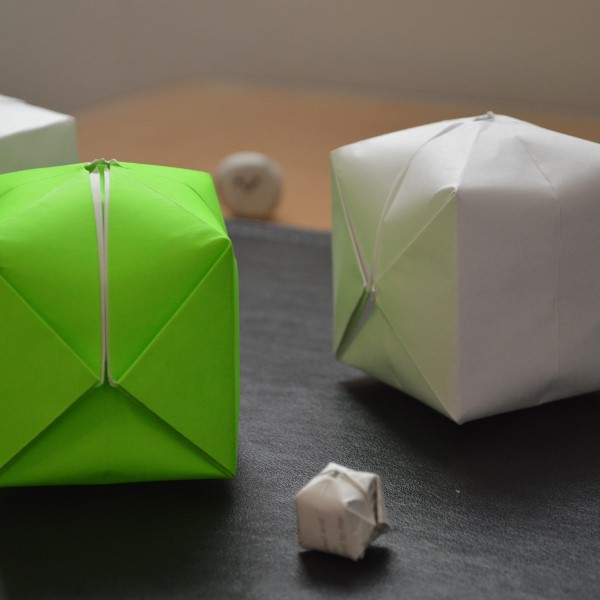
- Color Combinations: Utilize multiple sheets of paper in different colors to create a multi-colored balloon. Experiment with gradients or complementary colors for added visual interest.
- Patterns and Designs: Decorate the balloon with markers, stickers, or glitter to personalize it further. This can especially appeal to kids, making it a fun craft project.
3. Folding More Complex Designs
As you become more comfortable with the basic design, you might want to explore more complex origami balloon designs:
- Advanced Origami Balloons: Try your hand at designs like a balloon animal or a hot air balloon. These require more intricate folding techniques but are immensely rewarding once completed.
- Online Tutorials: Look for video tutorials or diagrams online to guide you through the process of creating advanced designs. Engaging with different resources can enhance your skills significantly.
Creative Ways
1. Party Decorations
Origami balloons make excellent decorations for various celebrations.
- Themed Events: For birthday parties or festive occasions, create a series of colorful origami balloons in different sizes to hang from ceilings or tables. They can be a vibrant focal point for your décor.
- Photo Booth Props: Use origami balloons as playful props in photo booths at events. This adds a unique touch to party pictures and entertains guests.
2. Unique Gifts
Instead of simply giving cash or gift cards, consider using origami balloons as part of your gift presentation.
- Gift Wrapping: Attach an origami balloon to a wrapped gift or a gift card. This adds creativity and personal flair while conveying your thoughtful sentiment.
- Handmade Gifts: Create an entire gift set of origami balloon filled with sweet notes or small treats. This personalized approach is sure to delight recipients.
3. Home Décor
Incorporate origami balloons into your home décor to add a splash of color.
- Table Centerpieces: Group several origami balloons together in a decorative bowl or vase to create an eye-catching centerpiece for your dining or coffee table.
- Wall Art: Use string and tape to hang a series of origami balloons on a wall, creating a mobile or wall art piece that adds character to your space.
FAQs
Is Origami Balloon Hard to Make?
Origami balloons range in difficulty from easy to complex. Beginners can start with simple designs and gradually work their way up to advanced techniques as they build confidence.
Can I Use Regular Paper for Making Origami Balloons?
While regular paper can be used, it may not hold shapes as well as origami paper. For best results, use lightweight origami paper to achieve clean folds and vibrant colors.
How Long Does It Take to Make an Origami Balloon?
The time it takes to make an origami balloon varies based on the design’s complexity, but a simple balloon can typically be made in under 10 minutes.
What Are Creative Ways to Use Origami Balloons?
Origami balloons can be used for party decorations, unique gifts, and home décor. Their versatility makes them suitable for various creative projects.
Conclusion
In conclusion, colorful origami balloons are a wonderful way to enhance your space with creativity and craftsmanship. By mastering the art of origami, anyone can create vibrant balloons that serve multiple purposes—from decorative pieces to thoughtful gifts.
With the step-by-step instructions provided in this guide, individuals of all ages can easily create beautiful origami balloon. Whether you’re preparing for a special occasion or indulging in a fun craft session, these eye-catching creations are sure to bring joy and color into any environment. Embrace the art of origami, and let your creativity soar as you transform simple paper into delightful masterpieces!