Introduction
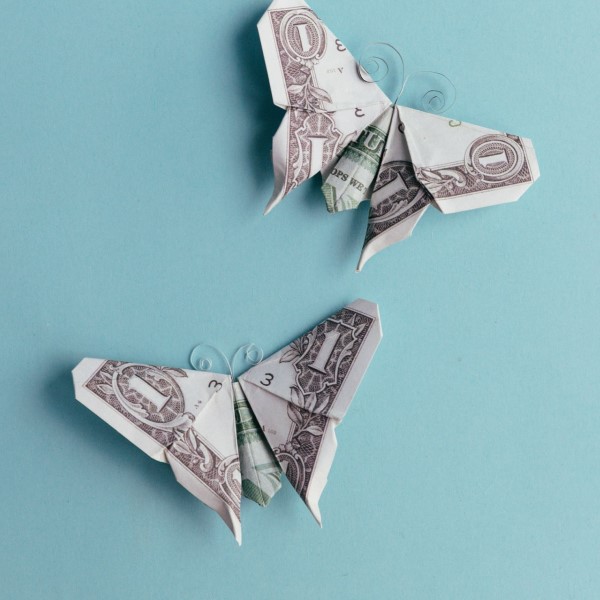
Origami money is more than just folding bills; it’s a creative way to transform cash into beautiful art pieces that can delight recipients. This unique skill merges the age-old tradition of origami with the modern concept of giving cash gifts. Unlike traditional gifts, origami money adds a personal touch, showcasing your thoughtfulness and creativity.
Imagine presenting someone with a cash gift that also serves as a piece of art. Whether for a birthday, wedding, or graduation, origami money makes any cash gift memorable. In this article, we will explore the art of DIY origami money, from basic techniques to intricate designs. You’ll discover how to create stunning pieces and make your cash gifts stand out in 2026.
The Cultural Significance of Origami
1. Understanding Origami’s Roots
Origami originated in Japan and has a rich cultural history associated with artistic expression and craftsmanship. Traditionally, it involved folding paper to create intricate designs. Over time, the art of origami expanded globally, incorporating various materials, including currency.
- Historical Perspective: In ancient Japan, origami was involved in ceremonial practices. The folding of paper symbolized prosperity, and the practice evolved into an art form.
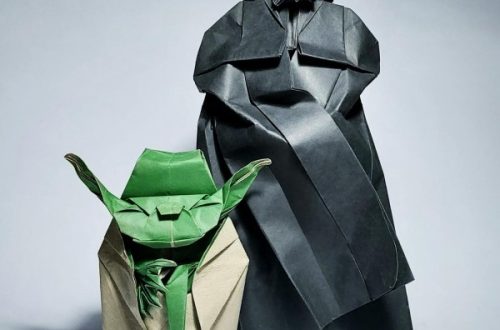
- Modern Uses: Today, origami is not only a method of artistic expression but has practical applications in areas like engineering, medicine, and education.
2. The Evolution of Origami Money
The combination of cash and origami began to take shape in the 20th century. Gift-givers started folding currency into unique shapes, creating visually appealing gifts.
- Symbolic Meaning: In many cultures, giving money is associated with good luck and prosperity. By incorporating origami, the act of gifting money elevates its cultural significance.
- Cultural Fusion: Folding money into artistic shapes has become a popular form of gifting across cultures, blending tradition with modern aesthetics.
Getting Started: Essential Tools and Materials
1. Materials Required for Origami Money
Before diving into the world of origami money, it’s essential to gather the right materials. Here’s what you need:
Currency: Choosing the Right Denominations
- Utilizing Various Denominations:
- When creating origami money, you can use bills in various denominations. This flexibility allows you to experiment with different sizes, giving you the chance to explore various designs.
- However, larger bills such as 5,10, or $20 are often recommended for beginners due to their size, as they provide more material to work with. The increased surface area makes it easier to see the folds and adjust your techniques.
- Benefits of Starting with Larger Bills:
- Larger bills are typically easier to handle and fold, especially for those just starting with origami money. The ample space allows for more pronounced and refined folds, making it easier to create intricate designs.
- Choosing larger denominations can also enhance the final presentation of your origami piece, as the increased size is visually appealing and allows for more detail.
- Handling Smaller Denominations:
- While smaller bills, such as ones and fives, can certainly be transformed through origami techniques, they may pose a challenge for beginners. The limited size can complicate the folding process, especially for more complex designs.
- Once you gain confidence and experience with larger denominations, you can then transition to using smaller bills for specific designs or when aiming for compact folded creations.
Flat Surface: Preparing Your Workspace
- Importance of an Even Surface:
- Working on an even and flat surface ensures that your folds are accurate and precise. An unstable or uneven surface can lead to crooked or misaligned folds, which can compromise the quality of your origami design.
- A sturdy table or desk is often the best option, as it provides stability and prevents unnecessary movement while you fold.
- Organizing Your Workspace:
- Make sure your workspace is clear of clutter. A tidy environment allows you to focus on the folding process without distractions.
- Having all your materials organized and within reach minimizes interruptions and enhances your overall folding experience.
- Maintaining Fold Integrity:
- A flat surface prevents the paper from shifting during the folding process, which helps maintain the integrity of each fold you make. Consistent pressure on the paper can lead to sharper and cleaner folds that stay in place.
- Proper attention to detail at this stage ultimately pays off, as precise folds contribute to the overall beauty of the finished product.
Lightweight Paper: Practicing with Alternatives
- Benefits of Using Lightweight Paper:
- Practicing with lightweight paper, such as origami or craft paper, can be beneficial for mastering folding techniques before working with currency. Lightweight paper is easier to manipulate and fold, allowing beginners to focus on learning the basics.
- Using lighter materials can help reduce the risk of tearing during the learning phase. This is especially useful for intricate designs that require multiple folds and adjustments.
- Building Confidence with Practice:
- By starting with lightweight paper, you can build confidence in your folding abilities without the pressure of using actual currency. Once you’re comfortable with various techniques, you can seamlessly transition to folding money.
- Practicing on lighter paper allows you to experiment with different designs and understand the mechanics of origami without the fear of damaging valuable bills.
- Transitioning to Currency:
- Once you feel proficient with lightweight paper, it’s time to move on to actual currency. You’ll find that the principles you learned during practice will carry over, making the transition smoother.
- Your familiarity with folding techniques will enable you to handle currency more efficiently, thus enhancing your origami money creations and ensuring impressive results.

2. Basic Folding Techniques
Understanding basic folding techniques is crucial for creating successful origami money. Here are some fundamental folds to get started:
- Valley Fold: This basic fold creates a crease that forms a “V” shape. It is essential for achieving sharp lines in your origami designs.
- Mountain Fold: Opposite to the valley fold, the mountain fold creates a peak in the paper. This technique is useful for shaping the overall dimensions of your design.
- Squash Fold: This fold is often used in more intricate designs and involves opening a paper flap while pushing it down to create a new crease.
Simple Designs for Beginners
1. Using Origami Money for Basic Designs
If you’re new to origami money, start with simpler designs that require minimal folding. Here are a few ideas:
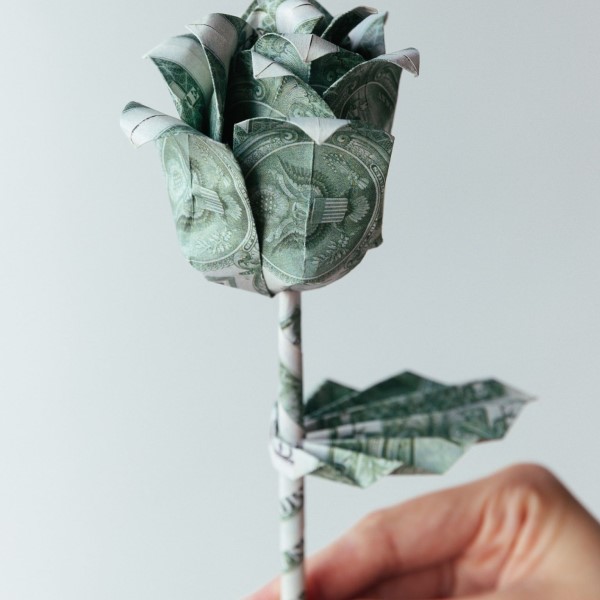
- Origami Money Flower: A delightful design that can be used as a decorative piece, perfect for gifting alongside cash. Begin by making a basic flower shape and secure the base with a small piece of tape to hold the bill’s position.
- Money Shirt or Tie: These designs can be made with a single bill and are ideal for birthday gifts or Father’s Day. They require strategic folds that mimic clothing styles, making the cash more personalized.
2. Step-by-Step Instructions for a Simple Bow Tie
Folding a $20 bill into a bow tie is a charming way to present money, especially for someone with a sense of style. Here’s how to do it:
- Step 1: Start with a crisp, unfolded $20 bill, laying it flat with the backside facing up.
- Step 2: Fold the bill in half lengthwise, then unfold it to create a center crease line. This crease will guide your folds.
- Step 3: Fold the top edges towards the center crease line, giving the bill a bow tie shape.
- Step 4: Fold the bottom portion up to cover the base of your bow tie.
- Step 5: Flip the bill over, and adjust the folds as necessary. Secure the middle of the bow tie with a small piece of tape if needed.
Advanced Designs
1. Creating Intricate Patterns
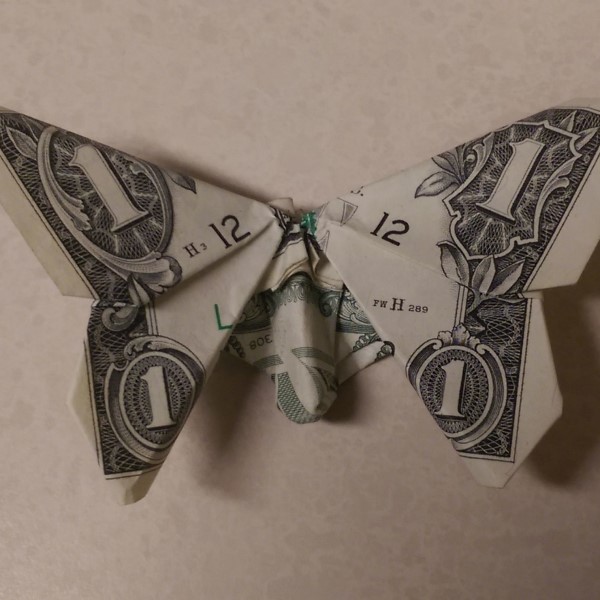
Once you’re comfortable with basic designs, you can explore more complex origami money options. The following designs will challenge your skills:
- Origami Money Hearts: These designs make fantastic gifts for romantic occasions and can be presented in a creative way. Start by folding a dollar bill into a heart shape, perfect for anniversaries or Valentine’s Day.
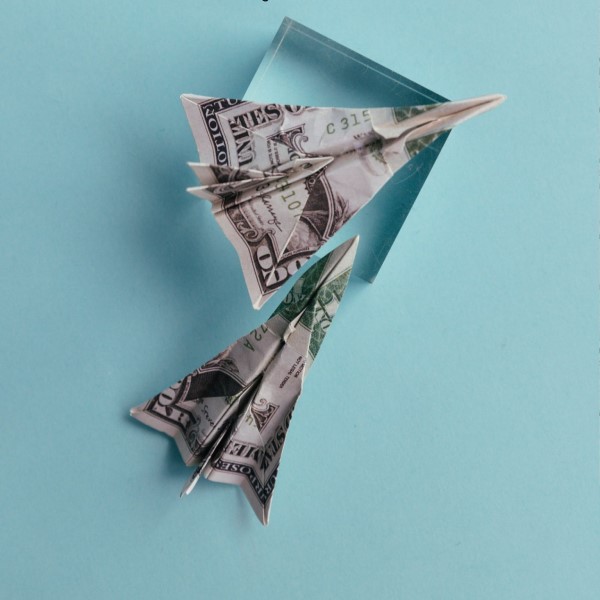
- Money Cranes: The origami crane is a symbol of peace and hope. Folding a dollar bill into a crane can be a thoughtful gift, with a layered meaning behind the shape.
2. Step-by-Step Instructions for Folding a Heart
To create an origami heart from a $1 bill, follow these steps:
- Step 1: Begin with a clean $1 bill, with the front facing up.
- Step 2: Fold the bill in half vertically and unfold it to create a center crease.
- Step 3: Fold the top two corners down towards the center crease to create a triangle shape at the top.
- Step 4: Fold the bottom part of the bill up, aligning it with the base of the triangle.
- Step 5: Fold the corners of the triangle outward to form the heart shape.
3. Display and Presentation Tips
Once you’ve folded your origami money creations, it’s important to present them nicely. Consider using decorative envelopes or clear bags to showcase your unique designs.
- Personal Touches: Accompany your origami money with a handwritten note for an additional personal touch. This small gesture can enhance the sentiment behind your cash gift.
FAQ
Is Money Origami Illegal?
No, money origami is not illegal. It is simply a method of folding currency into artistic shapes for decorative purposes or creative gifts. Many people use this technique to enhance the presentation of cash gifts.
What Is Origami Money?
Origami money refers to the art of folding cash into creative shapes, such as flowers, animals, or other decorative items. This practice combines the traditional craft of origami with the modern concept of gift-giving.
How to Fold a $20 Bill into a Bow Tie?
To fold a $20 bill into a bow tie, start by folding the bill in half lengthwise, tapering the top edges to the center crease, and then folding the bottom portion up. Flip it over, and adjust as necessary.
How to Fold a $1 Bill into Hearts?
Begin with a $1 bill, place it front-facing and fold it vertically. Then fold the top corners downward to form a triangle and carefully shape the bottom to create the heart outline.
Conclusion
In conclusion, origami money transforms simple cash into beautiful and meaningful art pieces. By learning and practicing various folding techniques, you can create unique gifts that convey thoughtfulness and creativity. Whether you’re designing a simple bow tie or an intricate heart, each piece of origami money brings its own charm and sentiment.
By embracing the art of origami money, you not only make your cash gifts stand out but also indulge in a fun and creative hobby. Share your creations with friends and family, or even explore local community events centered around this craft. Celebrate the beauty of creativity and bring joy through your artistic cash gifts!