Introduction
If you love crafting and jewelry making, making perler bead earrings is a fun and creative way to express your individuality. Perler beads, also known as fuse beads, are colorful plastic beads that can be melted together using heat to create various designs. In recent years, these earrings have become quite trendy, allowing crafters to make stylish accessories that showcase their unique tastes. This guide will provide you with different DIY ideas for creating stunning perler bead earrings in 2026. We will explore techniques, design inspiration, and tips to help you get started on your crafting journey.
Why Choose Perler Bead Earrings?
- Customization and Creativity:
- One of the greatest benefits of making perler bead earrings is the ability to customize them to your liking. You can explore countless color combinations and designs, ensuring that your earrings truly reflect your style.
- Whether you prefer bold and bright colors or subtle pastels, the choice is yours. With perler beads, your creativity knows no bounds.
- Affordable Crafting:
- Perler beads are relatively inexpensive, making them an excellent choice for anyone looking to create beautiful jewelry without breaking the bank. A single pack of beads can provide you with enough materials to make several pairs of earrings.
- Many craft stores offer sales or bulk options, allowing you to stock up on supplies easily.
- Easy to Make:
- Making perler bead earrings is a straightforward process that is beginner-friendly. Whether you are an experienced crafter or a newbie, you can achieve stunning results with just a few materials and steps.
- The melting process requires only a household iron and parchment paper, which most people already have at home.
Essential Materials
- Gather Your Supplies:
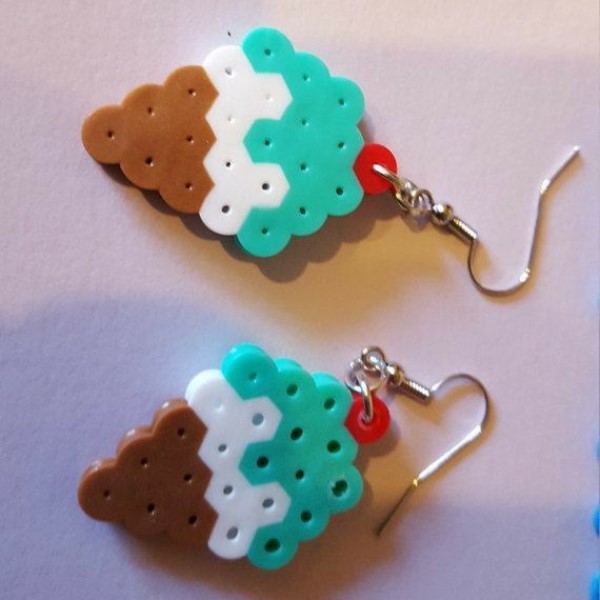
- To create your perler bead earrings, you’ll need a set of perler beads in various colors, earring hooks or studs, and pliers for assembly. Of course, you will also need an ironing surface like an ironing board, parchment paper, and an iron.
- Beads often come in different shapes such as hearts, stars, or simple squares. Consider mixing these shapes to make your earrings more interesting.
- Using the Right Tools:
- Parchment paper is essential for the ironing process. It provides a protective barrier between the beads and the iron, preventing any mess or sticking. Notably, using the right tools will ensure that your crafting experience is smooth and simple.
- Having a pair of pliers on hand will help you attach the hooks and assemble the earrings easily without hurting your fingers.
- Choosing Earring Hardware:
- The type of earring hardware you use can significantly impact the final look of your earrings. Consider using eye pins and earring hoops for a more dangling style or simple stud posts for a classic look.
- Do some research on options available at your local craft store to discover which one fits your vision the best.
Step-by-Step Process
- Design Your Earrings:
- Start by planning your design on a pegboard or layout tray. Arrange the perler beads according to your desired pattern or image. This step is crucial, as it provides a preview of the final product.
- Once satisfied with your arrangement, ensure each bead is properly placed to minimize errors during the melting process.
- Melting the Beads:
- Cover the arranged beads with a piece of parchment paper and gently press down using an iron on a low setting. This action will melt the beads together, creating a solid piece.
- Be sure to move the iron in a circular motion to ensure even heating. Take care not to overheat, as this may cause the beads to warp or fuse together improperly.
- Letting the Beads Cool:
- After melting, carefully remove the parchment paper and let the beads cool. Once cooled, you’ll see that they solidified into a firm design. This step is crucial for ensuring that your earrings hold their shape when worn.
- While cooling, make sure that the beads do not touch any sticky surfaces that might affect their final shape.
- Assembling the Earrings:
- Using pliers, attach the earring hooks or studs to the finished bead design. Ensure a secure fit, so your earrings stay in place while you wear them. This step may require a bit of strength, so apply pressure as needed.
- Repeat the process for a matching pair or create variations for a unique look.
Tips to Enhance Your Perler Bead Earrings
Experiment with Colors and Patterns
- Daring Color Choices:
- Don’t hesitate to play with vibrant colors when creating your perler bead earrings. Using bold and contrasting hues can result in striking designs that truly stand out.
- Colors can evoke emotions and convey themes, so think about the mood you wish to capture in your pieces. For example, bright yellows and oranges might bring a sense of joy and energy.
- Creating Gradient Designs:
- Consider experimenting with gradient designs that transition smoothly from one color to another. This technique can add depth and visual interest to your earrings.
- Arranging beads in a gradient will help your earrings appear more dynamic, making them visually appealing without requiring detailed patterns.
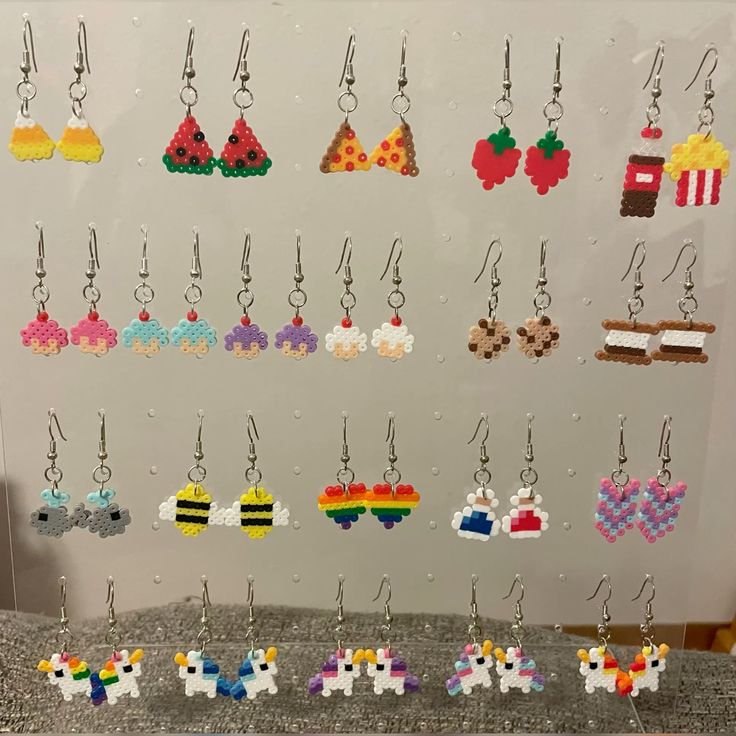
- Thematic Pieces for Personal Expression:
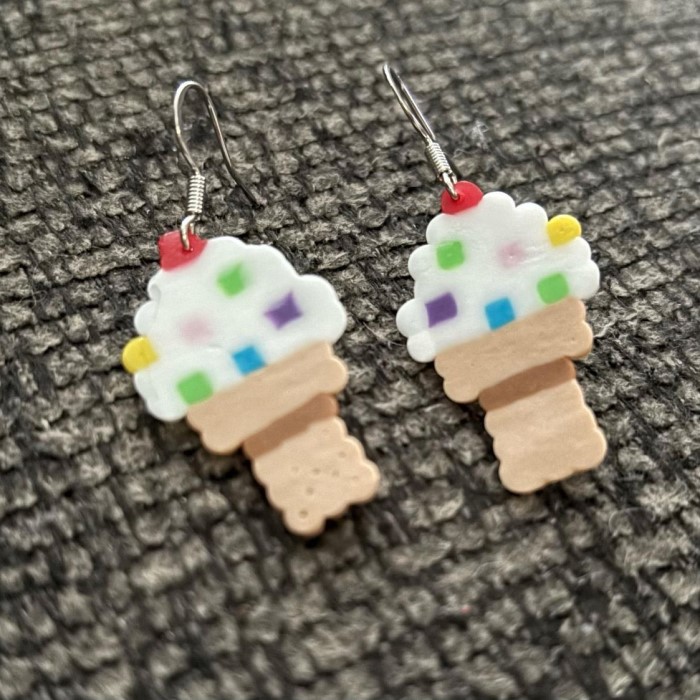
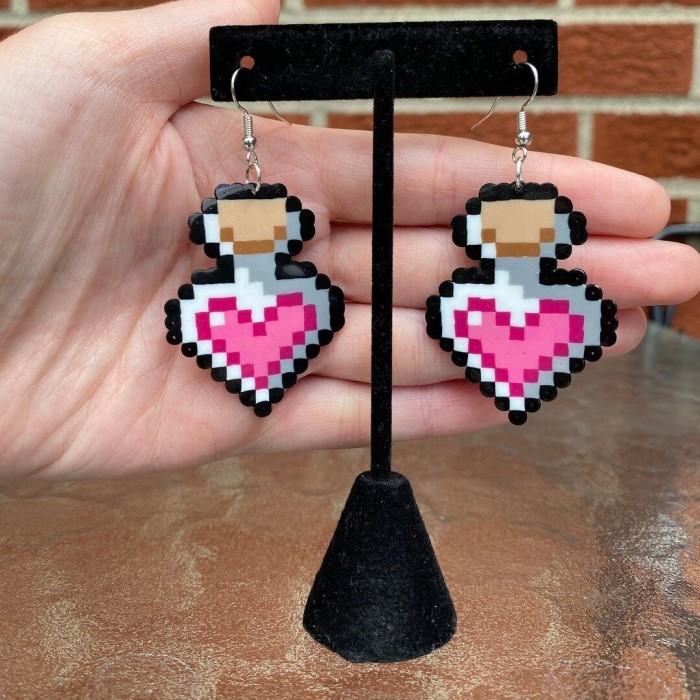
- Get creative by designing earrings that reflect your personal interests or themes. For instance, if you love animals, you could create earrings shaped like your favorite creatures.
- Similarly, you can craft pieces that incorporate symbols or icons from pop culture, such as popular movies, video games, or music. This personalized touch will make your jewelry unique and meaningful.
- Seasonal Designs for Festive Flair:
- Seasonal designs can enhance your jewelry collection and allow you to celebrate different holidays throughout the year. Think about creating Halloween designs featuring pumpkins or ghosts.
- For Christmas, consider festive shapes like snowflakes, Christmas trees, or ornaments. Customizing your earrings for various seasons can add fun and variety to your collection.
Consider Different Earring Styles
- Exploring Beyond Basic Designs:
- You aren’t limited to traditional dangles or studs when creating your perler bead earrings. Consider exploring a wide array of styles that can elevate your creations.
- This exploration will help you discover unique designs that can highlight your creativity and personal style.
- Incorporating Mixed-Media Styles:
- Enhance your earrings by combining perler beads with other materials, such as fabric or wood. This mixed-media approach can create eye-catching contrasts that draw attention.
- For example, attaching perler beads to a fabric base or incorporating wooden elements can add texture and dimension, making your pieces stand out even more.
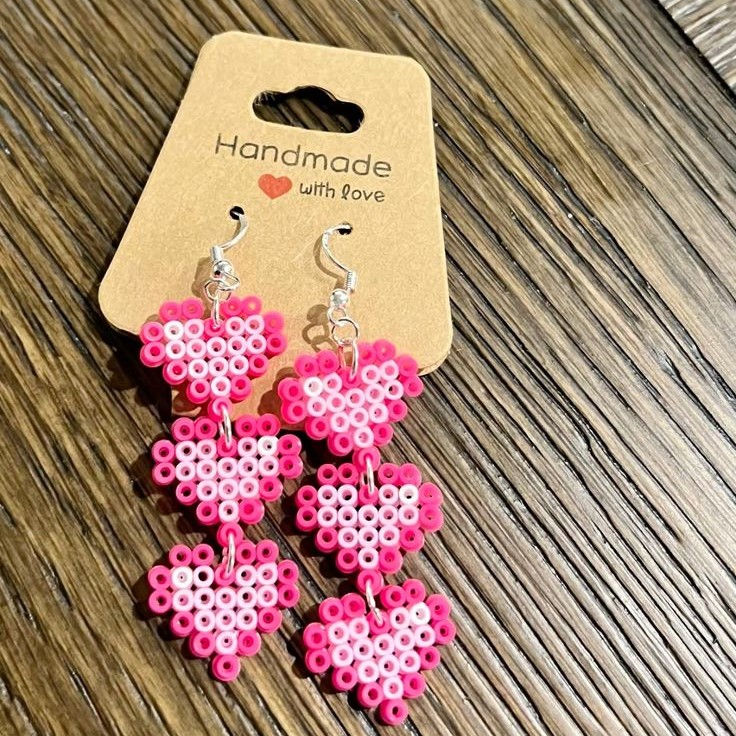
- Bold and Oversized Statements:
- Push the boundaries of traditional earring design by creating oversized pieces that make a bold statement. Large earrings can be eye-catching and become a conversation starter.
- Oversized designs are perfect for special events or casual outings, allowing you to showcase your personality through your jewelry.
- Minimalist Designs for Everyday Wear:
- On the flip side, consider crafting minimalist designs that are perfect for everyday wear. Simpler earrings can be easier to style with various outfits while still showcasing your creativity.
- These subtle pieces can offer a touch of personality without overwhelming your overall look, making them versatile options for any occasion.
Preserving Your Work
- Enhancing Durability:
- To ensure that your finished earrings last longer, consider sealing them with a clear coat spray or resin. Sealing is crucial as it enhances the durability of your pieces.
- This protective layer not only safeguards the beads from wear but also helps maintain their vibrancy, so your creations look fresh over time.
- Tips for Sealing:
- When using clear coat spray, apply it evenly in a well-ventilated area to avoid oversaturation. A light, even application will help preserve the integrity of the beads while providing protection.
- If you opt for resin, ensure you follow the instructions carefully, as it requires precise mixing and proper application for the best results.
- Proper Storage Techniques:
- When your earrings are not in use, store them in a cool, dry place to prevent any damage to the beads or distortion of shape. Proper storage is essential for longevity.
- Use jewelry boxes or compartments to keep your designs organized and shielded from environmental factors that could cause wear, such as humidity or direct sunlight.
- Maintaining Your Designs Over Time:
- Regularly check your earrings for any signs of wear or damage. If you spot any issues, take the time to repair or reinforce them as needed to extend their life.
- By taking a little care and attention, you can enjoy your creatively crafted perler bead earrings for years to come.
FAQs About Perler Beads
Can I melt perler beads without an iron?
Yes, you can melt perler beads using a heat source like a stove or heat gun, but an iron is the most common and easiest method for beginners.
Are perler beads discontinued?
No, perler beads are still widely available, and many craft stores continue to sell a variety of colors and shapes.
How to turn beads into earrings?
To make earrings from beads, melt the beads together in the desired shape, let them cool, and then attach earring hooks or studs using pliers.
Why poke holes in perler beads?
Poking holes in perler beads allows for additional design options, such as threading a wire or string through them for unique jewelry or crafting projects.
Conclusion: Start Creating Stunning Perler Bead Earrings Today!
Creating your own perler bead earrings offers endless opportunities for creativity and personalization. With the right materials, a bit of imagination, and following the steps outlined in this guide, you can craft your own unique pieces. Don’t hesitate to experiment with colors and patterns as you build your collection. Ultimately, this DIY project is not just about making earrings; it’s about expressing your individuality and celebrating your creativity in the most stylish way possible. So pick up those beads, and start creating your stunning perler bead earrings today!