Introduction: The Magic of Perler Bead Patterns
Perler beads have taken the crafting world by storm, providing endless opportunities for creativity and fun. The question on many crafters’ minds is, what are some cool perler bead patterns to try? These vibrant little beads can be transformed into stunning designs, making them perfect for personalized gifts, home décor, or simply fun projects to enjoy during your leisure time. In this article, we will explore a variety of unique perler bead patterns that cater to every skill level, ensuring there’s something for everyone.
From captivating geometric designs to beloved characters from popular culture, the possibilities are practically limitless. Whether you are a novice just starting out or an advanced crafter looking for your next challenge, this guide will provide you with exciting ideas and inspiration to unleash your creativity with perler beads.
Understanding Perler Beads
1. What Are Perler Beads?
- Definition: Perler beads, also known as fusible beads, are small plastic beads that can be arranged on a pegboard to form patterns. Once the desired design is completed, heat is applied to fuse the beads together, creating a solid piece.
- Materials: They are typically made from low-density polyethylene, which is non-toxic and safe for all ages. The beads come in a variety of colors and are often sold in large packs, expanding the creative potential for crafters.
2. How to Use Perler Beads
- Setting Up: To start creating, you’ll need a pegboard, a selection of perler beads, and parchment paper. The pegboard allows you to arrange the beads into your desired patterns before fusing them.
- Fusing the Beads: Once your design is complete, place a piece of parchment paper over the beads and use a household iron on low heat to fuse the beads. After allowing them to cool, the design becomes a solid piece that can be used for various projects.
Cool Perler Bead Patterns for Beginners
1. Simple Shapes and Objects
- Heart Patterns: A heart shape is an excellent starting point for beginners. Using basic red and pink beads, you can create a small heart design that is perfect for greeting cards or gifts.
- Stars and Flowers: Simple star and flower patterns are also great for beginners. These designs require minimal color combinations and can be completed quickly, providing instant gratification for new crafters.

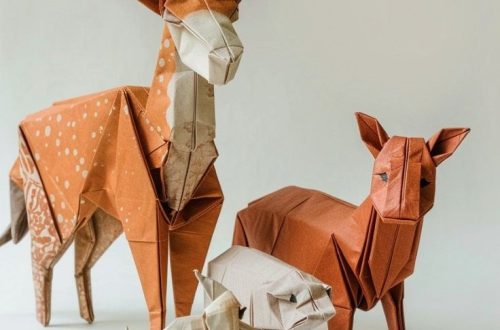
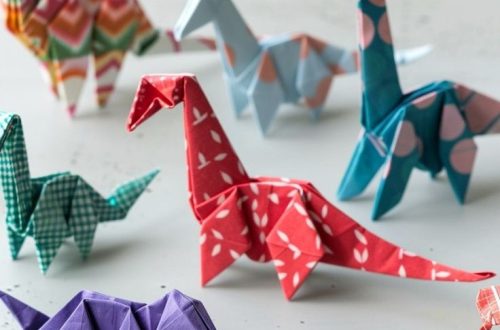
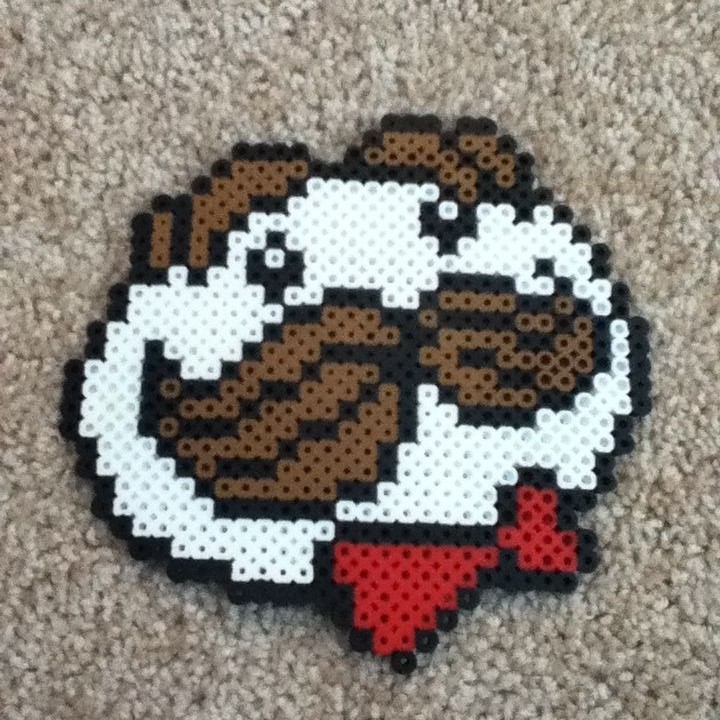
2. Animal Designs
- Basic Animal Shapes: Animals like fish, turtles, and butterflies are excellent projects for beginners. These patterns typically use simple shapes and can be adapted to various color schemes.
- Guided Templates: Many resources are available online that provide step-by-step templates for creating beginner-friendly animal designs. Following these guides can boost confidence and provide a sense of accomplishment.
Intermediate Cool Perler Bead Patterns
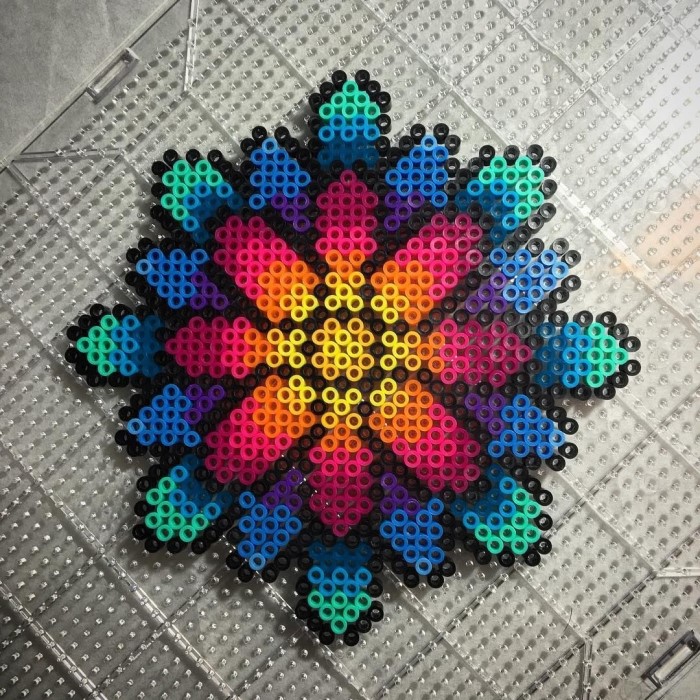
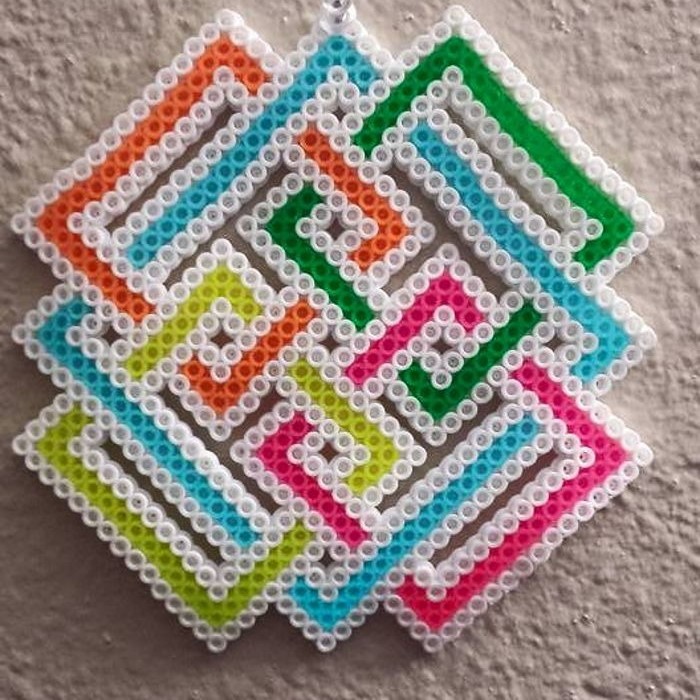
1. Geometric Designs
- Tessellations: Intermediate crafters can challenge themselves with geometric tessellation patterns. These visually striking designs require careful placement of beads to create repeating shapes that fit together like a puzzle.
- Optical Illusions: Creating designs that play tricks on the eye can be a fun project. Patterns that alternate colors and shapes can create mesmerizing effects and intrigue onlookers.
2. Famous Icons
- Character Designs: Intermediate patterns might include pixelated designs of iconic characters from video games, animation, or pop culture. For instance, creating characters from games like Mario or Pokémon adds a personal touch to your creations.
- Use of Color Gradation: Intermediate crafters can also experiment with color gradation techniques for shading. This method can enhance character designs and contribute to a more professional appearance.
Advanced Cool Perler Bead Patterns
1. Complex Character Portraits
- Detailed Character Designs: Advanced crafters can tackle intricate designs, such as character portraits from their favorite movies or shows. These cool perler bead patterns often involve hundreds of beads and require precision and patience.
- Multi-Layered Patterns: Creating a layered effect by using foam or additional materials can elevate your designs further. This technique allows for a three-dimensional look that captures attention and adds depth.
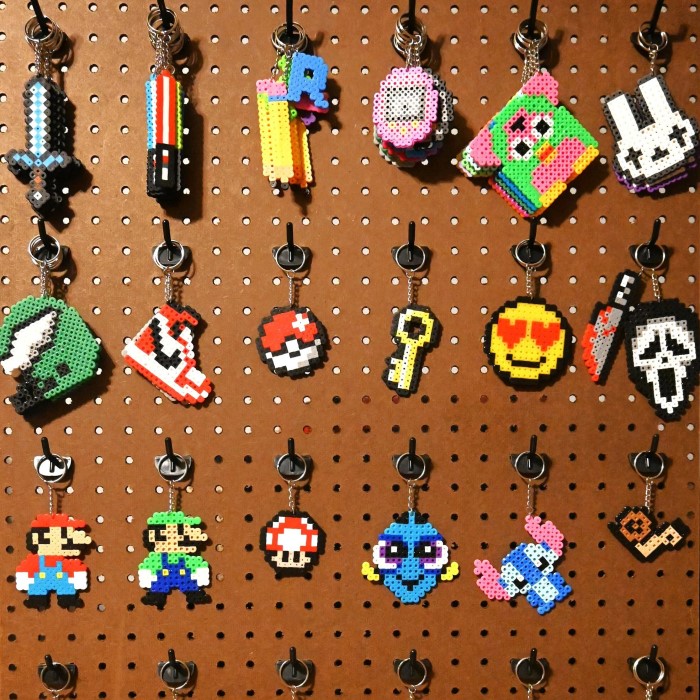
2. Functional Projects
- Home Décor Items: Advanced designs can serve functional purposes as well. For example, coasters, keychains, or jewelry holders made from intricate perler bead patterns can showcase your skills while being practical.
- Seasonal Decorations: Engage in thematic projects by creating designs related to various holidays. From Christmas ornaments to Halloween decorations, these projects can be both beautiful and festive.
Tips for Creating Amazing Perler Bead Patterns
Planning Your Design
- Sketch Your Ideas: Before you begin working with perler beads, take a moment to sketch your design on paper. This initial plan allows you to visualize how your completed project will look and helps identify any potential challenges.
- Utilize Online Templates: If you’re not confident in your drawing skills, look for online templates or designs. Many websites and social media platforms offer free patterns that cater to different skill levels. These templates can serve as a guide, speeding up the design process.
- Consider Design Complexity: When planning, take into account your skill level and the time you have available. Opt for simpler designs if you’re a beginner, while more complex cool perler bead patterns can be tackled as you gain confidence and experience.
- Focus on Size: Make sure to decide on the size of your design early on. The size will affect the number of beads you’ll need and the type of pegboard suitable for your project. Be mindful of the display area you have for the finished piece.
- Color Palette Selection: Choose a color palette for your design before starting. Having a clear idea of your color selections can streamline the process, ensuring that you have all necessary beads on hand.
Using Quality Materials
- Invest in Quality Beads: High-quality perler beads are essential for achieving the best results. They fuse together more reliably when heated and generally produce a sturdier finished piece. Look for reputable brands that have positive reviews.
- Choosing the Right Pegboard: Selecting a good-quality pegboard is equally important. A sturdy, well-made pegboard should hold the beads in place without bending or warping. This stability helps maintain the design’s integrity as you work.
- Avoiding Low-Quality Products: While it can be tempting to buy cheaper beads or supplies, these often lead to mistakes. Poor-quality beads may not melt uniformly, result in inconsistent colors, or even break during the fusing process.
- Gather Necessary Equipment: Aside from beads and pegboards, invest in a reliable iron and parchment paper for fusing. Quality equipment will facilitate the fusing process and ensure that the beads adhere properly without burning.
- Organize Your Workspace: Utilize trays or containers to organize your materials before you start. An organized workspace helps you keep track of supplies and minimizes frustration while working on your design.
Experimenting with Colors
- Mixing and Matching: Don’t hesitate to explore different color combinations. Combining colors can result in unique patterns and effects, allowing you to express your personal style more easily.
- Testing Color Schemes: Prioritize testing potential color schemes on paper or using a digital tool to see how they work together. This allows you to visualize your ideas without committing to actual beads.
- Creating Gradients and Shading: Experimenting with gradients can add depth to your designs. By gradually changing colors over several beads, you can create more dynamic and visually appealing patterns.
- Cohesive Color Themes: Consider using a cohesive color theme for your entire project. Limiting your color palette to a particular scheme, such as warm or cool colors, can provide a harmonious look to your finished piece.
- Inspiration from Others: Look for inspiration from other perler bead artists. Visiting online communities or social media can expose you to innovative color combinations that you may want to try in your own work.
Practicing Patience
- Take Your Time: When working with perler beads, patience is crucial. Placing each bead carefully ensures that your design comes together as planned. Rushing can lead to mistakes that may compromise your creative vision.
- Focus on Accuracy: Accuracy is vital, especially for intricate designs requiring precise placement. Double-check your work frequently to ensure everything is aligned and that you’re following your design as intended.
- Avoiding Frustration: If you feel rushed or frustrated, take a break. Stepping away from your project can provide you with a fresh perspective when you return and can improve your overall focus.
- Embrace Mistakes: Remember that mistakes are part of the creative process. If you do make an error, don’t be too hard on yourself. Learn from it and think of ways to adapt your design or fix the issue without stressing out.
- Enjoy the Process: Crafting should be an enjoyable experience. Focus on the creative journey rather than just the final product, and let the process inspire you to create without pressure.
Using a Good Ironing Technique
- Set the Right Temperature: Before you begin fusing your beads, ensure your iron is set to the proper temperature. Typically, a low to medium heat works best for melting perler beads without burning them.
- Light Pressure: Start with light pressure as you move the iron over the parchment paper. Applying too much pressure right away can cause the beads to melt unevenly or burn, affecting the outcome of your design.
- Monitor Progress: Keep an eye on the melting process. After a short time, check if the beads have started to fuse properly. You want them to stick together but still retain their shape.
- Use Smooth, Even Motions: Iron the beads using smooth, even motions, moving the iron across the surface rather than pressing down in one spot for too long. This method helps ensure a consistent melt.
- Cooling Period: After fusing, let the design cool completely before removing it from the pegboard. Allowing it to cool helps maintain its structure and prevents it from collapsing or losing shape.
Storing Your Beads
- Organizing by Color: Keep your perler beads organized in containers sorted by color. This practice makes it easier to find specific colors when starting a new project and enhances the efficiency of your crafting process.
- Using Clear Containers: Clear storage boxes or small ziplock bags are great options for bead storage. Being able to see inside makes it straightforward to identify colors quickly.
- Labeling Systems: Consider labeling your storage containers. This way, you’ll know at a glance which box contains which colors, helping to streamline your crafting sessions.
- Keeping Beads Away from Moisture: Make sure to store your beads in a dry environment. Excess moisture can lead to melting or clumping, making it difficult to work with them later.
- Creating a Craft Station: If you’re a frequent perler bead artist, consider setting up a dedicated crafting station. Having a consistent place for your materials can keep you organized and ready for your next project.
Frequently Asked Questions
Can kids use perler beads?
Yes, perler beads are safe for children to use under adult supervision. It is essential to assist with the ironing process to prevent burns.
How do I store unused perler beads?
To keep your perler beads organized, use clear storage containers or ziplock bags labeled by color. This keeps it easy to find specific colors for future projects.
Are there perler bead patterns available for free online?
Absolutely! Many websites and social media platforms offer free perler bead patterns, catering to all skill levels. A quick search can yield countless creative ideas.
Conclusion: Dive into the World of Perler Bead Patterns
In conclusion, cool perler bead patterns offer a fantastic way to express creativity, regardless of skill level. Whether you’re just starting with simple shapes or looking to master intricate character designs, there is no shortage of exciting projects to undertake.
With the right tools and inspiration, you can create stunning art pieces that showcase your personality and taste. Explore various designs, experiment with colors, and have fun in this vibrant craft that can be enjoyed by everyone. As you build your skills and confidence, you’ll find endless opportunities for creativity with perler beads. Happy crafting!