Introduction: The Art of Making Butter Candles
The holiday season is the perfect time to explore your creative side, and making your own candles can be a satisfying and enjoyable project. One innovative option in the realm of candle making is the butter candle. Understanding how to make a butter candle not only opens up a new avenue for crafting but also allows you to experiment with eco-friendly materials right from your kitchen. In this detailed guide, we will walk you through everything you need to know about creating your very own butter candle, from understanding the benefits of using butter to ensuring a successful crafting experience.
Understanding Butter Candles: A Unique Approach
Butter candles are an excellent alternative to traditional paraffin or soy-based candles, making them a popular choice for those looking to create unique and natural lighting options. Let’s explore why butter is a fantastic medium for candle making.
The Benefits of Using Butter
- Natural Ingredient: Butter is a natural and accessible ingredient found in most kitchens. Unlike synthetic candle materials, butter provides a way to craft candles without harmful additives or chemicals.
- Eco-Friendly Option: By using butter, you eliminate the need for petroleum-based waxes which are common in many commercial candles. This makes butter candles an environmentally friendly choice—perfect for Earth-conscious crafters.
- Aromatic Qualities: Depending on the type of butter used, your candle may offer a mild aroma. If you choose to infuse your butter candle with essential oils, you can customize the fragrance to your preference, enhancing the sensory experience.
Essential Materials for Making Butter Candles
How to make a butter candle? To ensure a seamless candle-making process, gathering all necessary materials before you begin is vital. Here’s a detailed list of what you’ll need:
Butter
- Unsalted Butter: When selecting butter for candle making, always choose unsalted butter. Unsalted butter burns cleaner than salted varieties, which can create unwanted residues and alter the burning process. This ensures that your candle gives off a clean, steady flame without any off-putting odors.
- Experimenting with Other Fats: While butter is a fantastic base for candles, don’t be afraid to experiment with other healthy fats. Options like coconut oil or vegetable shortening can yield different results. Coconut oil, for example, burns slowly and has a pleasant scent, while vegetable shortening can create a more stable candle that holds its shape well.
- Combining Fats: You can also blend butter with other fats for unique textures and qualities. This experimentation allows for customization based on personal preferences and desired burning characteristics.
Candle Wicks
- High-Quality Wicks: Choosing the right wick is crucial for a successful butter candle. Select high-quality wicks specifically designed for use with natural oils and fats. These wicks allow for a cleaner burn and better flame stability.
- Cotton Wicks: Cotton wicks are a popular choice as they hold up well during burning. They are widely available and relatively inexpensive, making them a go-to option for many candle makers.
- Wooden Wicks: For those looking to add character to their butter candles, wooden wicks are an excellent alternative. They provide a rustic charm and offer a unique crackling sound when lit, reminiscent of a fireplace. Wooden wicks can also produce a wider flame, which may lead to a brighter overall glow.
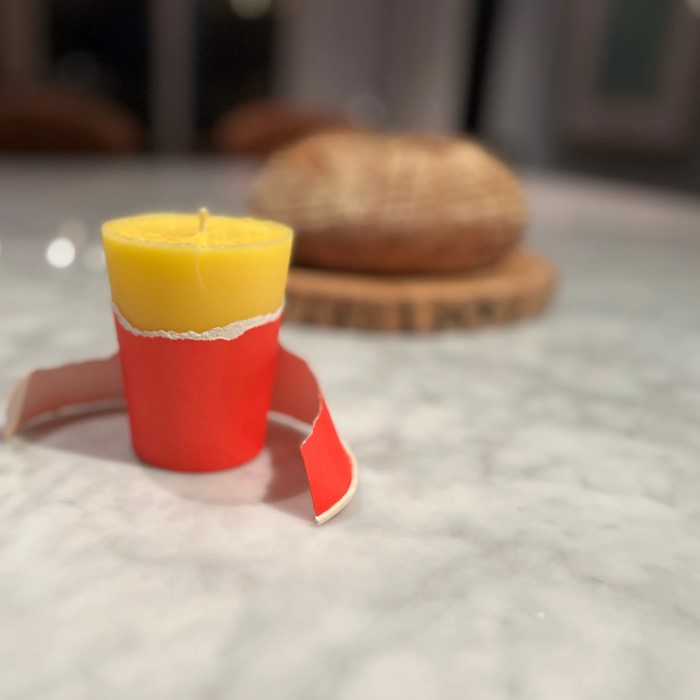
Containers
- Heat-Resistant Options: When choosing containers for your butter candles, ensure they are heat-resistant. This prevents any potential damage or melting during the burning process.
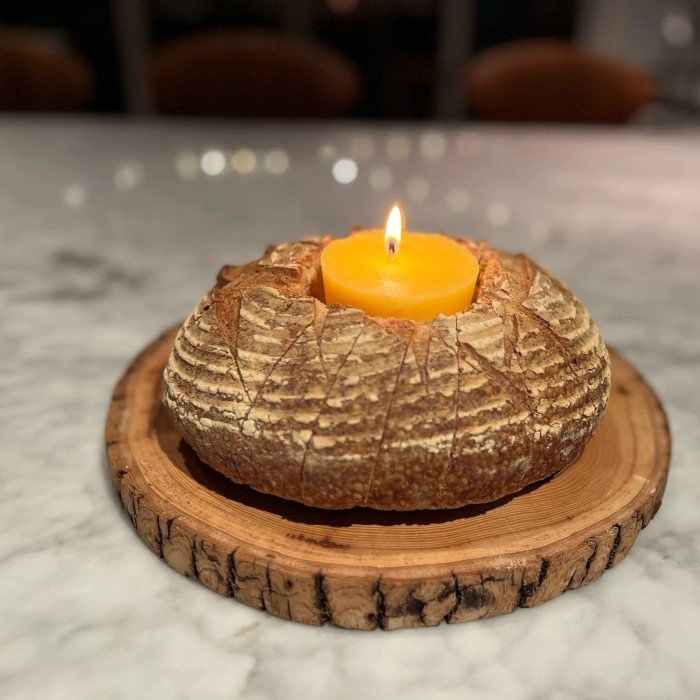
- Types of Containers: Small glass jars are a classic choice, providing elegance while showcasing the candle’s glow. Metal tins are durable and portable, perfect for outdoor use or travel. Ceramic pots can also add an artistic touch, providing an aesthetic appeal alongside functionality.
- Avoiding Plastic: Steer clear of plastic containers, as they can warp or melt under heat, leading to unforeseen safety hazards. Plastic can release harmful chemicals into the air, compromising the candle’s safety and quality.
Double Boiler
- Gentle Melting Method: To melt the butter effectively without burning it, using a double boiler is recommended. This method allows for gentle and even heating, preserving the quality of the butter.
- Setup Instructions: Creating a double boiler can be as simple as placing a heat-safe bowl on top of a pot containing simmering water. This setup creates a steam chamber that gently melts the butter, preventing direct contact with heat sources.
- Monitoring Temperature: While melting, keep an eye on the butter to ensure it doesn’t reach boiling temperatures. Gently stir the butter occasionally to promote even melting and avoid any scorching.
Essential Oils (Optional)
- Enhancing the Scent: Adding essential oils to your butter candle can elevate the sensory experience. Essential oils not only provide delightful fragrances but may also offer therapeutic benefits, depending on the oil used.
- Popular Choices: Consider using popular scents like lavender for relaxation, eucalyptus for refreshing clarity, or citrus oils (such as lemon or orange) for a bright and uplifting aroma. Mixing different essential oils can also create unique, personalized scents.
- Proper Mixing: When adding essential oils, do so while the butter is still melted. Stir the mixture thoroughly to ensure the oils are evenly distributed throughout the butter, enhancing the candle’s fragrance when lit.
Stirring Utensil
- Choosing the Right Stirring Tool: You will need a utensil for mixing the melted butter and any added ingredients, such as essential oils. A simple spoon or a wooden stick works well for this purpose.
- Ensuring Even Distribution: Stirring helps ensure that all components, especially essential oils, are well incorporated into the melted butter. Thoroughly mixing your ingredients will enhance the final aroma and performance of your candle.
- Cleanup Efficiency: Choose materials for your stirring utensil that are easy to clean after use. Although butter may harden, it can typically be washed off easily if tended to promptly.
Step-by-Step Guide to Making a Butter Candle
How to make a butter candle? With your materials gathered, it’s time to dive into the candle-making process. Follow this step-by-step guide to ensure success when making your butter candle.
Preparing the Butter
- Melting the Butter: Begin by cutting the butter into smaller chunks for faster melting. Place the chunks in the top container of your double boiler setup and heat on low to medium heat. Stir occasionally to ensure even melting.
- Monitoring the Temperature: Keep an eye on the temperature to avoid burning the butter. The goal is to melt it gently without letting it reach excessive heat.
Choosing and Preparing the Wick
- Attaching the Wick: While your butter is melting, prepare your candle wick. You can use a small dot of melted butter to adhere the wick to the bottom of your container. Let it set briefly before adding the melted butter.
- Adjusting the Height: Ensure the wick extends beyond the top of your container. This allows for convenient lighting once your candle solidifies.
Pouring the Butter
- Pouring Into the Container: Once the butter is completely melted, carefully pour it into your prepared container. Be mindful of your wick as you pour to keep it centered.
- Controlled Pouring: Pour slowly to minimize splashing and to maintain the wick’s position. Leave a small space at the top of the container to prevent overflow.
Cooling and Setting
- Letting it Cool: Allow the butter to cool and solidify at room temperature. For faster setting, you can place the candle in the refrigerator, but avoid leaving it too long to prevent condensation.
- Observing Changes: During the cooling process, you may notice the butter changing consistency and appearance. This is normal, as natural fats can separate slightly upon cooling.
Personalizing Your Candle
- Adding Fragrance (Optional): If you wish to add scent, do so before the butter solidifies fully. Stir in a few drops of essential oils to your melted butter and mix thoroughly.
- Decorative Elements: Consider adding decorative elements like dried herbs, cinnamon sticks, or glitter to the top of the candle once it has begun to set. This enhances both visual Appeal and aroma.
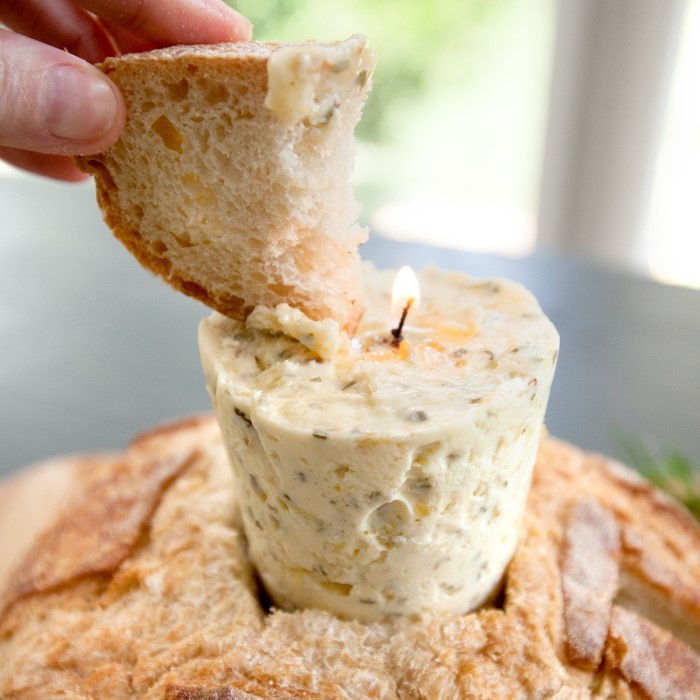
Lighting Your Butter Candle
- Trimming the Wick: Before lighting, trim the wick to about ¼ inch above the surface of the candle. This helps achieve a cleaner, more controlled burn.
- Safety First: When lighting your candle for the first time, keep an eye on it for the first few minutes to ensure it burns evenly. Place the candle on a heat-resistant surface away from drafts.
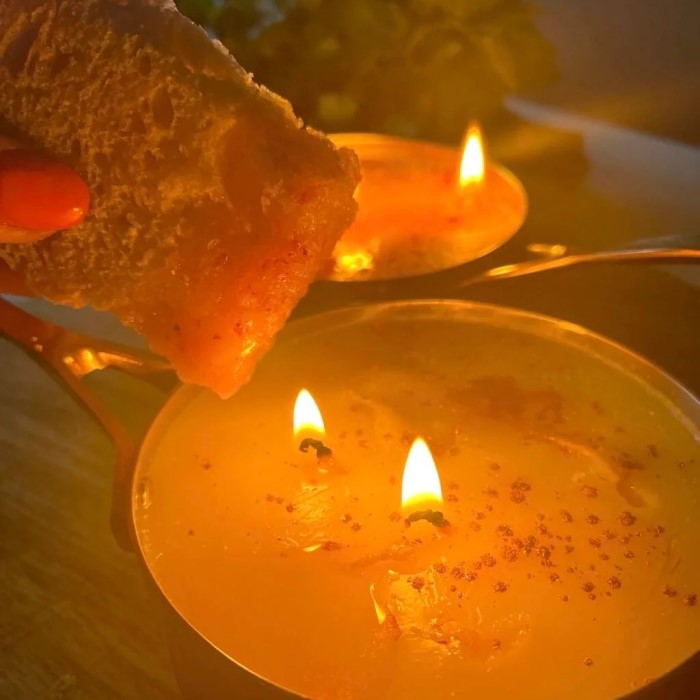
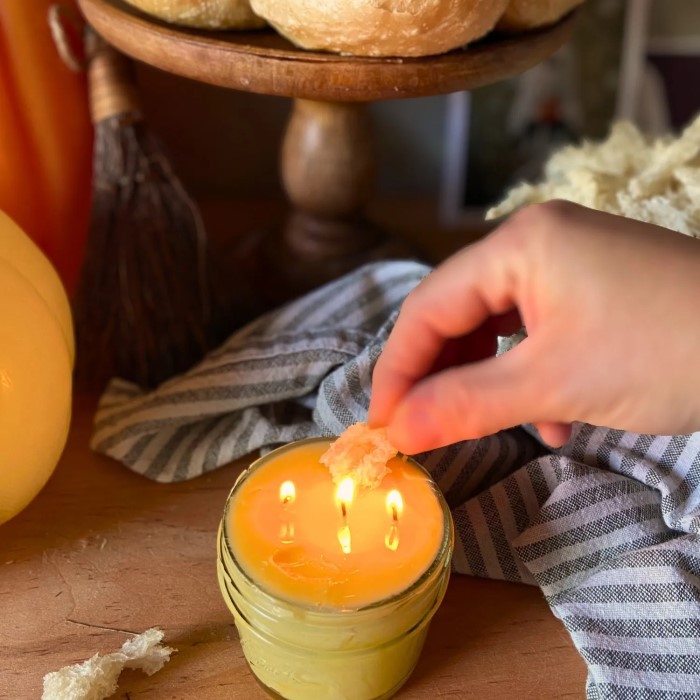
- Enjoy Your Creation: Once your butter candle is lit, take a moment to enjoy the warm glow and pleasant aroma filling your space. This unique creation is a perfect accent for cozy evenings at home.
Frequently Asked Questions
What kind of wick do you use for a butter candle?
Cotton wicks are commonly used for butter candles. They should be long enough to stick out above the melted butter for easy lighting.
Can you make a candle from butter?
Yes, you can make candles using butter as the primary ingredient. It serves as a natural alternative to traditional wax.
Why won’t my butter candle stay lit?
If your candle won’t stay lit, check that the wick isn’t too short or too long. Ensure proper melting of the butter and try adjusting the wick’s position.
Will butter burn like a candle?
Butter can burn as a candle does, but it typically burns faster than traditional wax. Keep this in mind when using butter as a candle base.
Conclusion: Ignite Your Creativity
Learning how to make a butter candle is not only a fun and accessible project but also a way to bring natural light into your home. By using simple materials and following the steps outlined in this guide, you can create a beautiful, eco-friendly butter candle that brightens your space.
Whether you decide to keep your butter candle for personal use or gift it to friends and family, you will love the unique touch it adds to any setting. Embrace the creativity, enjoy the process, and illuminate your world with homemade butter candles. Happy crafting!