Introduction: Unleashing Creativity with Paper Mache
Paper mache is a timeless artistic technique that has captivated crafters and artists for centuries. This versatile crafting method allows individuals to transform simple materials into stunning three-dimensional creations. By using paper mache with flour, you can utilize inexpensive and widely available materials to create a variety of projects ranging from decorative pieces to functional items. This article will guide you through the fundamentals of paper mache, provide essential tips for successful crafting, and explore advanced techniques to elevate your skills even further. Whether you are a novice just starting or an experienced crafter looking to refine your techniques, this comprehensive guide will help you unlock your full creative potential.
Understanding Paper Mache: The Basics
Before diving into the specifics of using flour in paper mache, it’s essential to grasp the fundamental principles behind the technique.
What is Paper Mache?
- Definition: Paper mache, derived from the French word meaning “chewed paper,” involves creating art by layering paper pieces and binding them with an adhesive. It is a method favored for its ease of use and the accessibility of materials.
- Materials Needed: Common materials for paper mache projects include newspapers, tissue paper, and paper towels, coupled with a binding agent like glue or a flour-based paste. This versatility makes it accessible for crafters of all skill levels.
Why Use Flour for Paper Mache?
Using flour in your paper mache offers several advantages, particularly for those looking for a cost-effective and non-toxic approach.
Affordability
- Low Cost of Flour: Flour stands out as an inexpensive crafting material. Its low price makes it an accessible option for hobbyists and professionals alike.
- Common Kitchen Staple: You will often find flour in most kitchens, eliminating the need for special trips to the store. This accessibility makes it easy for crafters to spontaneously start projects without much preparation.
- Budget-Friendly Crafting: By using flour, you can undertake various projects without incurring high costs. This affordability allows you to experiment freely, try new techniques, and create multiple items without worrying about breaking the bank.
- Cost-Effective Alternatives: Compared to some commercial crafting adhesives, flour offers a significantly lower cost option. This value makes it an appealing choice for both experienced crafters and beginners.
Non-Toxic Nature
- Safety First: Flour serves as a safer alternative to many commercial adhesives, which often contain harmful chemicals. By choosing flour for your projects, you can ensure a safer crafting experience.
- Child-Friendly Material: The non-toxic quality of flour makes it particularly suitable for crafting in homes with children. Parents can feel confident in letting their kids join in on crafting projects without the risk of exposure to toxic substances.
- Versatile Usage: Crafting with flour enables you to create a variety of projects, from sculptures to decorations, while maintaining a safe environment. You can enjoy your creative activities without the worry of harmful fumes or residues.
- Encouraging Creativity: Using non-toxic materials encourages more people, including families and schools, to engage in crafting. This approach fosters creativity in a safe manner, allowing everyone to explore their artistic talents without safety concerns.
A Step-by-Step Guide
Creating paper mache with flour involves a straightforward process. Follow these step-by-step instructions to start your crafting journey.
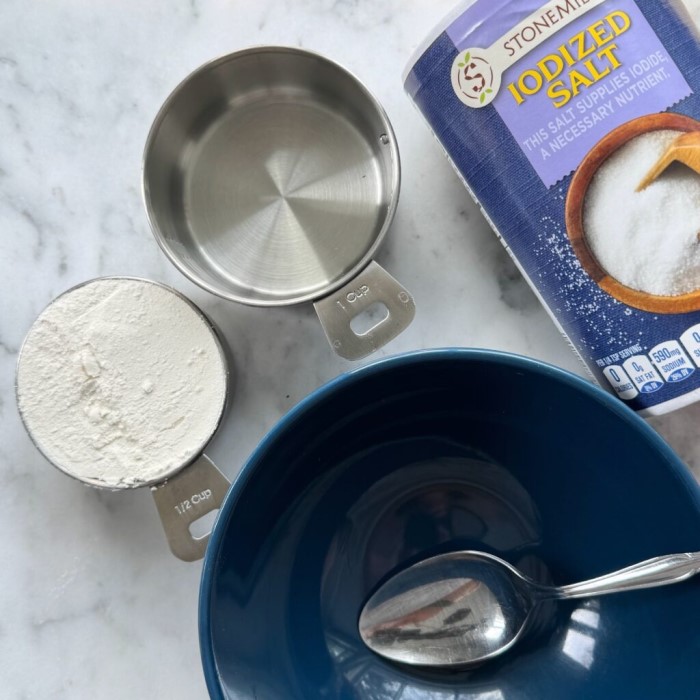
Step 1: Gather Materials
To begin, assemble the materials required for your paper mache project:
Paper
- Gather Your Supplies: Start by collecting a variety of paper materials. Look for newspapers, magazines, or any other types of paper that you can tear easily for your project.
- Choose the Right Texture: The texture of newspaper works particularly well for paper mache projects because it is highly absorbent. This absorbency allows the paste to adhere better and creates a stronger structure.
- Diversify Your Paper Choices: Consider using other paper types as well, such as tissue paper or paper towels, for different effects. Each type of paper can add unique qualities to your finished project.
- Prepare for Tearing: Tear the paper into strips rather than cutting. Tearing creates ragged edges that help the strips bond better during application, enhancing the overall adhesion.
Flour
- Select the Right Type: Use regular all-purpose flour as your main adhesive for the paper mache paste. This flour provides excellent binding properties, essential for successful crafting.
- Avoid Self-Raising Flour: Steer clear of self-raising flour, as it contains added leavening agents. These ingredients can interfere with the paste’s effectiveness and may cause undesirable results in your project.
- Measure Carefully: When preparing your paste, measure the flour accurately to ensure the right consistency. This attention to detail will help you achieve the best results in your crafting.
Water
- Prepare Warm Water: Have warm water ready to mix with the flour. Warm water is more effective than cold for dissolving flour, making it easier to achieve a smooth paste.
- Mix Gradually: When mixing water with flour, gradually add the warm water to the flour. Stir continuously to combine, preventing lumps from forming in the paste.
- Aim for Smoothness: Your goal is to form a smooth, cream-like consistency. This texture will ensure that the paste applies evenly to the paper strips.
Mixing Bowl and Tools
- Gather Your Mixing Bowl: Prepare a clean mixing bowl for creating your flour paste. Using a bowl that is large enough will allow you to mix comfortably without making a mess.
- Collect Essential Tools: Along with the mixing bowl, gather additional tools such as scissors for preparing your paper strips. These tools will facilitate the entire crafting process.
- Select a Mold: If your project requires a shape, choose a mold, such as a balloon or a cardboard cutout. Molds help define the structure of your paper mache and provide a solid foundation for layering your materials.
- Organize Your Workspace: Before starting, organize your workspace to ensure you have all your materials and tools within reach. A clutter-free workspace will help you stay focused and productive while crafting.
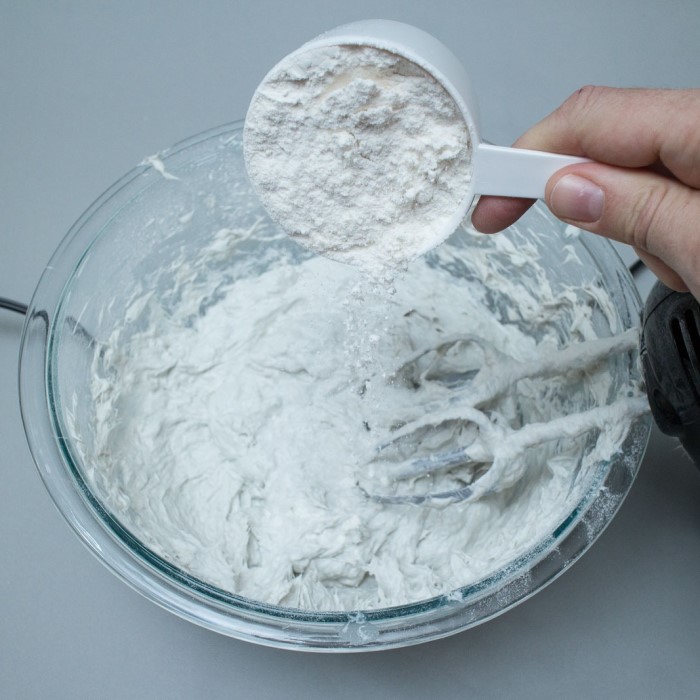
Step 2: Make Your Flour Paste
Once you have all the materials, it’s time to prepare your paper mache paste:
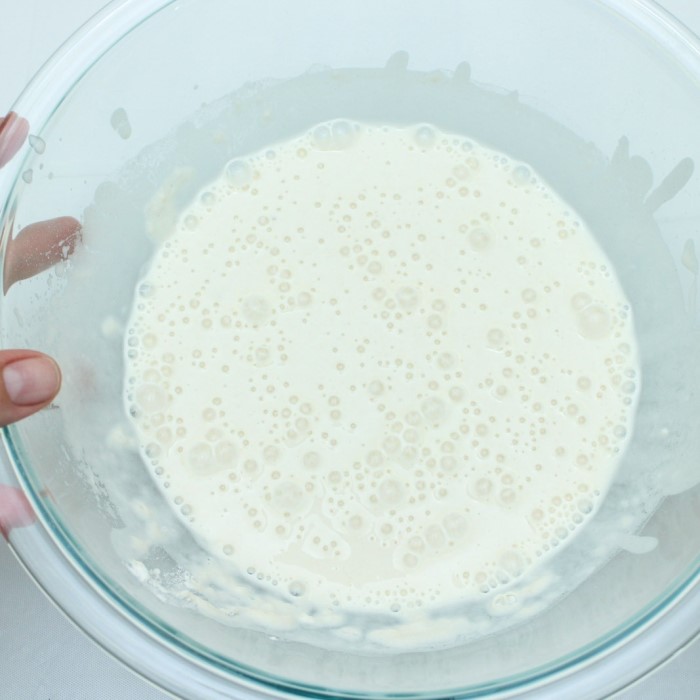
- Mix the Flour and Water: In your mixing bowl, combine one part flour with two parts warm water. Stir the mixture until it achieves a thick, creamy consistency.
- Eliminate Clumps: Ensure there are no clumps in your paste. A whisk or a wooden spoon may help achieve a uniform mixture, making it easier to work with later.
Step 3: Prepare Your Paper Strips
The next step involves making the paper strips that will form the base of your project:
- Cut and Tear the Paper: Tear the paper into strips measuring about 1 to 3 inches wide. Tearing rather than cutting helps in achieving better adhesion.
- Organize the Strips: Gather the strips into manageable piles or containers to streamline the working process when you start applying them.
Applying the Paper Mache
It’s time to bring your project to life by applying the prepared paper maché strips.
Step 4: Dip and Apply
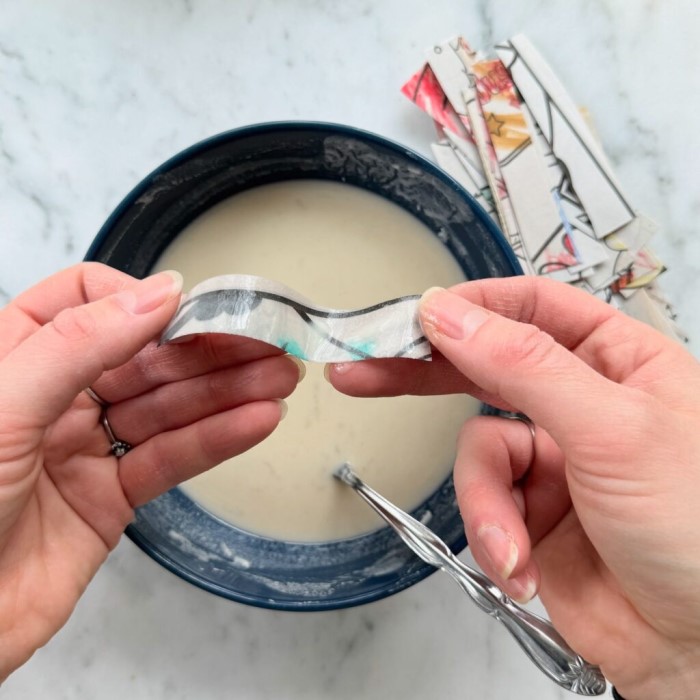
- Dip the Strips: Take a paper strip and dip it into the flour paste, ensuring it is properly coated. Gently squeeze the strip between your fingers to remove excess paste before application.
- Layering Technique: Apply the dipping strip to your mold or surface. Overlap with other strips to ensure that the underlying layers bond well together. Typically, you will need around three to five layers to create a sturdy structure.
Step 5: Drying Process
After applying the layers, let your project dry completely.
- Air Drying: Place your project in a cool, dry area to air dry. Depending on humidity and thickness, drying may take 24-48 hours. Avoid direct sunlight to prevent uneven drying or warping.
- Assessing the Dryness: Check the project periodically. Once it feels hard and dry to the touch, you can continue to the finishing steps.
Advanced Techniques
Once you’re comfortable with the basics, consider exploring advanced techniques to enhance your projects and increase creativity.
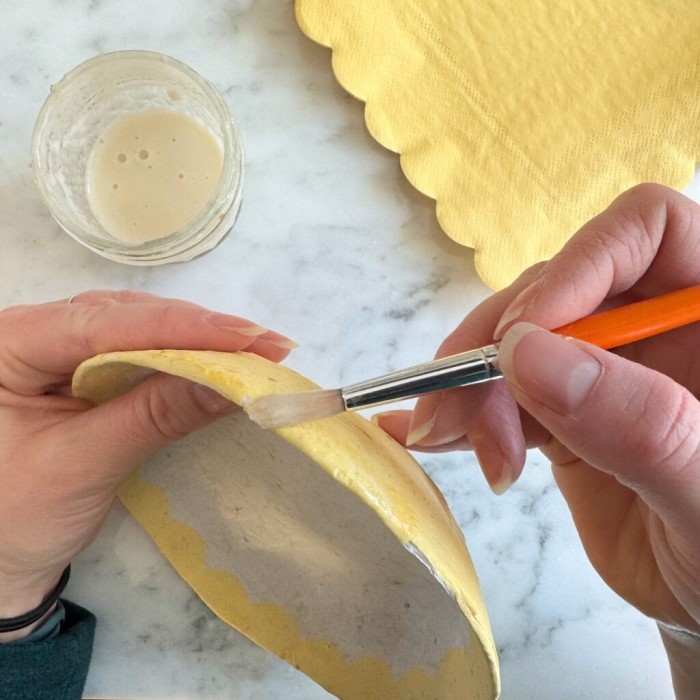
Decorating Your Project
- Sealing the Surface: Once your paper mache is fully dried, consider sealing it with a clear acrylic varnish or a PVA glue mixture. This layer protects your project and gives it a polished finish.
- Painting Options: Use acrylic paints to add color and detail. You can experiment with various painting techniques such as sponge painting, brushing, or spraying for different effects.
Adding Unique Textures and Elements
- Incorporate Other Materials: Consider embellishing your project with fabric, beads, or other decorative elements during the layer application stages. This addition can provide visual interest and texture.
- Functional Crafting: Try your hand at creating functional items such as bowls, sculptures, or other home decor pieces that combine artistry with usability. These projects allow you to blend creativity with practicality.
Common FAQs
To further assist you in your paper mache journey, here are some frequently asked questions:
How do you make paper mache with flour?
To make paper mache with flour, combine one part flour with two parts water in a bowl to create a paste. Coat strips of paper in the paste, apply them to a mold or surface, and allow the layers to dry completely.
Can I use flour instead of glue for paper mache?
Yes, using flour as an adhesive in paper mache is perfectly acceptable. It provides a non-toxic and effective alternative to commercial glues.
What is the ratio of flour to water for paper mache?
The recommended ratio of flour to water for paper mache is typically 1 part flour to 2 parts water. This ratio results in a smooth and workable paste ideal for crafting.
Will self-raising flour work for paper mache?
It is not advisable to use self-raising flour for paper mache. All-purpose flour is preferred, as it does not contain additional ingredients that may impact the paste’s performance.
Conclusion: Embrace the Art of Paper Mache
In conclusion, creating art with paper mache with flour opens a door to a world of creativity and self-expression. The simplicity of materials combined with effective techniques allows anyone to craft beautiful pieces. By mastering the foundational skills and exploring advanced methods, you can elevate your projects and showcase your artistic vision.
As you embark on your crafting journey, remember that the process is just as important as the finished product. Enjoy the satisfaction of creating with your own hands and let your imagination flourish. Transform your artistry with the power of flour-based paper mache, and let your creativity soar! Whether you’re making decorations, gifts, or functional items, the world of paper mache is rich with possibility, inviting you to explore new creative horizons.