Understanding Spray Paint Dry Time
When it comes to spray painting, one of the most crucial factors to consider is spray paint dry time. Whether you’re a DIY enthusiast or a professional, understanding how long paint takes to dry can directly affect the outcome of your project. Properly timed drying not only enhances the appearance of your finish but also ensures durability and adhesion. This article will delve into the factors influencing dry time, tips for achieving perfect results, and the best practices for spray painting.
Why Drying Time Matters
The drying time of spray paint varies based on several factors. Understanding this variability is essential for anyone looking to achieve optimal results. For instance, if you apply additional coats before the previous one has dried, you risk uneven finishes, drips, and longer overall drying times. Effectively managing drying time allows you to control the flow of your project, ensuring that everything aligns perfectly without unnecessary delays.
Moreover, using the right techniques can expedite the drying process. This knowledge is imperative, especially when working with intricate designs or multiple layers. Learning how to manipulate drying times to your advantage will help elevate your spray painting skills.
Factors Influencing Spray Paint Dry Time
Spray paint dry time depends on several critical factors. Understanding these factors is essential for achieving optimal results.
Type of Paint Used
The type of spray paint has a significant impact on drying time. Different paints have varying formulations and drying properties:
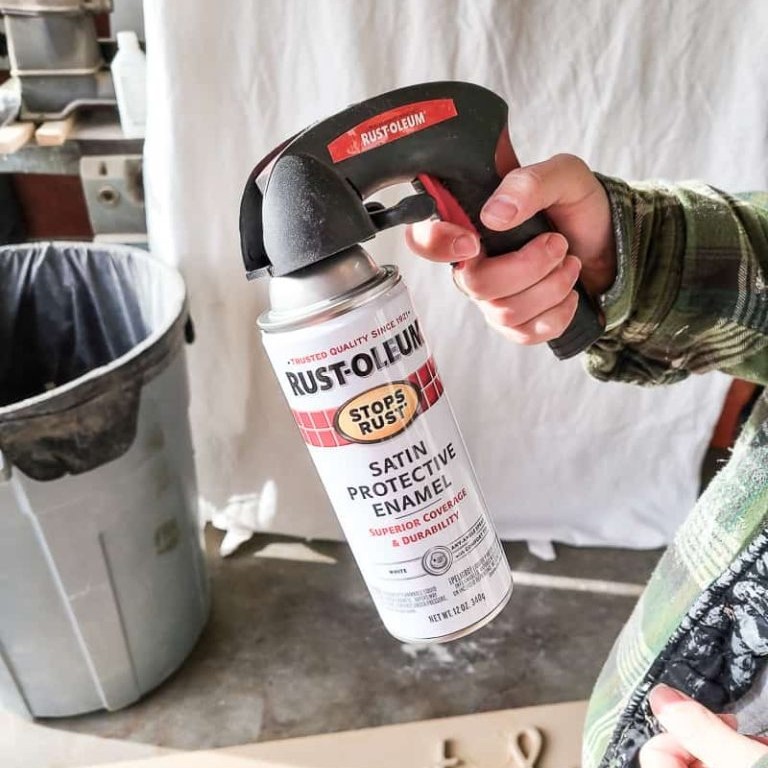
- Acrylic Paint: Dries quickly, often within 20-30 minutes for the surface to become dry to the touch. Complete curing may take 24 hours.
- Enamel Paint: Tends to dry slower, taking 1-2 hours to touch dry. It can take several days to fully cure.
- Lacquer Paint: Known for incredibly fast drying, often touch-dry in as little as 5 minutes. Full curing can take around 48 hours.
Always check the manufacturer instructions for precise drying times of your paint type.
Surface Material and Texture
The surface being painted directly affects spray paint dry time. Different materials and surface textures play a role:
- Non-porous surfaces: Materials like metal or glass dry faster, as they don’t absorb paint.
- Porous surfaces: Wood and concrete take longer to dry; they absorb the paint more.
- Rough textures: Rough surfaces hold more paint, causing longer drying times.
- Smooth textures: Smooth surfaces allow for faster and even drying of paint.
Preparing the surface properly is crucial for consistent and efficient drying.
Temperature and Humidity Conditions
Environmental conditions like temperature and humidity are critical for spray paint drying. Here’s how they influence:
- Temperature: Warm and moderate temperatures around 65-85°F are ideal. Cold weather slows down drying, while high heat can cause uneven drying or bubbles.
- Humidity: High humidity levels delay drying by adding moisture to the air. Low humidity promotes quicker drying.
- Ventilation: Painting in a well-ventilated space ensures air circulation. This helps in speeding up evaporation.
Ensure a controlled environment when spray painting to minimize drying time and achieve a smooth finish.
Typical Spray Paint Dry and Cure Times
Understanding the dry and cure times of spray paint is crucial for successful painting. These times vary based on several factors, including the paint type and environmental conditions.
Dry Time for Different Paint Types
- Acrylic Paint: Acrylic spray paint dries quickly. The surface becomes dry to the touch in about 20-30 minutes. However, it requires approximately 24 hours to fully cure.
- Enamel Paint: Enamel spray paint takes longer to dry. The surface dries to the touch within 1-2 hours. Complete curing may take multiple days, depending on the thickness and environmental conditions.
- Lacquer Paint: Lacquer spray paint is known for its fast dry time. It becomes touch-dry within 5-10 minutes. Despite the quick surface drying, it needs a full 48 hours for complete curing.
Always check the product label for specific recommendations related to dry and cure times of the paint you use.
Distinction Between Drying and Curing
It is essential to understand the difference between drying and curing when using spray paint:
- Drying Time: This refers to how long it takes for the paint surface to become touchable without sticking. During this phase, the solvent in the paint evaporates, leaving the surface dry.
- Curing Time: Curing is the process where the paint fully hardens through chemical reactions in its layers. This step ensures a durable, wear-resistant finish. Curing time is typically much longer than drying time.
For the best results, allow the paint to cure fully before subjecting it to heavy use or applying additional coatings. Proper understanding of spray paint dry time and curing ensures better adhesion, durability, and professional-looking results.
Techniques to Speed Up Spray Paint Drying
Speeding up the drying time of spray paint can save you time and effort. Quick drying ensures better results and reduces the chances of imperfections. Below are effective techniques to accelerate spray paint drying.
Using Fans or Airflow
Fans and proper airflow can dramatically speed up the drying process. Here’s how:
- Use a Fan: Place a fan near the painted surface to improve air circulation.
- Open Windows: Ensure the area is well-ventilated for added air movement.
- Avoid Dust Areas: Ensure the airflow doesn’t stir up dust onto the wet paint.
Good ventilation reduces drying time and ensures even paint application.
Applying Heat to the Painted Surface
Heat can help dry spray paint faster, but it must be used carefully:
- Use a Hairdryer or Heat Gun: Hold it at a safe distance to prevent bubbling or damage.
- Paint in Warm Temperatures: Ideal temperature is between 65-85°F for optimal results.
- Avoid Extreme Heat: Excessive heat may cause cracks or uneven drying.
Always keep the heat source moving to prevent overheating a single area.
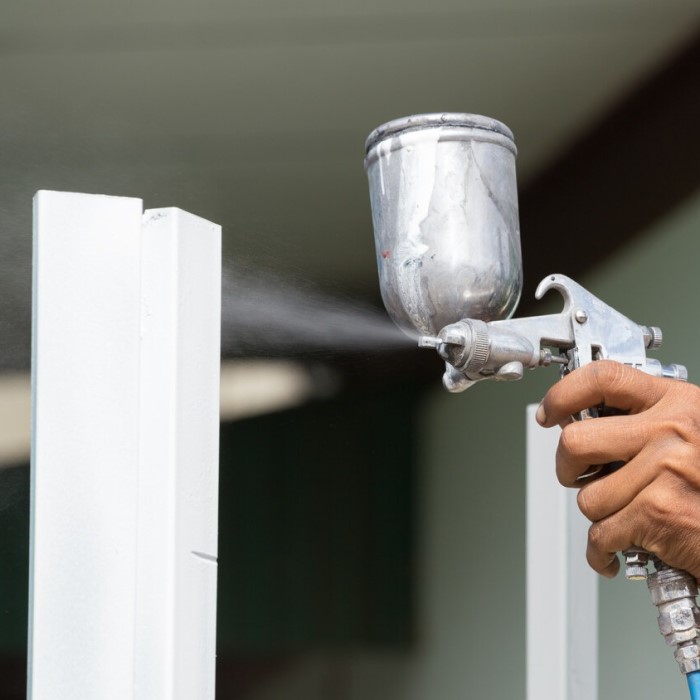
Using Thin Coats of Paint
Applying thin coats is a simple yet effective way to speed drying:
- Avoid Thick Layers: Thick coats take longer to dry and can cause drips.
- Apply Light Coats: Light, even layers dry faster and reduce imperfections.
- Increase Frequency: Apply multiple thin layers instead of a single thick one.
Let each layer dry completely before adding the next for a smooth finish.
By following these techniques, you can significantly reduce spray paint dry time. Proper application and optimal conditions help in achieving high-quality results efficiently.
Mistakes to Avoid During Spray Painting
Avoiding common mistakes during spray painting is crucial for achieving professional and flawless results. Proper technique, preparation, and conditions can make a significant difference. Below are the frequently encountered errors to watch out for.
Over-Application of Paint
Putting on too much spray paint can create numerous problems:
- Dripping and Uneven Texture: Thick layers can lead to drips and an uneven finish.
- Longer Drying Time: Excess paint requires more time to dry.
- Cracking: Thick applications may crack as they dry.
To prevent over-application:
- Apply thin, even coats.
- Build up layers gradually.
- Check for consistent coverage after each coat.
Ignoring Surface Preparation
Skipping surface preparation can lead to unsatisfactory results:
- Poor Adhesion: Paint doesn’t stick well to dirty or greasy surfaces.
- Flaking or Peeling: Paint may peel if the surface is unprepared.
Ensure proper preparation by:
- Cleaning the surface thoroughly.
- Sanding rough areas for smoothness.
- Using primers to improve adhesion.
Painting in Poor Weather Conditions
Weather significantly affects spray paint dry time and finish:
- High Humidity: Moisture in the air slows drying and can cause tackiness.
- Extreme Cold: Cold conditions make drying much slower.
- Excessive Heat: High temperatures can lead to bubbling or uneven drying.
For the best spray painting results:
- Paint in warm, dry conditions (65-85°F).
- Avoid high humidity or direct sunlight.
- Check the weather before starting your project.
Eliminating these mistakes will ensure a smoother process and a professional finish for your spray paint projects.

Recommendations for Achieving Optimal Results
Achieving optimal results with spray paint requires proper preparation, techniques, and timing. Each step should be carefully approached to ensure a smooth and professional finish.
Choosing the Right Type of Spray Paint
Choose the spray paint type based on your project. Here are tips for making the right choice:
- Consider Surface Material: Select a paint suitable for the surface, like metal, wood, or plastic.
- Match Paint Type with Purpose: Use enamel for durability, acrylic for quick drying, or lacquer for high gloss.
- Check Dry and Cure Times: Choose paint with drying times that fit your schedule and needs.
- Read Manufacturer Guidelines: Follow instructions for temperature, humidity, and application.
Picking the correct paint ensures better adhesion, durability, and finish.
Preparing the Surface Properly
Surface preparation is the most important step for spray painting. Follow these steps:
- Clean Thoroughly: Remove dirt, grease, or debris using soap and water or a degreaser.
- Sand and Smooth: Sand rough surfaces for even paint application and better adhesion.
- Apply Primer: Use primer suited to your surface for better durability and consistent results.
- Inspect the Surface: Ensure the surface is dry and even before spray painting.
Prepare the surface carefully to avoid peeling, flaking, or poor finishes.
Timing Between Coats
The timing between coats affects the final outcome of your spray paint project. Follow these tips:
- Apply Thin Coats: Start with a light coat for faster drying and fewer imperfections.
- Allow Adequate Drying Time: Wait for the first coat to dry (check product instructions).
- Multiple Thin Coats: Build up layers gradually instead of using one thick coat.
- Test Dry Between Coats: Ensure the previous coat is touch dry to avoid bubbling or smudging.
Proper timing between coats helps achieve an even, smooth, and long-lasting finish.
Common Spray Paint Drying Problems and Solutions
Spray painting can sometimes result in unforeseen drying issues. Tackling these problems promptly is necessary for achieving a smooth finish. Below are common drying problems with their causes and solutions.
Tackiness or Stickiness
Tackiness or stickiness happens when paint fails to dry properly. This issue is common with thick coats or high humidity.
Causes:
- Applying paint too thickly.
- High humidity in the environment.
- Inadequate curing time.
Solutions:
- Use thin, even coats to allow proper drying.
- Paint in a well-ventilated and low-humidity environment.
- Increase airflow using fans to help paint dry faster.
Uneven Drying
Uneven drying results in some areas appearing dry while others remain wet or tacky.
Causes:
- Uneven application of paint.
- Poor surface preparation.
- Improper environmental conditions like low temperatures or uneven airflow.
Solutions:
- Apply paint in thin, even coats to ensure consistency.
- Prepare the surface adequately by cleaning and priming.
- Maintain steady drying conditions with proper temperature and ventilation.
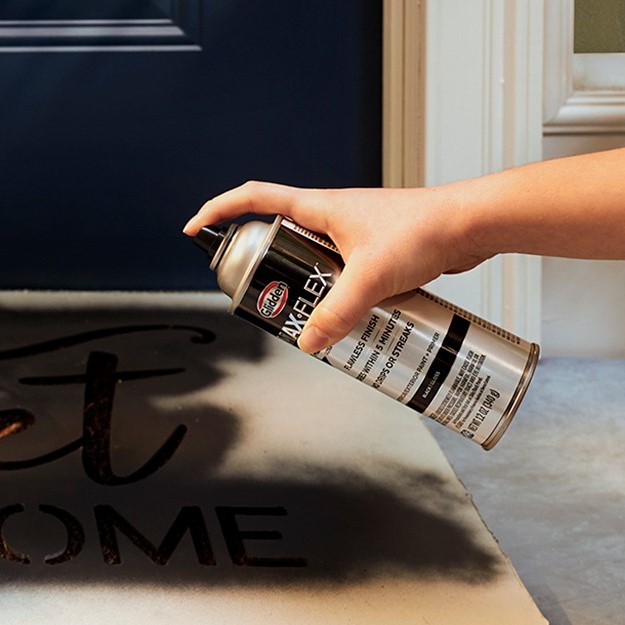
Paint Drips
Paint drips create unsightly marks on the surface and may take much longer to dry.
Causes:
- Over-application of spray paint.
- Painting too close to the surface.
- Inadequate technique during spraying.
Solutions:
- Hold the spray can 8-12 inches away from the surface.
- Apply light, even coats instead of one thick layer.
- Sand down dried drips and reapply paint for a smooth finish.
By addressing these common issues, your spray-painted projects will achieve professional and attractive results.
Safety Precautions During Spray Painting
Spray painting requires careful attention to safety. Proper precautions ensure a safer and healthier process.
Selecting a Ventilated Area
Ensure proper ventilation when spray painting to minimize exposure to harmful fumes.
- Work Outdoors: Perform spray painting in open spaces whenever possible for better airflow.
- Use a Ventilated Room: If painting indoors, work in a space with windows or an exhaust fan.
- Install Fans: Use fans to circulate air and reduce fume buildup.
- Avoid Enclosed Spaces: Never spray paint in a confined area without sufficient ventilation.
Good ventilation reduces health risks and enhances drying efficiency.
Protective Gear to Use
Protective gear shields you from harmful chemicals. Always wear proper protective equipment:
- Respirator Mask: Use a mask designed for spray painting to avoid breathing in toxic fumes.
- Safety Goggles: Wear goggles to protect your eyes from paint particles and fumes.
- Gloves: Use disposable gloves to keep your hands clean and chemical-free.
- Protective Clothing: Wear old or protective clothing to avoid paint stains and skin exposure.
Ensure all protective gear fits well for maximum protection.
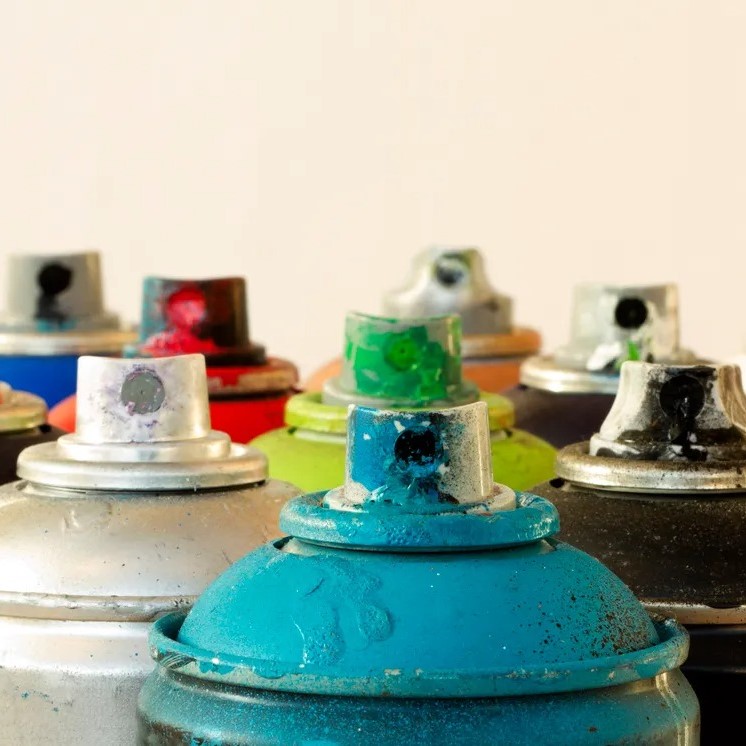
Storing Spray Paint Properly
Store spray paint safely to avoid accidents and maintain paint quality.
- Keep Away from Heat: Store cans in a cool, dry place, away from sunlight and heat sources.
- Secure the Caps: Ensure caps are tightly secured to prevent spills or leaks.
- Avoid Children’s Reach: Store spray paint in a locked, inaccessible location to keep it away from children.
- Follow Manufacturer Guidelines: Check the label for specific storage instructions.
Proper storage extends the spray paint’s life and ensures safety.
By following these safety measures, you can prevent risks and achieve better results with your spray painting projects.
Conclusion: Achieving Perfect Results with Spray Paint
In summary, understanding spray paint dry time is crucial for anyone looking to achieve flawless results in their painting projects. Factors like temperature, paint type, and application methods all influence how quickly paint dries. By following the tips outlined throughout this article, you can optimize the drying process, avoid common mistakes, and enhance your spray painting skills.
Remember that patience is essential; rushing the process often leads to disappointing results. By planning appropriately and applying the right techniques, you can ensure your projects look professional and last long. With this knowledge, you are well on your way to achieving perfect results in all your spray painting endeavors!


