Introduction
Washi tape crafts have revolutionized the way we approach creative projects. This versatile and decorative tape originated in Japan and is characterized by its unique patterns, colors, and textures. It’s made from traditional Japanese paper called “washi,” known for its strength and durability. Today, crafters around the globe utilize washi tape to elevate ordinary items into beautiful pieces of art. From simple decorations to intricate designs, washi tape crafts offer endless possibilities for both beginners and experienced artists alike. In this blog post, we will explore various creative ideas, uses, and tips for incorporating washi tape into your crafting adventures.
The Allure of Washi Tape: A Versatile Crafting Material
Washi tape’s appeal lies in its unique attributes. It is lightweight, easy to tear, and comes in an astonishing array of colors and patterns. Here are some reasons why washi tape has become a favorite among crafters:
- Ease of Use: Washi tape is user-friendly. Unlike regular tape, it can be repositioned multiple times without losing its stickiness. This quality allows for trial and error, making it perfect for crafting.
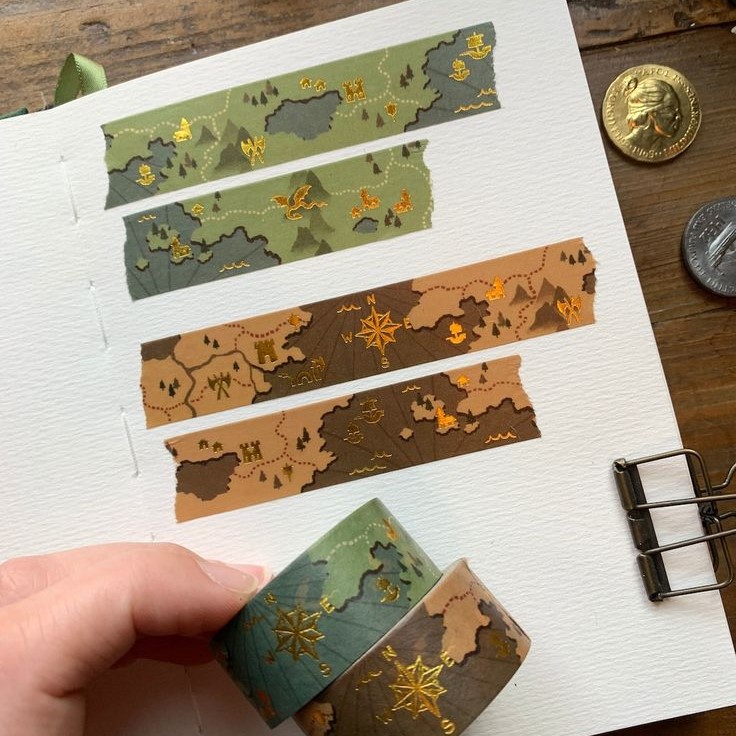
- Variety of Designs: The market features an overwhelming selection of washi tape designs. Whether you prefer floral patterns, geometric shapes, or solid colors, you can find something that suits your style.
- Non-Damaging: Since washi tape is gentle on surfaces, it can be used in various applications without worrying about leaving residue or damaging the items you’re working with. This trait is particularly useful for home décor projects.
- Recyclability: Washi tape is biodegradable and made from renewable resources, making it an eco-friendly crafting choice. Crafters can feel good about using this material, knowing it has lesser environmental impact.
- Ideal for Personalization: Enhancing everyday items is an essential aspect of washi tape crafts. By personalizing journals, phone cases, gift wraps, and more, you can create individualized and artistic pieces that reflect your taste.
With all these features, washi tape provides an excellent medium for artistic expression. It allows crafters to explore their creativity, leading to stunning results without needing extensive artistic skills.
Creative Washi Tape Craft Ideas
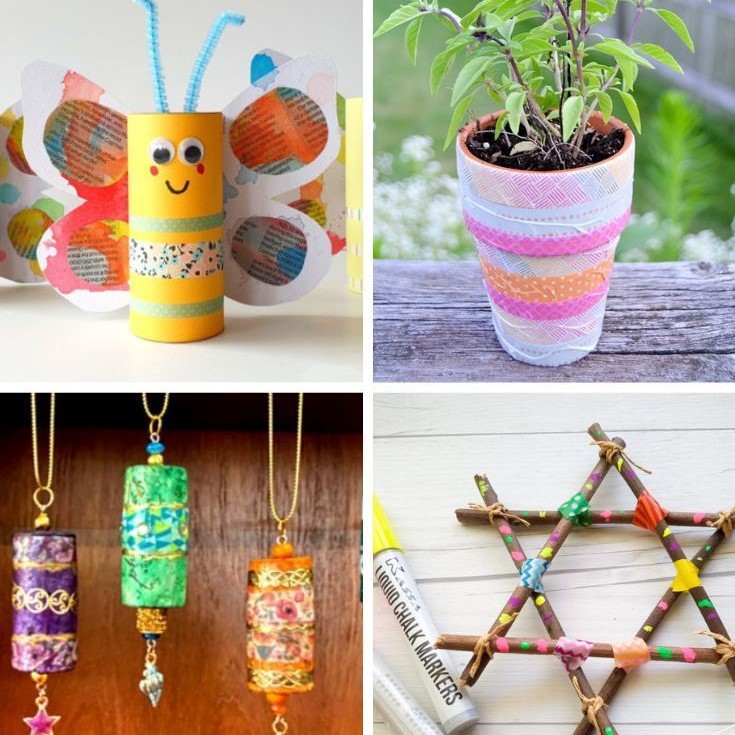
Now that you understand the appeal of washi tape, let’s explore a variety of creative projects you can undertake. Each of these projects showcases the versatility of washi tape and can inspire your crafting endeavors.
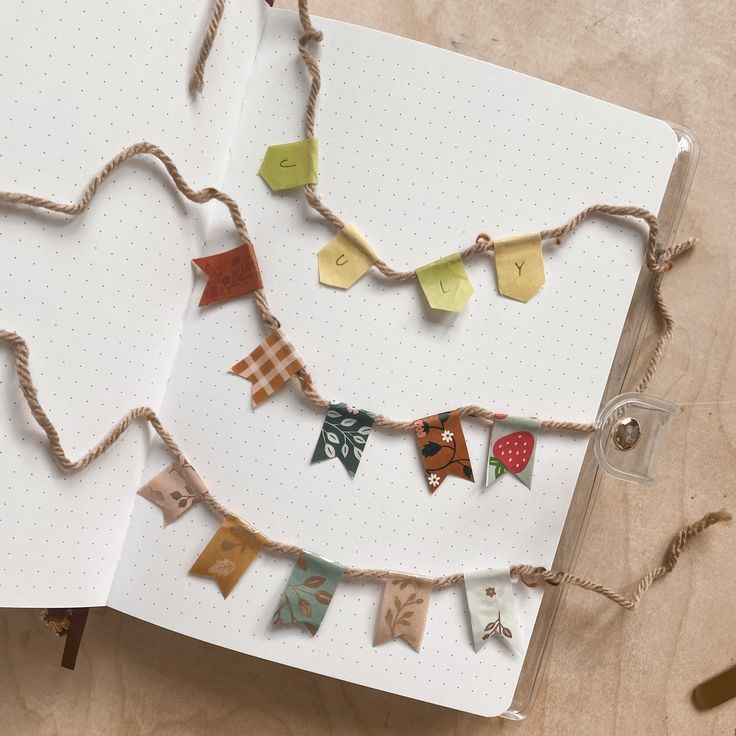
1. Decorated Journals and Notebooks
Transform dull notebooks into vibrant and personal journals using washi tape:
- Cover Designs: Use strips of washi tape to create unique cover designs. Layer different patterns to craft a visually appealing collage that expresses your style.
- Page Markers: Add tape along the edges of the pages to create colorful markers. This practice can help decorative notes stand out while adding flair to your journaling experience.
2. Customized Gift Wrapping
Make presents stand out with attractive gift wraps enhanced by washi tape:
- Sealing Edges: Use washi tape to seal the edges of gift wraps, adding color to standard wrapping paper and creating a polished look.
- Decorative Accents: Create decorative bows, tags, and labels using washi tape. This approach personalizes the gift, making it feel more special.
3. Creative Home Décor
Integrate washi tape into your home décor effortlessly:
- Wall Art: Create geometric shapes or patterns on walls using washi tape. This is an easy and temporary way to add a pop of color without damaging the paint.
- Vase Designs: Wrap washi tape around vases, jars, or containers to create stylish storage solutions and decorative displays.
4. Fun Scrapbooking
Combine washi tape with printed images and text for creative scrapbooking:
- Adding Borders: Use washi tape to create colorful borders around photos and notes. This brings a cohesive look to your scrapbook while adding an artistic touch.
- Embellishments: Incorporate washi tape as embellishments on pages. Use it to highlight specific events or moments, creating striking focal points.
5. Card Making
Washi tape is a perfect addition to DIY card-making projects:
- Unique Backgrounds: Create colorful backgrounds for greeting cards using various washi tape patterns. You can mix and match designs to fit the occasion.
- Layered Accents: Incorporate layers of washi tape to add depth and texture to your cards. This can enhance the overall appeal of your creations.
Tips for Successful Washi Tape Projects
While washi tape crafts are straightforward, a few tips can improve your results and make the crafting process even more enjoyable:
- Plan Your Design: Before starting any project, spend some time planning your design. Visualizing the final outcome can help you select complementary colors and patterns effectively.
- Layer Wisely: Experiment with layering different washi tape patterns to create eye-catching designs. Be mindful of the thickness, as overlapping tapes can create a bulkier appearance.
- Cut with Precision: For clean edges, make sure to cut washi tape with precision. A pair of sharp scissors can help you achieve clear cuts, enhancing the final appearance of your crafts.
- Test Adhesion: If possible, test how well the washi tape adheres to different surfaces. While it works well on most materials, a quick test can prevent surprises during your craft.
- Use with Other Materials: Don’t shy away from using washi tape alongside other craft supplies like stamps, stickers, and colored paper. Combining materials can lead to innovative crafting outcomes.
Hosting a Washi Tape Craft Party
Why not gather friends for a fun washi tape crafting get-together? Here are some tips for hosting a successful craft party:
- Prepare Stations: Set up different crafting stations focused on specific projects, ensuring variety. For instance, dedicate one area for card making and another for home décor.
- Provide Materials: Make sure to have an ample supply of various washi tapes, scissors, glue, and other essential crafting materials. This ensures that all guests can freely explore their creativity.
- Offer Sample Projects: Display sample projects to spark creativity. This helps guests visualize what they can create, encouraging them to try new ideas.
- Encourage Collaboration: Promote a collaborative atmosphere where guests can share tips and ideas. This interaction can enhance everyone’s crafting experience.
- Capture the Fun: Don’t forget to document the event! Take photos of the creations and the fun moments shared among friends. These memories can be cherished long after the party.
Expanding Your Washi Tape Collection
As you dive deeper into the world of washi tape crafts, expanding your collection can help elevate your projects. Here’s how to curate an impressive washi tape stash:
Discover Unique Designs
- Explore Local Craft Stores: Begin your journey by visiting nearby craft stores. These stores often carry an array of washi tapes in various patterns and types. Take your time browsing the aisles to find unique designs that resonate with your crafting style.
- Check Online Retailers: In addition to local shops, explore online marketplaces to discover even more selections. Websites like Etsy and dedicated craft retailers frequently showcase independent designers who create exclusive or limited-edition tapes.
- Look for Seasonal Collections: Keep an eye out for seasonal collections that align with holidays or special events, such as Christmas, Halloween, or summer themes. Seasonal designs can inspire themed projects, adding a festive touch to your crafts.
- Engage with Craft Fairs and Markets: Attend local craft fairs or artisan markets where independent crafters sell their products. Such venues often feature unique washi tape designs that are hard to find elsewhere. Engaging with these artists can also lead to discovering new techniques and styles.
- Follow Social Media Trends: Utilize platforms like Instagram and Pinterest to discover trending washi tape designs. Many artists showcase their creations online, providing you with inspiration and links to purchase their products.
Participate in Swaps
- Join Crafting Communities: Become a member of local or online crafting groups that focus on washi tape. These communities are often friendly spaces where enthusiasts share tips, tricks, and project ideas.
- Look for Washi Tape Swaps: Within these communities, identify opportunities for washi tape swaps. This is a process where you send a selection of washi tapes to another crafter in exchange for their collection.
- Communicate with Other Crafters: Before participating, communicate with other members to understand their preferences and establish clear guidelines for the swap. Agreeing on tape types, quantities, and shipping methods can help ensure a smooth exchange.
- Broaden Your Collection: By participating in swaps, you can obtain new and diverse washi tape designs that you may not have otherwise purchased. This keeps your collection fresh and varied, inspiring new crafting projects.
- Share Your Experience: After completing your swaps, consider sharing your experience within your crafting community. Sharing photos of your new designs can inspire others to participate and show the innovative ways you’ve used your swapped tapes.
Create a Storage System
- Choose Suitable Storage Options: Select the types of storage that suit your needs. Options include decorative boxes, bins, jars, or specialized storage containers designed specifically for craft supplies.
- Implement Organizational Systems: Organize your washi tapes by color, pattern, or theme. This will make choosing the correct tape easier when starting a new project. For example, you might group floral patterns together or separate seasonal designs.
- Utilize Vertical Space: Consider using shelving units or wall-mounted organizers to save space. Vertical organization helps keep your crafting area tidy while showcasing your tape collection.
- Create a Mobile Craft Station: If you often craft in different locations, consider a mobile storage solution. A rolling cart or tote can hold your washi tape and other supplies, making it easy to transport your crafting essentials.
- Regularly Review and Declutter: Periodically go through your collection to reassess what you have. Remove duplicate or unused tapes to make space for new ones. This keeps your storage organized and ensures you’re making the most of your collection.
Label Your Collection
- Establish a Clear Labeling System: Create a labeling system to identify different types, colors, or patterns of washi tape. For example, you can use color-coded labels that correspond to themes or occasions.
- Utilize Adhesive Labels or Tags: Use adhesive labels or removable tags to mark each tape with its relevant information. You might include the pattern name, type, or even the store where you purchased it.
- Incorporate Visual Design Elements: Make your labels visually appealing to match your craft aesthetic. Use decorative fonts or stickers that complement the design of your washi tape.
- Maintain an Inventory List: Keep an inventory list of your collection, either digitally or on paper. This can help you remember what you have, minimizing the chances of buying duplicates during your shopping trips.
- Easily Access Labels: Ensure that your labels are easy to read and positioned clearly so you can quickly find the right tape for any project. This small organizational effort saves time and boosts your crafting efficiency.
Inspiration Boards
- Gather Materials for Mood Boards: Collect various supplies to create mood boards, including washi tape samples, color swatches, and printed images of themes or projects you enjoy.
- Create a Dedicated Space: Designate a wall or board for your mood board. Alternatively, you could use a corkboard, poster board, or digital platforms like Pinterest for virtual boards.
- Visualize Your Ideas: Start pinning or arranging the materials based on specific themes or upcoming projects. This visual representation helps you see how different elements work together, sparking new ideas.
- Update Regularly: As new ideas and supplies come along, refresh your inspiration boards regularly. Updating your boards keeps your creativity flowing and reflects your evolving style.
- Use Inspiration Boards as a Starting Point: Whenever you start a new washi tape project, refer back to your inspiration board. This tool can guide you in selecting colors and patterns, ensuring a cohesive and artistic outcome.
Conclusion
Washi tape crafts offer endless opportunities to transform ordinary items into artful pieces. This unique crafting medium encourages creativity, personalization, and enjoyment in the DIY process. Whether you’re decorating journals, wrapping gifts, or engaging in fun scrapbooking, washi tape provides a simple yet effective way to elevate your projects. As you explore various ideas, techniques, and tips from this article, embrace the journey of crafting and allow your imagination to flourish. Dive into the world of washi tape crafts and discover just how rewarding it can be to turn the everyday into something extraordinary!