Overview of Fluorescence Microscopy
Fluorescence microscopy offers a powerful lens into the microscopic world. It allows us to see structures and processes invisible to the naked eye. In this section, we delve into the basics and the advancements that have pushed the boundaries of what we can visualize with fluorescence microscope technology.
The Principle of Fluorescence in Microscopy
Fluorescence microscopy relies on the principle of fluorescence. In simple terms, certain substances can absorb light at one wavelength and then emit light at another, usually longer wavelength. A fluorescence microscope exploits this property. It illuminates specimens with a specific light wavelength, and then it detects the emitted light to create a vivid image. This allows researchers to highlight specific components of a cell or material with fluorescent dyes or probes, to see them clearly against a dark background.
Advancements in Fluorescence Imaging Techniques
The field of fluorescence microscopy has seen significant advancements. In pursuit of clearer, more detailed images, researchers have developed various techniques. Super-resolution microscopy breaks through the diffraction limit, offering images at resolutions beyond those of traditional light microscopy. Meanwhile, techniques like FRET (Fluorescence Resonance Energy Transfer) allow us to observe interactions between molecules in real-time. Furthermore, the advent of digital imaging and enhancements in detector sensitivity have tremendously improved the quality and usability of fluorescence microscope images.
Types of Fluorescence Microscopes
Fluorescence microscopy has evolved, leading to a variety of microscope types. Each serves a unique purpose and provides different benefits. Here we look at the main types of fluorescence microscopes used in research.
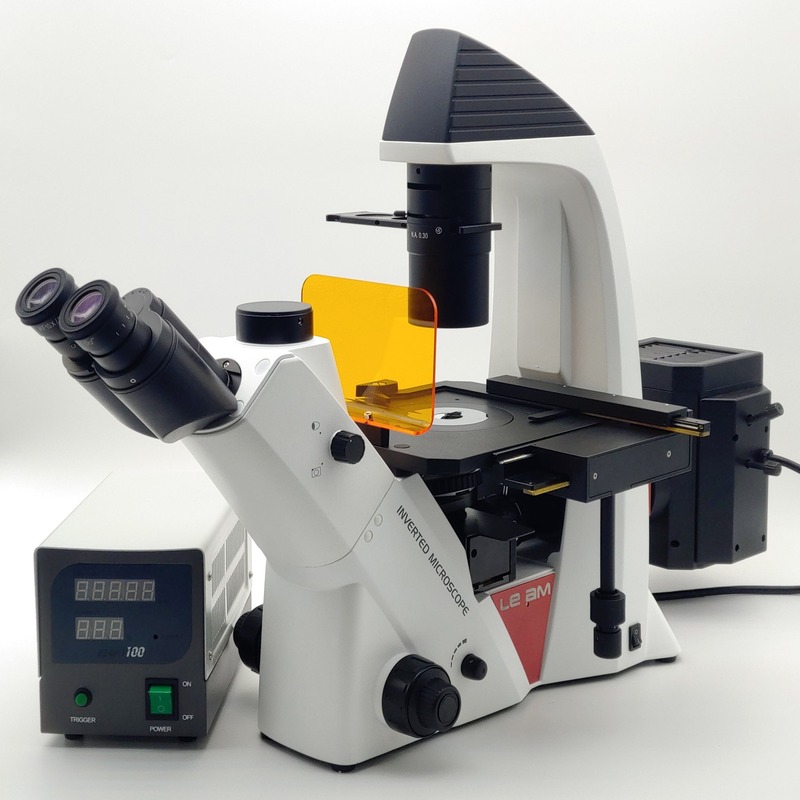
Epifluorescence Microscopes
Epifluorescence microscopes are widely used in biology. These microscopes shine light through a specimen and measure the fluorescent emission. They are great for viewing whole cells or tissues stained with fluorescent dyes. They are simple to use and less costly compared to other types.
Confocal Microscopes
Confocal microscopes offer clearer images by using a pinhole to block out-of-focus light. They are ideal for detailed studies of cells. With these microscopes, researchers can get sharp images at various depths within a specimen. This makes them perfect for 3D reconstructions of cells and tissues.
Two-Photon Fluorescence Microscopes
Two-photon fluorescence microscopes use longer wavelengths of light for excitation. This allows for deeper penetration into samples with less damage. They are suited for imaging live cells and tissues. These microscopes can create high-resolution images of deeper structures in thick specimens.
Super-Resolution Fluorescence Microscopes
Super-resolution fluorescence microscopes go beyond the diffraction limit of light. They provide incredibly detailed images of cellular structures. This technology has opened new possibilities for observing molecules at nanometer resolution. They are best used for viewing interactions between proteins and other small structures.
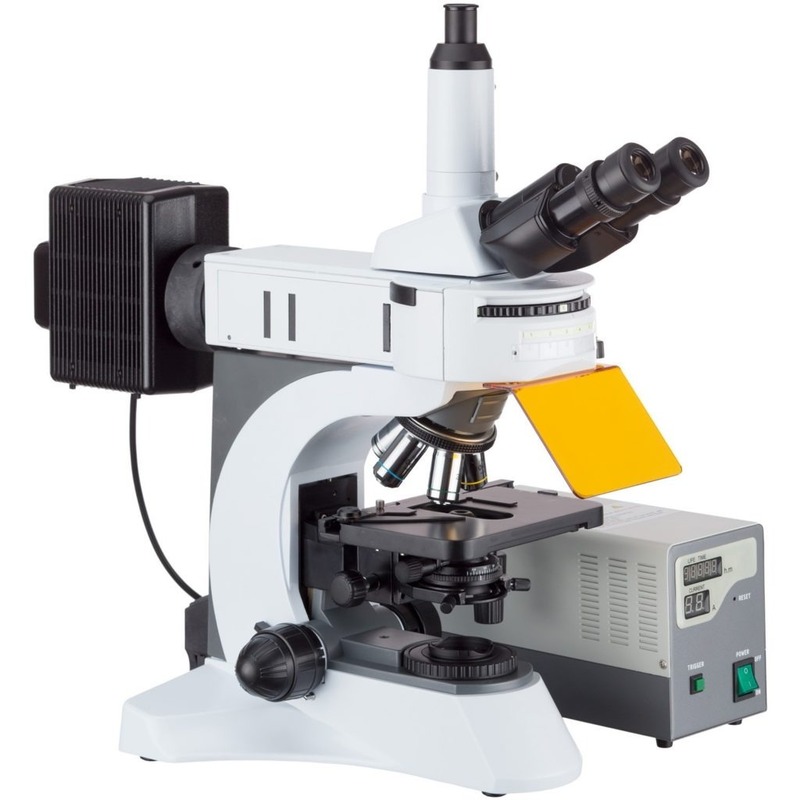
Key Components of a Fluorescence Microscope
The performance of a fluorescence microscope is not just about the system itself. It’s about the elements that work in harmony to produce high-resolution images. These key components are critical for quality fluorescence excitation and emission.
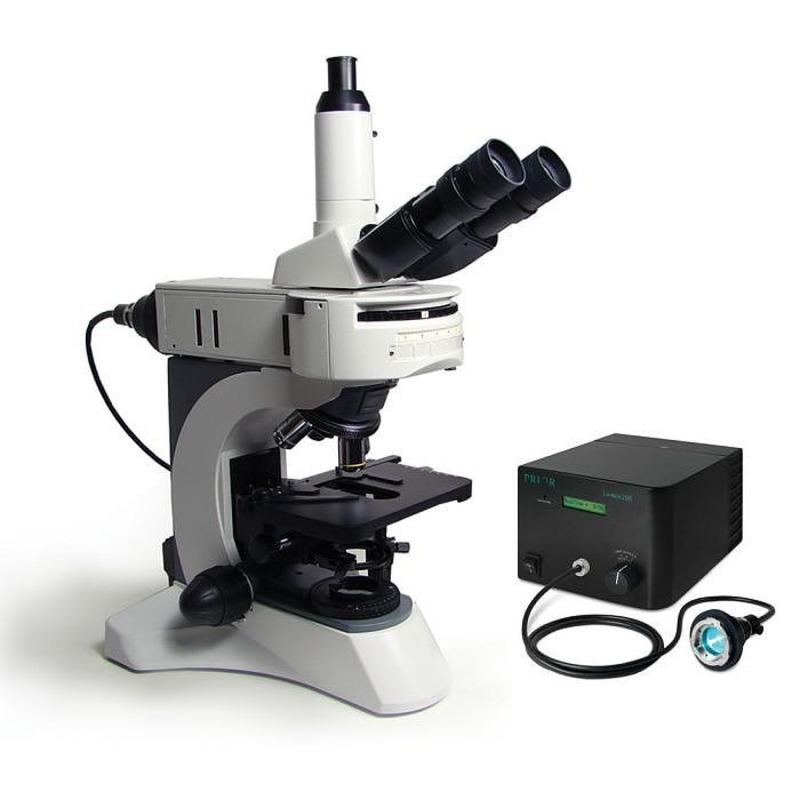
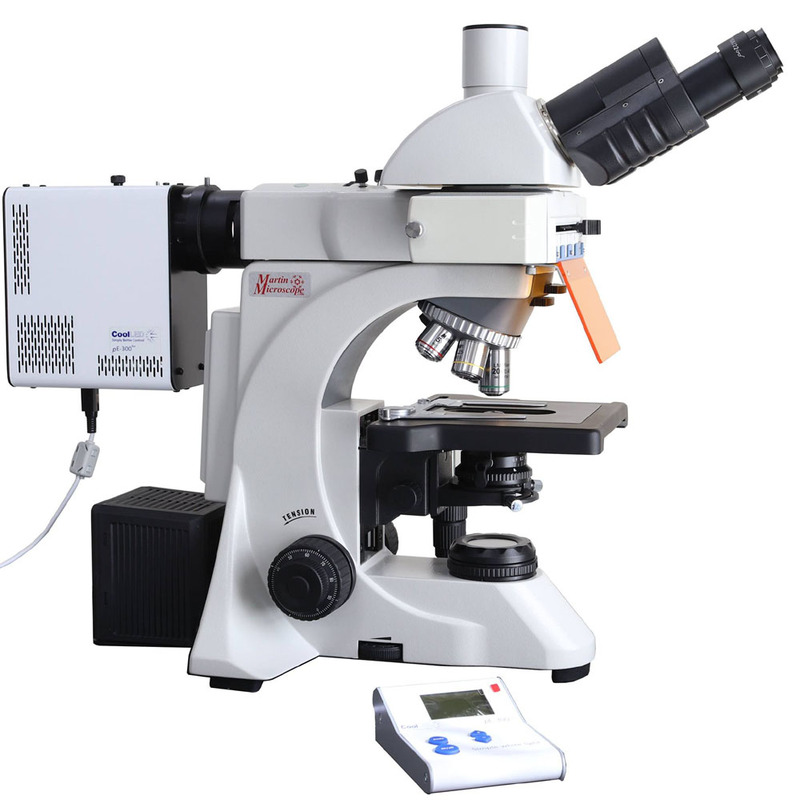
Light Sources for Fluorescence Excitation
In fluorescence microscopy, the light source plays a vital role. It causes the fluorescent molecules to emit light. Commonly used light sources are mercury or xenon lamps. Lamps provide intense light required for excitation. LEDs are also popular for their energy efficiency and long life. Lasers offer precise excitation for more detailed studies.
Filters and Dichroic Mirrors
Filters and dichroic mirrors direct the right wavelengths to the specimen. They also separate the emitted fluorescent light from the excitation light. Filters block specific wavelengths, ensuring only the desired light reaches the detector. Dichroic mirrors reflect certain wavelengths while letting others pass through. This is crucial for capturing clear fluorescent signals.
Objectives and Detectors
Objectives focus excitation light onto the sample and collect emitted fluorescent signals. High-quality objectives provide better resolution and sharper images. Detectors—like photomultiplier tubes or cameras—capture the light emitted from the sample. They translate it into an electronic signal that produces an image. It’s essential for detectors to be sensitive enough to detect even faint signals. These components work together to make fluorescence microscopy a powerful tool in scientific research.
Applications of Fluorescence Microscopy
Fluorescence microscopy has become instrumental in multiple fields, thanks to its ability to illuminate the otherwise invisible. Let’s explore some of its widespread applications.
Cellular and Molecular Biology
In cellular and molecular biology, fluorescence microscopes aid in observing cellular structures, dynamics, and functions. Scientists tag specific proteins or organelles with fluorescent markers. This helps in tracking their location and interactions within cells. The technique shines in developmental biology studies, where understanding the intricate processes is key.
Medical Diagnosis and Pathology
Medical fields heavily rely on fluorescence microscopy for diagnosing diseases. Pathologists use it to detect abnormal cells in tissues, particularly in cancer diagnosis. It helps in identifying biomarkers within samples, which are crucial for accurate treatment plans.
Environmental Science and Microbial Tracking
Environmental scientists use fluorescence microscopy to study microorganisms in their natural habitats. They can track the spread of bacteria or monitor algae bloom dynamics, aiding in the understanding of ecological balance and potential disruptions.
Material Science and Engineering Applications
In material science, engineers utilize fluorescence microscopes to inspect materials at the microscopic level. It helps in the study of material properties, the design of new materials, and the analysis of structural defects, contributing to advancements in technology and industry.
Preparing Samples for Fluorescence Microscopy
High-quality imaging with a fluorescence microscope starts with proper sample preparation. Every detail counts, from fixation to staining, to ensure clarity and contrast in the images obtained.
Fixing and Staining Techniques
Before you can visualize the hidden wonders of microscopic specimens, careful preparation is essential. Fixing techniques stabilize the components of the sample. They prevent degradation and maintain the structures during observation. Staining methods involve applying fluorescent dyes or labels. These selectively adhere to specific parts of the specimen. This contrast is vital for distinguishing between different components under the microscope.
Choosing the right combination of fixatives and stains is critical. Various chemicals or natural compounds serve these purposes, each suited for different specimen types. For instance, formaldehyde preserves the overall structure. Meanwhile, methanol works well for preserving proteins and lipids.
Fluorescent Probes and Dyes
Fluorescent probes and dyes light up your target parts vividly. They’re molecules that absorb and then emit light, revealing the unseen. Different dyes bind to different parts of a cell or tissue. For instance, DAPI binds to DNA, while GFP (Green Fluorescent Protein) tags proteins. The selection of a suitable dye depends on your research goal and the nature of the sample.
Careful application of these dyes ensures that they do not alter the specimen’s normal functions or structure. Calibration is key — enough dye to emit a detectable signal, but not so much that it becomes toxic to living cells.
Considerations for Live-Cell Imaging
Imaging live cells with a fluorescence microscope involves extra challenges. These include keeping the cells alive and not interfering with their behavior. Temperature control, nutrients, and the right pH balance make for a healthy environment for the cells. It’s also crucial to minimize light exposure to prevent damage, known as phototoxicity.
Adjustments need to be made for the medium in which live cells exist. This means that certain dyes and techniques that work for fixed samples might not be suitable for live-cell imaging. It’s about finding that balance between preserving life and getting the data.
In conclusion, careful preparation is the bedrock of successful fluorescence microscopy. By mastering fixing, staining, and handling of live cells, researchers can unlock the full potential of this technique.
Troubleshooting Common Issues in Fluorescence Microscopy
Fluorescence microscopy is a powerful tool, but it comes with challenges. Understanding these issues is vital for producing clear images.
Autofluorescence and Photobleaching
Autofluorescence happens when non-target elements in a sample emit light, causing background noise. It can mask the signal you’re trying to detect. To handle this, use careful sample preparation and appropriate filters. Photobleaching is another issue, where the fluorescence fades with light exposure. To prevent it, minimize light exposure or use more stable fluorescent dyes.
Signal-to-Noise Ratio and Resolution Challenges
A high signal-to-noise ratio is crucial for clarity. Low signals make it hard to distinguish the subject. Using brighter dyes and improving light delivery can help. Resolution issues can blur details. Overcoming these might involve using advanced techniques like super-resolution microscopy which offers greater detail.
Enhancing Image Quality through Post-processing
Post-processing software is a good tool to enhance image quality. It can sharpen details, reduce noise, and increase contrast. Techniques like deconvolution and image stacking can bring out features not visible in raw data. Always validate these enhancements with controls to maintain accuracy of the interpretation.


