Introduction to Yeast Observation
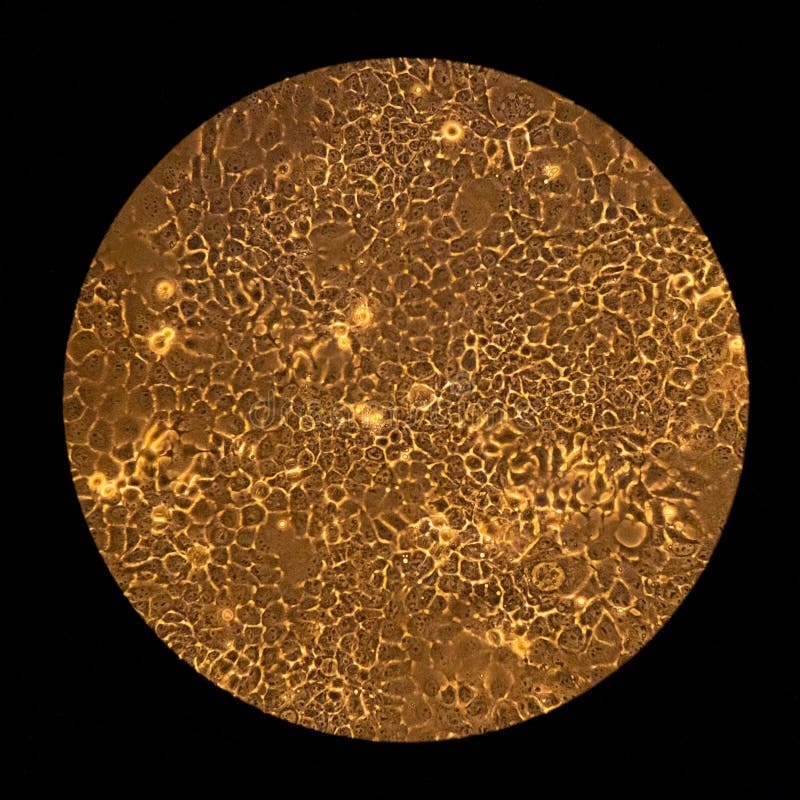
Observing yeast under microscope is fascinating and essential for brewers. Here’s why it matters. Brewers rely on yeast to transform basic ingredients into beer and wine. By looking at yeast magnified, we get details about health and quality. Microscopes reveal shapes, structures, and living conditions of yeast cells. Knowing these details guides the fermentation process for consistency and flavor control. In brewing, healthy yeast means better tasting beverages. This chapter will explain how to prepare and what to look for during yeast examination. Let’s dive into the microscopic world of these vital fungi.
Essential Microscopy Equipment for Yeast Examination
For successful yeast observation, you need the right tools. Here’s what every brewer’s microscopy kit should have.
Choosing the Right Microscope
Begin with a quality light microscope. Aim for one with 10X, 20X, and 40X objectives. High magnifications, like 100X oil immersion objectives, let you see yeast in detail. Choose a microscope with both coarse and fine focus knobs. This helps you get a clear, sharp image.
Essential Microscope Add-ons
Don’t forget the extras. A hemocytometer helps count yeast cells. Stains like methylene blue can test viability. These stains show if a yeast cell is alive or dead. For documenting, a microscope with a trinocular head is best. This setup lets you attach a camera easily.
Fundamental Preparatory Equipment
You’ll also need basic lab items. Have pipettes for moving small liquid amounts. Slide covers and slips are a must. These protect yeast samples on the microscope slides. Make sure you have a clean, bright light source. It helps to highlight yeast features.
Remember, good equipment can take you far. It helps in making quality beer or wine. It also plays a role in research to study yeast cells closer.
Preparing Yeast Samples for Microscopy
Before examining yeast under a microscope, proper sample preparation is essential. Here’s a step-by-step guide to get you started.
Obtaining the Yeast Sample
Gather a fresh yeast culture or sediment. Make sure it’s from a recent batch to ensure cell activity.
Diluting the Sample
Often, the yeast concentration is too high. Dilute it with sterilized water for a clearer view.
Making the Slides
Place a drop of the yeast mixture on a slide. Adding too much can make observation difficult.
Adding the Coverslip
Carefully set a coverslip over the drop. This traps the yeast and spreads it evenly.
Staining For Visibility
To highlight the cells, add a stain like methylene blue. It helps differentiate live from dead cells.
Focusing the Microscope
Adjust the focus knobs. Start with low magnification and increase as needed to view the yeast’s shape and structure.
By following these steps, brewers can prepare yeast samples correctly. It aids in observing crucial details under the microscope.
Understanding Yeast Morphology: Shape and Structure
When we place yeast under a microscope, we witness an array of shapes and structures. Yeast morphology refers to these physical characteristics. They give us clues about the yeast’s type and health. Here are the key features to look out for during microscopy.
Yeast Cell Shapes
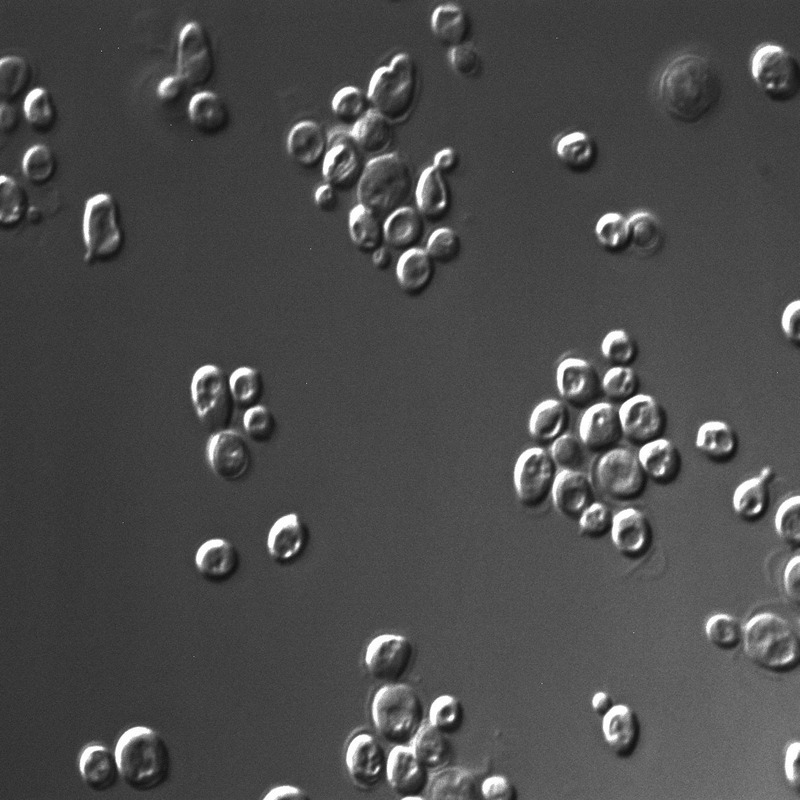
Brewer’s yeast, or Saccharomyces cerevisiae, mostly appears round or oval. But yeast shapes can vary. Some look elongated, others look like tiny lemons. The shape can influence how yeast behaves in fermentation.
The Cell Wall and Membrane
A yeast’s cell wall is like its armor. It provides shape and protection. The membrane holds the cell’s contents. Under a microscope, cell walls appear as clear outlines and membranes envelop the inner parts.
Bud Scars and Reproduction
Yeast cells reproduce by budding. When a ‘daughter’ cell forms, it leaves a mark or ‘scar’ on the mother cell. Microscopes show these scars as small rings or dots on the cell’s surface.
Vacuoles within Yeast Cells
These are storage sacs inside the yeast. Seen as clear bubbles, they hold nutrients or waste. High numbers of vacuoles might indicate old or stressed yeast cells.
Yeast Cell Clustering
How yeast cells group together is also important. Some strains form chains or clusters. This can impact how they settle out of the beverage.
Recognizing these features helps brewers. They can choose the right yeast for the flavor they want. They can also check for unwanted yeast traits. Correctly identifying yeast morphology ensures a consistent brewing process and quality product.
Yeast Fermentation and Its Microscopic Process
Yeast plays a vital role in fermentation. This process is the heart of brewing. Yeasts, which are single-cell fungi, eat sugars and produce alcohol and carbon dioxide. This is key in making both beer and wine. Let’s look at the steps to see this under a microscope.
Observing the Start of Fermentation
First, yeasts wake up when they touch sugars. They begin to eat the sugars readily. You can see the yeasts get active if you look closely.
Watching Yeast Reproduce
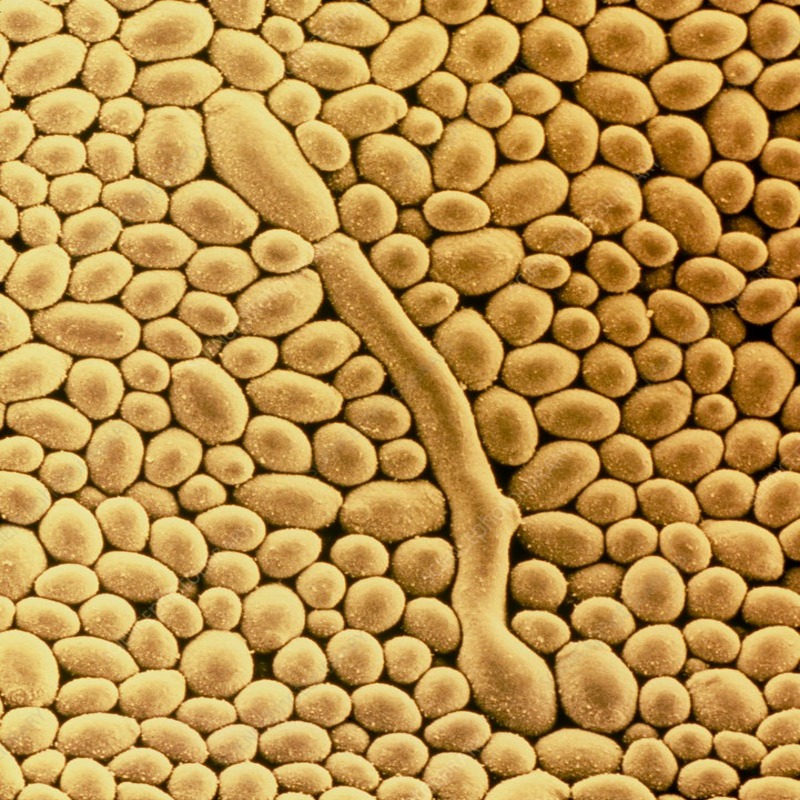
Under the microscope, you’ll see yeast budding. This is where new cells form and split off. It shows the yeast is healthy and working.
Detecting Fermentation Byproducts
As yeasts feed, they release gas bubbles. These might be seen as tiny movements or shifts. There’s also alcohol produced, but it’s not visible.
Yeast at Different Fermentation Stages
During early fermentation, yeasts are busy and move a lot. As it slows down, they begin to rest. Finally, they settle at the bottom.
By using a microscope, we can study these fascinating processes. This helps brewers make sure the fermentation is going as planned.
Yeast Cell Counts and Viability Testing Techniques
Counting yeast cells and checking their viability are crucial for brewing quality beer and wine. There are specific techniques to help brewers assess the yeast’s health and quantity. Understanding these methods is key to consistent fermentation and premium products. Here are the main techniques used for yeast cell counts and viability testing.
Hemocytometer Use for Yeast Cell Counting
A hemocytometer is a slide etched with a grid used for cell counting. To count yeast, place a diluted yeast sample on the grid. Count the cells in several squares to estimate the concentration.
Viability Testing with Stains
Stains like methylene blue help determine if yeast cells are alive. Dead cells absorb the stain and turn blue, whereas live cells stay clear. Mix the dye with your yeast sample and observe under the microscope.
Pitching Rate and Yeast Density
The pitching rate is the amount of yeast added to wort. Cell counts inform this rate. Yeast density at different brewing stages provides insight into fermentation progress.
Use of Simple Tally Counters
Count cells using tally counters. They’re helpful for keeping track during counting. This method is simple yet effective for translating what’s seen under the microscope into usable data.
By employing these testing techniques, brewers can control their fermentation process precisely. This ensures that each batch of beer or wine has the quality and taste consumers love. Remember, consistency is key in brewing, and understanding yeast viability and cell counts is the foundation.
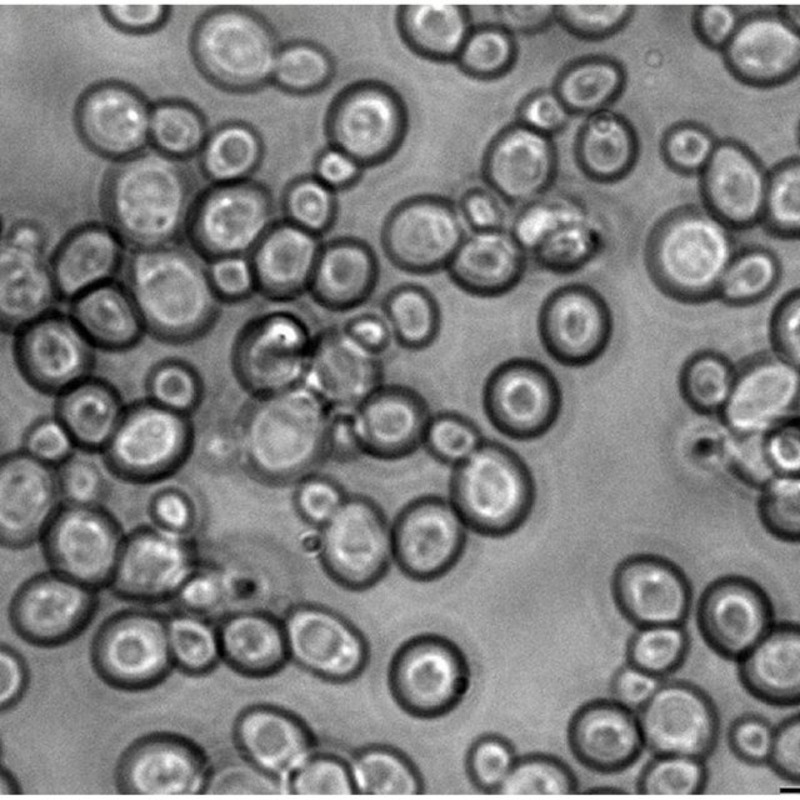
Applications of Yeast Microscopy in Brewing and Research
In the brewing industry, yeast microscopy plays a critical role. Viewed under a microscope, yeast cells reveal vital information. This data helps brewers control fermentation and boost product consistency. With microscopy, one can examine yeast cell health and purity.
Tracking Yeast Health in Beverage Production
Microscopes allow brewers to monitor yeast during fermentation. By observing cell structure and activity, they can spot healthy yeast. They can also detect if yeast is under stress or dying. This insight guides decisions on when to add or remove yeast from the brew.
Identifying Contaminants
A microscope helps identify unwanted microbes. These could be bacteria or wild yeast that spoil a batch. Quick identification allows for timely action to save or discard the brew.
Enhancing Flavor Profiles
Different yeast strains contribute unique flavors. Through microscopy, brewers select yeasts that give desired taste notes. They can also alter fermentation conditions based on microscopic observations.
Assisting in Yeast Breeding Programs
Scientists use yeast microscopy to breed new strains. By looking at genetic and structural properties, they develop yeasts with specific traits. These characteristics may include better alcohol tolerance or unique flavor contributions.
Contributing to Scientific Research
In research, yeast serves as a model organism. Its cells closely resemble human cells in many ways. Microscopy allows researchers to study cellular processes, like division and gene expression. This work supports advances in medicine and biotechnology.
Quality Control in Winemaking
Winemakers also rely on yeast microscopy. They check for yeast viability and cleanliness before bottling. This ensures the final product is clear and tastes great.
Yeast microscopy offers a window into the microscopic realm of brewing and research. It’s a tool that enhances the quality and understanding of yeast’s role in these fields.
Conclusion: The Role of Microscopy in Yeast Quality Control
To wrap up, microscopy is key in brewing. It lets brewers see yeast in detail. This helps in controlling the fermenting process and keeping quality high. Good yeast microscopy leads to better beer and wine flavors. With a microscope, brewers can spot unhealthy yeast and contaminants. They can also pick the best strains for flavor. In research, yeast under a microscope supports medical and science advances. In short, microscopes offer a clear view of yeast, vital for quality drinks and research.
