Essential Tools for Microscope Drawing
To embark on your journey of microscope drawing, you need the right tools. Here’s a breakdown of essentials:
Quality Drawing Paper or Sketchpad
The foundation of your artwork starts with good paper. Opt for heavyweight, smooth paper which can handle erasing and shading well.
Pencils with a Range of Hardness
Invest in a set of drawing pencils with different hardness levels. Harder pencils (H grades) create lighter lines; softer pencils (B grades) are for darker, richer tones.
Reliable Erasers
A kneaded eraser is flexible and perfect for lifting pencil without damaging your paper. Also, keep a hard eraser for making clean, sharp edges.
A Set of Fine Liners or Ink Pens
For crisp lines and details, fine liners or ink pens are indispensable. They come in various thicknesses to add depth to your drawing.
Magnifying Glass or References
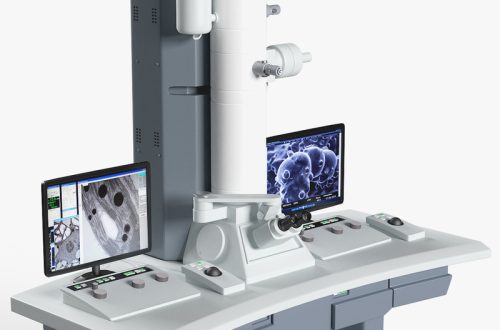
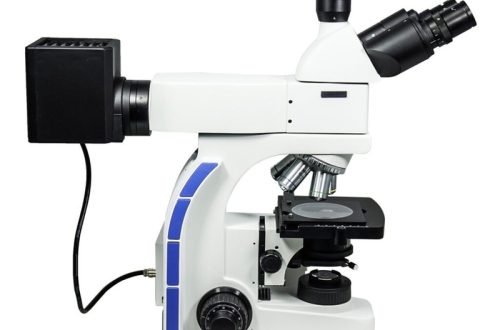
Since you’re drawing a complex object, a magnifying glass can help study small parts. Alternatively, use clear images of microscopes as references.
Blending Stumps and Tortillions
These tools help you blend pencil shades seamlessly for a realistic effect. They are great for softening edges and creating smooth gradations.
Incorporating these tools in your artistic process will set a solid foundation for creating accurate and captivating microscope drawings. Make sure to play around with them to understand their potential and how they can enhance your drawings.
Basics of Microscope Anatomy for Artists
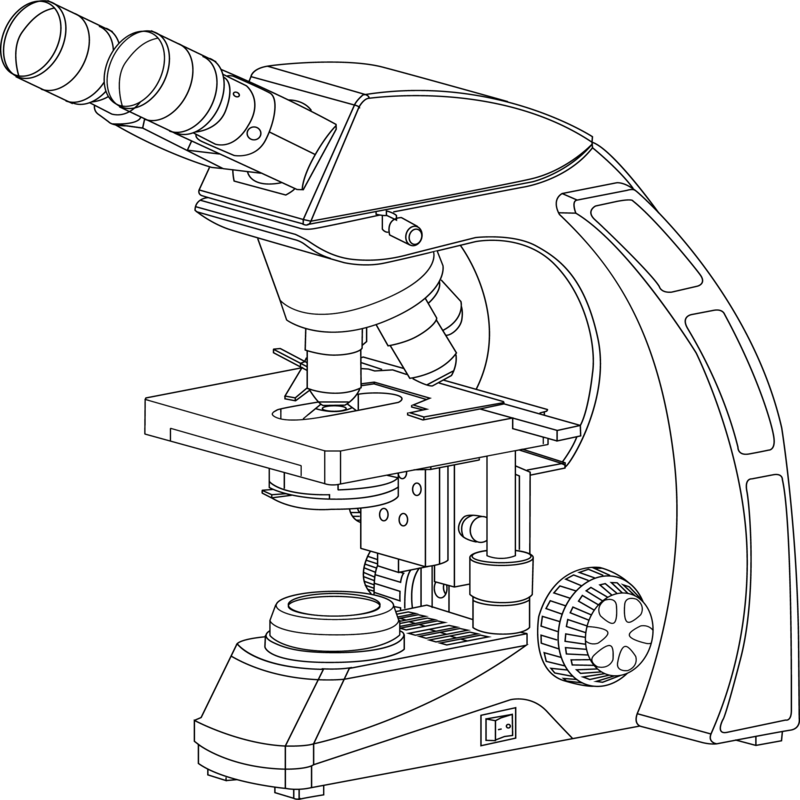
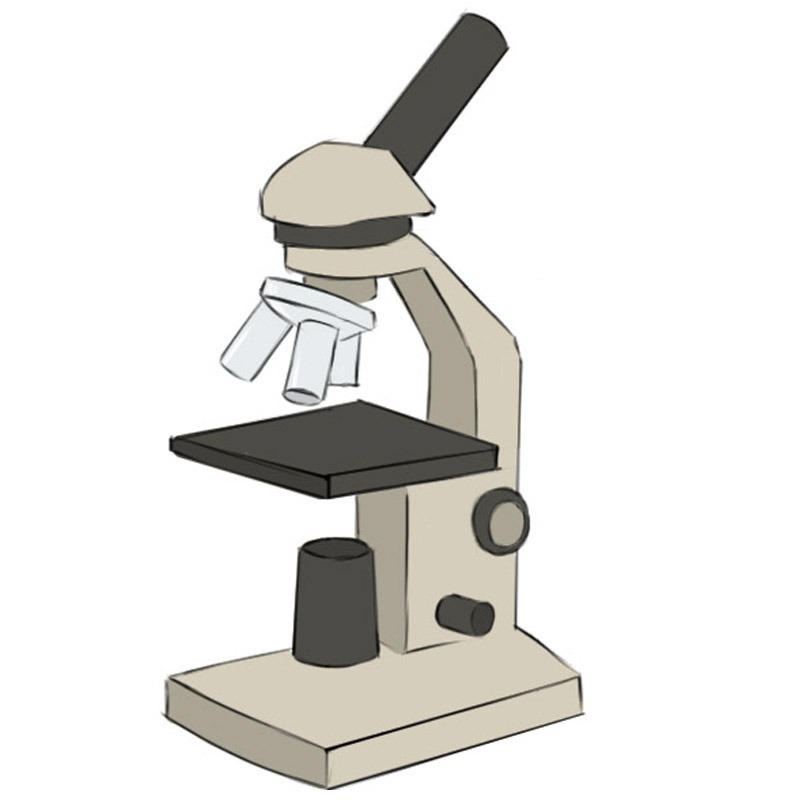
Before you start your microscope drawing, you need to know the basics. Understanding microscope anatomy is key. Different parts of the microscope have unique shapes and features. Here is a simple breakdown for artists:
The Eyepiece or Ocular Lens
This is where you peer through to see the magnified image. The eyepiece is a cylinder and often has a rubber or plastic guard.
The Arm
The arm connects the eyepiece and the body of the microscope. It’s a solid piece that usually curves, creating a handle.
The Stage
This part holds the slide with the specimen. The stage is a flat surface with clips.
The Objective Lenses
These lenses are at the microscope’s lower end, above the stage. They look like a row of small cylinders of different lengths.
The Coarse and Fine Focus Knobs
These knobs are used to adjust the focus on your specimen. They’re typically round dials, either side by side or one larger than the other.
The Base
The base supports the microscope. It’s often horseshoe-shaped or a flat rectangular platform.
Identifying these parts will guide your hand as you draw intricate details. With each part, remember its function and how it looks. This will help translate the technical structure into art. Remember, your microscope drawing should combine accuracy with creativity. Knowing the parts builds a strong foundation for your artwork.
Step-by-Step Guide to Drawing a Microscope
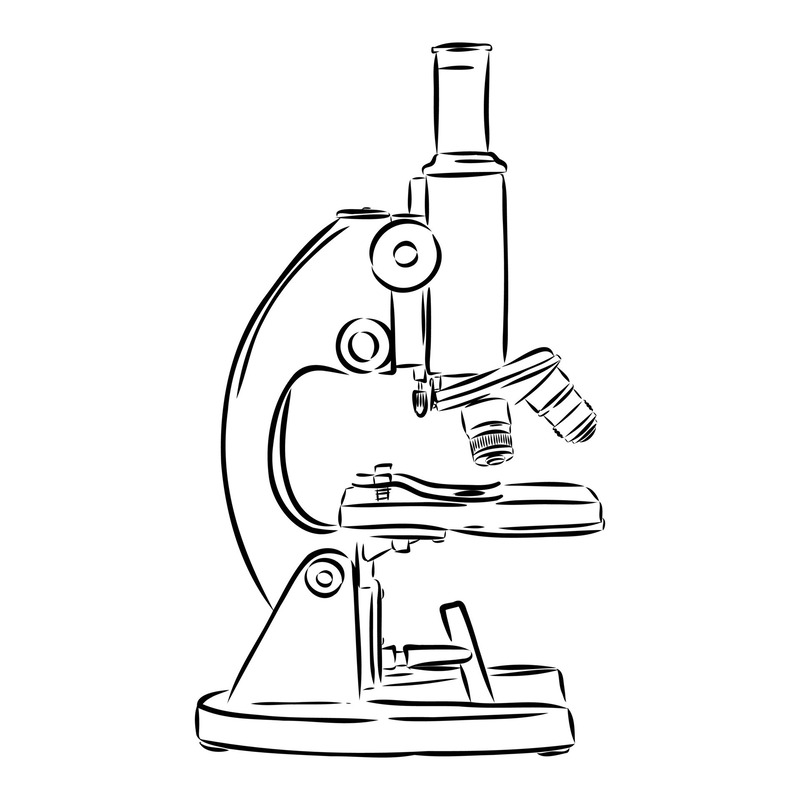
Drawing a microscope can be an intricate process. Follow this guide to simplify the steps.
- Start with the Base: Begin your drawing by sketching the base of the microscope. Remember, it might be horseshoe-shaped or rectangular.
- Draw the Arm: Next, connect the base to the eyepiece with the arm. Create the curve that represents the handle.
- Outline the Stage: Above the base and below the arm, illustrate the stage where the slide goes. Add the clips that hold the slide in place.
- Sketch the Ocular Lens: On top of the arm, draft the cylinder that represents the eyepiece. Include the guard if it’s visible.
- Add Objective Lenses: Below the stage, depict the row of cylinders that make up the objective lenses. Show their various lengths for realism.
- Include the Focus Knobs: On the side of the microscope body, draw the coarse and fine focus knobs. Make sure to get their placement and size right.
- Review and Refine: Look over your sketch and adjust any proportions or details. Use your erasers to clean up the lines.
- Define with Fine Liners: With ink pens or fine liners, go over your pencil lines to make your microscope drawing sharp.
- Shade for Depth: Use your blending stumps and tortillions to add shading under and around the microscope parts. This creates depth and dimension.
- Final Touches: Add final details to enhance the microscope’s realism. Check the drawing against your reference for accuracy.
By following these steps, your microscope drawing will take shape with accuracy and detail. Remember to use the essential tools mentioned earlier to bring your drawing to life. With patience and practice, you’ll master the art of microscope drawing and be able to create intricate scientific illustrations with ease.
Tips for Shading and Texturing Your Microscope Drawing
Shading and texturing are crucial for bringing your microscope drawing to life. These techniques add depth and make your illustration look three-dimensional. Here are some tips to help you nail this part of the drawing process.
Understand Light and Shadow
Begin by deciding where the light source is in your drawing. Light areas will have less shading, while shadowed parts will be darker. Observe how shadows fall on different parts of the microscope and mimic this in your drawing.
Build Up Layers Gradually
Start with light pressure using a soft pencil and then gradually increase the darkness. Layering your shading slowly allows for more control and helps avoid making parts too dark too quickly.
Use Blending Tools Wisely
Blending stumps and tortillions can smooth out your shading. Use them to blur hard edges and create gradients. Be sure not to over-blend, as this can make your drawing look flat.
Create Texture with Pencil Strokes
Different parts of the microscope can have different textures. Use a variety of pencil strokes to suggest this. Short strokes can indicate a rough texture, while longer, smooth strokes can convey a sleek metal surface.
Contrast is Key
A strong contrast between light and dark areas can make your drawing pop. Pay attention to the darkest darks and the lightest lights to ensure they are distinct. This will make your microscope drawing more dynamic.
By applying these tips, your microscope illustration will have the necessary shading and texturing to look realistic and engaging. Practice these techniques, and you will see your drawings improve over time.
Adding Realistic Details to Your Microscope Illustration
Adding realistic details to your microscope drawing can transform a simple sketch into a lifelike representation. Focus on these specific details to enhance the realism of your artwork.
Pay Attention to Proportions
Getting the proportions right is crucial for a believable microscope. Measure the parts relative to each other to maintain accuracy. If the eyepiece looks too large compared to the arm, it can throw off the entire drawing.
Reflect on Reflections
Microscopes often have shiny metal parts. Show reflections where light bounces off surfaces. Use lighter shading to represent these glossy areas, which adds to the illustration’s authenticity.
Depict Textures Accurately
Different materials on the microscope have different textures. Render these textures correctly by varying pencil strokes and shading techniques. For example, rubber grips should look different from metal parts.
Include Labels and Markings
Many microscopes have labels or incremental markings on the knobs and lenses. Include these small but significant details to give more depth to your microscope drawing.
Show Wear and Tear
A microscope in use often shows signs of wear. Add subtle hints like smudges or scratches to give a sense of history and usage. This small touch can make your drawing more compelling.
Incorporate Subtle Color
While microscopes are typically not very colorful, small hints of color can make parts stand out. Use colored pencils sparingly to emphasize certain features, like the lens or knobs.
By adding these realistic details, your microscope illustration will not only appear more professional but also more inviting to the viewer. Remember, mastering microscope drawing is a gradual process, so keep practicing these tips, and you’ll see a steady improvement in your artwork.
Common Pitfalls to Avoid in Microscope Drawing
When creating microscope drawings, it’s easy to encounter a few common mistakes. Here’s a list of pitfalls to avoid to ensure your illustrations are as accurate and professional as possible.
Losing Proportion
Keeping correct proportions is vital. A common mistake is when parts of the microscope look out of scale. Always measure and compare the sizes while drawing.
Overlooking the Details
Don’t skip on the small details. The knobs, labels, and textures are important for realism. Pay close attention and include these in your sketch.
Misplacing Shadows
Incorrect shadows can ruin the 3D effect. Make sure to understand where your light source is and how it affects the microscope parts.
Inconsistent Linework
Keep your lines consistent. A shaky or varied line thickness can make the drawing appear less professional. Use fine liners with a steady hand.
Overcomplicating Textures
While textures add realism, overdoing it can make the drawing confusing. Use them sparingly and only where necessary.
Neglecting the Background
A plain or poorly crafted background can detract from your subject. If including one, make sure it complements the main focus of the drawing.
Rushing the Process
Take your time and don’t rush. Good drawings require patience, especially when dealing with complex subjects like microscopes.
By avoiding these pitfalls, your microscope drawings will maintain their integrity and captivate the audience. Remember to review your work often and make adjustments as needed.
Incorporating Background Elements in Microscope Artwork
When creating microscope drawings, adding background elements can greatly enhance the overall composition. While the microscope should remain the focal point, a well-chosen background provides context and depth that elevate your artwork from good to great. Here are some effective strategies to incorporate backgrounds into your microscope illustrations.
Select a Relevant Background
Choose a background that complements the subject of your microscope drawing. For instance, if your microscope is depicted in a scientific setting, a laboratory backdrop can be fitting. Think of workbenches, beakers, and scientific instruments to set the scene.
Keep It Simple
A complex background can overshadow your main subject. Aim for simplicity in your background to keep the microscope as the star of the show. Subtle shadows or a plain, light-colored surface can work well.
Use Light Shading
If you add shading to the background, do it lightly. This approach ensures the microscope drawing stands out. Remember, the background should not compete for the viewer’s attention but rather support the main image.
Consider Perspective
Adding a background requires understanding perspective. Make sure it aligns with the perspective of your microscope. This coherence helps your drawing come to life and appears more realistic.
Incorporate into Composition
Think of the background as part of the entire composition. It should balance the drawing rather than feel like an afterthought. Place background elements strategically to enhance the overall look.
By focusing on these strategies as you incorporate background elements into your microscope artwork, you will produce a more polished and visually appealing illustration. Keep practicing, and watch your microscope drawings achieve new levels of sophistication.
Advancing Your Skills: Moving From Beginner to Advanced Techniques
Moving from beginner to advanced microscope drawing techniques can transform your artwork significantly. Here are strategies to help you advance your skills:
Practice Consistently
Regular practice is the key to improvement. Dedicate time each day to draw and refine your technique. The more you draw, the better you become.
Learn Advanced Shading Techniques
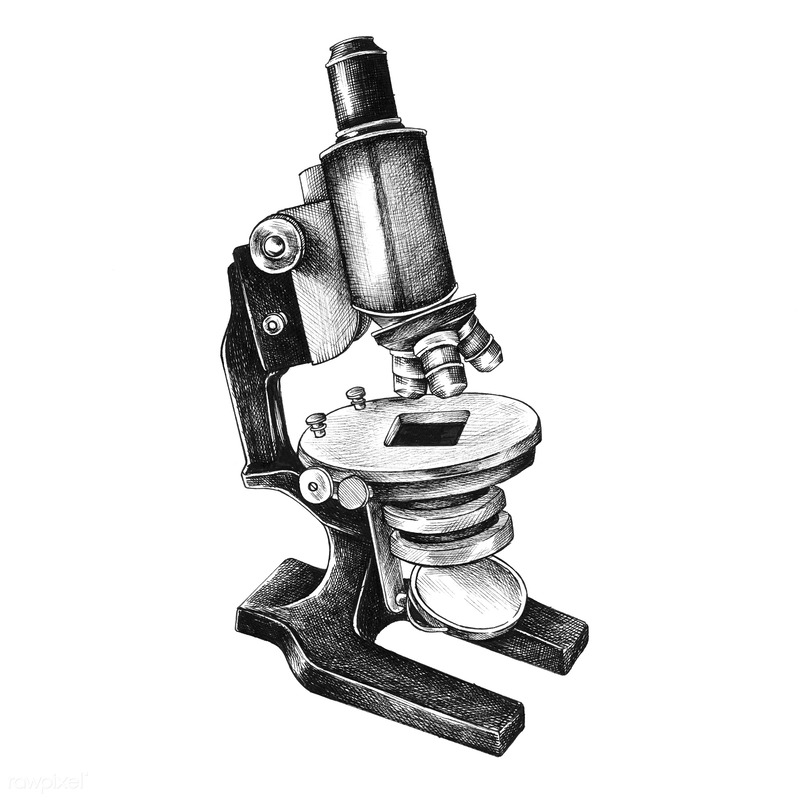
Explore new shading methods, like cross-hatching or stippling, for added texture and depth. Mastering these can give your drawing a more dynamic look.
Experiment with Mixed Media
Try combining different mediums, like graphite, ink, and charcoal. Mixing media can bring a unique richness to your microscope drawings.
Study Professional Work
Look at drawings by professional artists. Notice how they capture details and shading. Try to learn and incorporate their techniques into your work.
Take On Challenging Subjects
Don’t avoid complex parts of the microscope. Tackle them head-on to improve. The challenge will push you to grow your skills.
Use Photographic References
When available, use high-quality photos to understand light and shadow better. They can serve as an excellent guide for realistic detailing.
Attend Workshops or Classes
Join classes or workshops to learn from experienced artists. Live feedback can drastically improve your technique and approach to drawing.
Don’t be afraid to share your drawings with others. Constructive criticism is valuable and can highlight areas for improvement you might have missed.
By implementing these techniques, you’ll notice a steady progression in your skills. Remember, transitioning from a beginner to advanced in microscope drawing does not happen overnight. Stay patient, stay curious, and keep learning; your dedication will pay off in beautifully detailed and realistic illustrations.
