Introduction
Enamel pins have surged in popularity in recent years, becoming a favorite among craft enthusiasts and fashion lovers alike. Understanding how to make enamel pins from scratch not only allows you to express your creativity but also gives you the opportunity to design unique accessories that reflect your personality. Whether you want to create custom pins for yourself, gifts for friends, or even products to sell, making enamel pins can be a fulfilling DIY project.
In this comprehensive guide for 2026, we will discuss the entire process of making enamel pins, from selecting the right materials to crafting unique designs. You’ll learn about various techniques, tips for success, and inspiring ideas that can elevate your pin-making skills. Let’s dive into this exciting world of enamel pin crafting!
The Appeal of Enamel Pins
1. Personal Expression Through Design
How to make enamel pins? Enamel pins are not just decorative items; they serve as a canvas for self-expression.
- Custom Designs: By creating your own pins, you can showcase your interests, hobbies, or favorite quotes. This makes them ideal for wearing on jackets, bags, or hats.
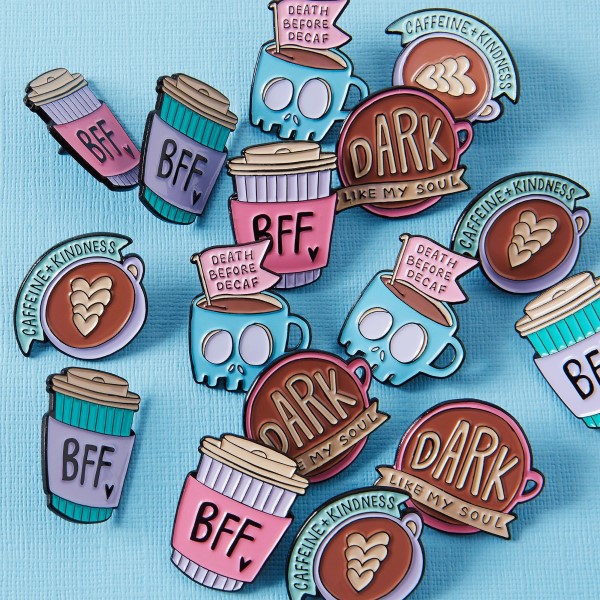
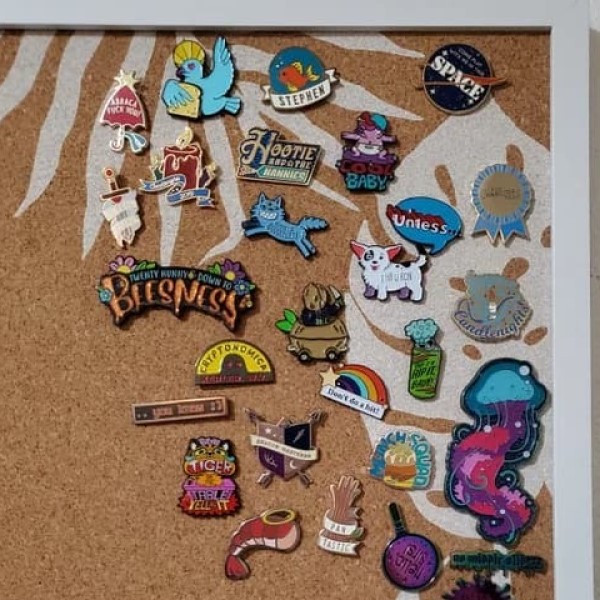
- Collectible Items: Many people enjoy collecting unique enamel pins, making them a popular item for trade and display. Crafting your own allows you to create limited editions or themed sets.
2. Practical and Lightweight
Despite their small size, enamel pins add significant flair to any outfit.
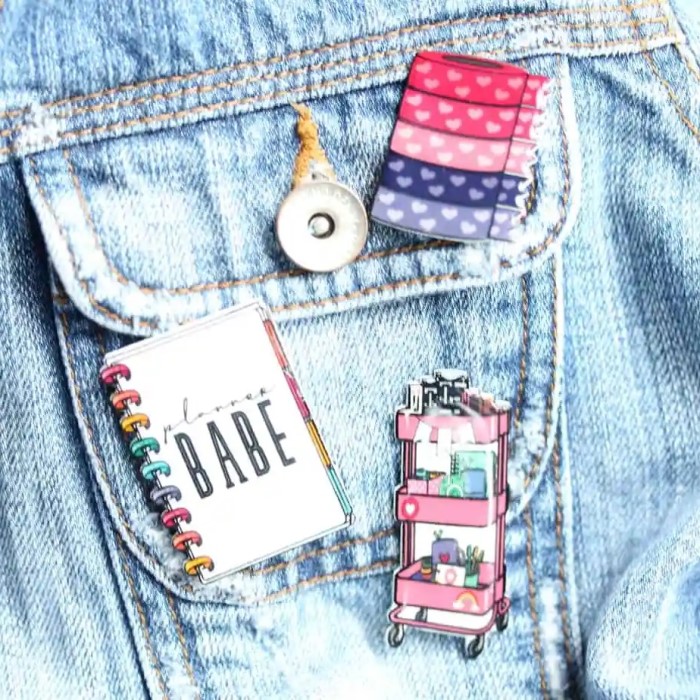
- Fashion Accessories: Enamel pins can easily elevate the look of a plain outfit. A few colorful pins on a denim jacket or backpack can create a stylish and personalized touch.
- Lightweight and Durable: Made from metal and enamel, these pins are lightweight, durable, and easy to wear. They can withstand daily wear and tear, making them practical for everyday use.
3. Eco-Friendly Options
Crafting your own enamel pins can contribute to a more sustainable lifestyle.
- Using Recycled Materials: Consider sourcing eco-friendly materials for your enamel pins. For instance, using recycled metal can reduce waste and minimize your environmental impact.
- Promoting Crafting Community: By creating a culture of DIY and handcrafted items, you support local artisans and small businesses that prioritize sustainability and creativity.
Materials You’ll Need to Make Enamel Pins
1. Essential Materials
How to make enamel pins? To get started on your enamel pin crafting journey, gather these essential materials:
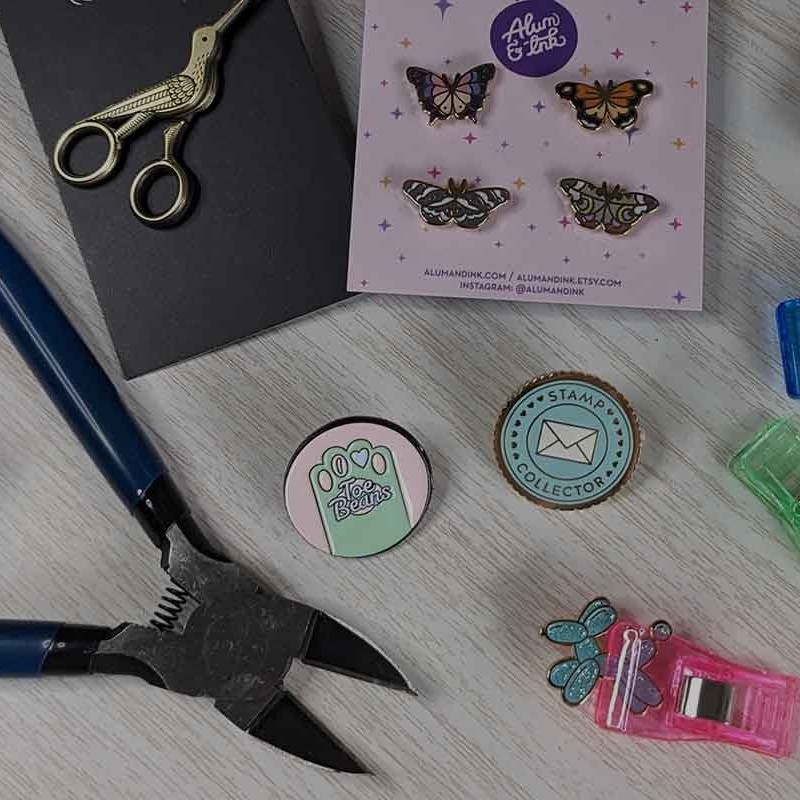
- Metal Blanks: Begin with metal pin blanks that serve as the base for your enamel pins. These typically come in brass or iron and can be purchased from craft stores or online suppliers.
- Enamel Paint: High-quality enamel paint is crucial for filling in the designs. Use opaque and vibrant colors to achieve a stunning visual effect.
- Soldering Iron or Heat Gun: These tools are used for setting the enamel. A soldering iron can help you apply heat effectively, ensuring that the enamel adheres properly to the metal.
- Safety Equipment: Ensure you have gloves and a mask when sanding or applying heat to avoid any injuries or inhalation of fumes.
2. Optional Enhancements
Consider these optional materials to enhance your crafting process:
- Design Templates: Before starting, sketch your designs on paper or digitally create templates. This helps ensure precision during the cutting and painting phases.
- Backing Cards: Use backing cards to package your pins if you plan to sell them. This adds a professional touch and provides information about the design and creator.
- Finishing Coatings: Adding a layer of clear coating on top of the enamel can protect your designs and enhance their longevity, especially for outdoor wear.
Step-by-Step Guide: Making Your Own Enamel Pins
1. Designing Your Pins
The first step in making enamel pins is creating your unique design.
- Sketching Ideas: Take time to brainstorm and sketch various design concepts. Consider color schemes, themes, and shapes that resonate with your style or target audience.
- Digital Design: If you prefer digital design, use software like Adobe Illustrator or free alternatives such as Inkscape. This allows for precise alterations and enhanced creativity.
2. Preparing the Metal Blanks
Once you have your design, prepare the metal blanks.
- Cutting the Blanks: Use metal shears or a rotary tool to cut the blank into the desired shape. For intricate designs, ensure clean edges for a polished look.
- Sanding the Edges: Smooth the edges of the metal blank with sandpaper. This step prevents any sharp edges from causing injury and prepares a clean surface for enamel application.
3. Applying the Enamel
With the metal blanks prepared, it’s time to add the enamel.
- Layering Colors: Using a small brush or a toothpick, carefully apply the enamel paint within the design outlines. Start with light colors before applying darker ones to avoid smudging.
- Heat Application: Once the enamel is applied, use a heat source to set the enamel. Be cautious and follow the manufacturer’s instructions for the specific temperature and duration.
4. Final Assembly and Finishing Touches
After the enamel has set, complete your pins with these final touches.
Attaching Backing
- Choosing the Right Backing: When attaching the backing to your enamel pins, ensure you select a suitable backing type. Pin backings come in various styles, including rubber clutches, metal butterfly clasps, and safety pin backs. Each type has its own advantages, so choose based on your preferences and comfort.
- Preparing the Surface: Before attaching the backing, make sure the rear surface of the enamel pin is clean and free from any dust or debris. This ensures a secure bond between the pin and the backing.
- Applying Adhesive: If using glue, apply a small amount to the center of the pin backing. Be careful not to use too much, as excess glue can seep out when pressed down and may affect the aesthetics. If using a soldering technique, ensure that the soldering iron is preheated and ready for use.
- Positioning the Backing: Carefully align the backing with the center of the rear side of the enamel pin. Press down gently but firmly to ensure a solid connection.
- Allowing Time to Set: After attaching the backing, let the adhesive cure according to the manufacturer’s instructions. This may take a few minutes to several hours, depending on the type of glue used. For soldered backings, ensure the solder has completely cooled and solidified for durability.
- Testing for Security: Once the backing has been attached and any adhesive is fully cured, gently test the connection by pulling on the backing. This ensures it is securely attached and ready for use.
Coating for Protection
- Understanding the Purpose of Coating: Applying a clear coat to your enamel pins serves multiple purposes. It enhances durability, protects the design from scratches, and adds a layer of gloss that can elevate the appearance of the pin.
- Selecting a Clear Coat: Choose an appropriate clear coat for enamel pins. Common options include spray sealants, acrylic finishes, or epoxy coatings. Each type has different characteristics, so refer to the product specifications to determine what works best for your pins.
- Preparing to Apply the Clear Coat: Make sure your enamel pins are clean and dry before applying the clear coat. Removing any dust or fingerprints will help achieve a smooth finish.
- Application Method: If using a spray sealant, hold the spray can about 6-12 inches from the pin and apply a light, even coat. For brushes, dip the clean brush into the clear coat and gently apply a thin layer over the entire surface. Be careful to cover all areas without over-saturating, which can result in drips.
- Drying Time: Allow the clear coat to dry completely according to the manufacturer’s recommendations. This could take anywhere from a few hours to overnight, depending on the product used.
- Ensuring Long-lasting Protection: Once the coating has dried, inspect the pins to confirm that a uniform layer has been applied. This additional layer will help your enamel pins withstand daily wear and tear, keeping them looking fresh and vibrant over time.
Troubleshooting Common Issues
1. Uneven Enamel Application
How to make enamel pins? If the enamel appears uneven after drying, there are a few options.
- Sanding and Resurfacing: Lightly sand the surface and reapply enamel paint. This can help achieve a smooth finish.
2. Peeling or Chipping
If you notice peeling or chipping after final assembly, consider the following:
- Improper Heating: Ensure that your heating method is consistent and effective. This might require adjusting the tool’s heat settings or applying more heat for sufficient adherence.

Frequently Asked Questions
How do you make enamel pins at home?
To make enamel pins at home, gather the necessary materials, design your pin concept, cut and prepare metal blanks, apply enamel, attach backings, and finish with a protective coating if desired.
How are enamel pins made?
Enamel pins are made by shaping metal into desired designs, filling the shapes with enamel paint, and curing the paint to create a durable finish. The process involves precise techniques to ensure quality and visual appeal.
How can I create my own pin?
To create your own pin, start by designing it, prepare the metal blank, apply enamel paint in your chosen colors, and finally, attach a pin backing to complete the process.
What kind of enamel is used on pins?
The most common type of enamel used on pins is hard enamel, which is durable and scratches resistant, making it ideal for high-quality pins. Soft enamel is used as well but may not be as long-lasting.
Conclusion
Learning how to make enamel pins from scratch not only allows you to create personalized, stylish accessories but also encourages creativity and resourcefulness. The process is enjoyable and gratifying, providing opportunities to express your individuality through unique designs.
By following the steps outlined in this guide and employing the tips shared, you can embark on creating stunning enamel pins that you can proudly wear or share with others. Whether you choose to keep them for personal use or sell them as part of a small business venture, the experience you gain will be invaluable. Gather your materials, unleash your creativity, and start crafting your very own enamel pins today!