Introduction: The Basics of Solar Energy and DIY Panels
As the world moves toward sustainable energy solutions, the demand for solar energy is increasing significantly. Many individuals are seeking ways to reduce their reliance on fossil fuels and embrace renewable energy. One of the most practical and cost-effective methods to achieve this is by learning how to make a solar panel from scratch. This DIY project enables you to create your own energy source while empowering you with knowledge about solar technology and energy conservation.
Creating a solar panel can be an exciting and rewarding experience, whether you are an eco-conscious individual looking to decrease your carbon footprint or a DIY enthusiast keen on exploring renewable energy technologies. In this guide, we’ll provide detailed instructions on building a solar panel, discussing the necessary materials, construction steps, and best practices for maximizing efficiency. Let’s dive into the exciting world of solar energy!
Why Make a Solar Panel?
1. Cost-Effectiveness
Making your own solar panel can be a financially rewarding venture.
- Reducing Initial Investment: Commercial solar panels can be expensive, and installation costs add to that expense. By building your solar panel, you can lower initial costs significantly by sourcing materials locally.
- Long-Term Savings: Over time, the energy savings generated from using your solar panel can compensate for initial expenses. With the ability to generate electricity at home, your reliance on grid energy decreases, leading to ongoing savings.
2. Environmental Impact
Creating your own solar panel contributes positively to the environment.
- Utilizing Renewable Resources: Solar power is a clean and renewable energy source that helps reduce dependence on fossil fuels. By adopting solar energy, you contribute to decreasing greenhouse gas emissions.
- Promoting Sustainability: Using recycled or biodegradable materials in your solar panel construction further supports sustainable practices and emphasizes responsible resource management.
3. Educational Value
Building a solar panel is an excellent hands-on learning opportunity.
- Understanding Solar Technology: This project allows you to understand the fundamental principles of photovoltaic technology, energy conversion, and electrical systems.
- Encouraging Innovation: Engaging in this DIY project inspires ingenuity and problem-solving skills, which can lead to further explorations in renewable energy technologies.
Materials Needed
1. Essential Components
How to make a solar panel? To construct your panel, you will need the following core materials:
- Solar Cells: These are the primary components for converting sunlight into electricity. You may purchase individual solar cells or kits that include pre-wired cells for ease of use.
- Base Material: A sturdy substrate is necessary for mounting the solar cells. Common materials include plywood or plastic sheets, which provide durability and weather resistance.
- Soldering Kit: A soldering iron and solder are required to connect the solar cells electrically. Ensure that you have the necessary tools and accessories to make secure connections.
- Wiring: Copper wiring is essential for connecting the solar cells in series or parallel configurations, depending on your voltage and current requirements.
2. Optional Materials
These additional materials can enhance the panel’s performance and longevity:
- Silicone Sealant: Use silicone to waterproof connections, which protects against moisture and weather conditions. This step is crucial for outdoor solar panels.
- Protective Cover (Glass or Plexiglass): A cover helps shield the solar cells from physical damage and environmental factors, allowing sunlight to enter without obstruction.
- Multimeter: A multimeter will be helpful during the testing phase to measure voltage and current output, ensuring that the solar panel functions as intended.

Step-by-Step Guide
1. Prepare the Base
How to make a solar panel? Start by preparing the base for your panel assembly.
- Cutting the Material: Begin by cutting your plywood or plastic sheet into the desired dimensions. A common size is about 2 to 3 feet in length; however, you can adjust the size based on your preferences and available materials.
- Sanding the Edges: Use sandpaper to smooth out any rough edges on the base material. This prevents injury during handling and helps ensure a snug fit for the solar cells.
2. Arranging and Connecting Solar Cells
Next, you’ll arrange the solar cells on your base material.
- Layout Design: Place the solar cells on the base in a grid pattern. Ensure you position them in such a way that all cells receive optimal sunlight exposure when the panel is in use.
- Connecting Cells in Series: Use your soldering kit to connect the solar cells. Connect the positive terminal of one cell to the negative terminal of the next cell until you complete the desired circuit. This series connection increases the total voltage output.
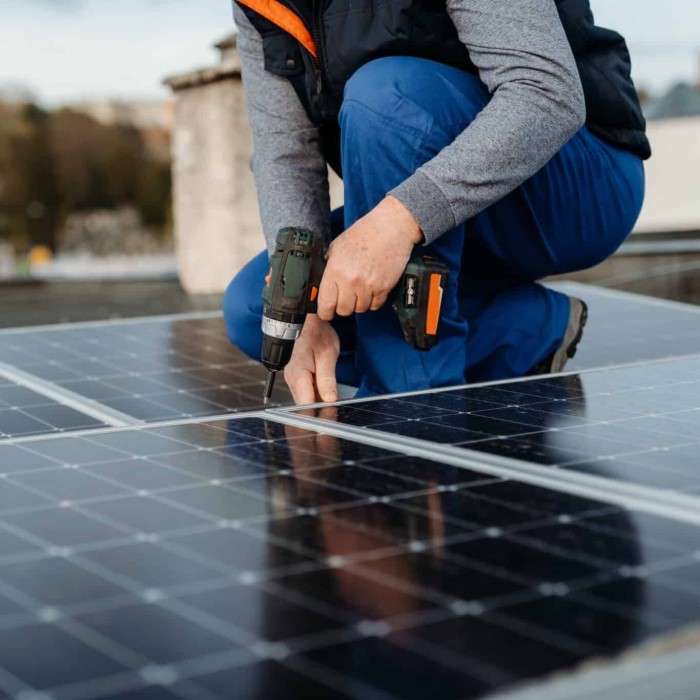
3. Securing the Solar Cells
Once your solar cells are connected, it’s essential to secure them to the base.
- Adhering the Cells: Use silicone sealant or a strong adhesive to attach the solar cells securely to the base. This step helps prevent movement and protects the cells from damage.
- Wiring Connections: Carefully attach the output wires to the first and last cells of the series connection, ensuring they are firmly connected and insulated.
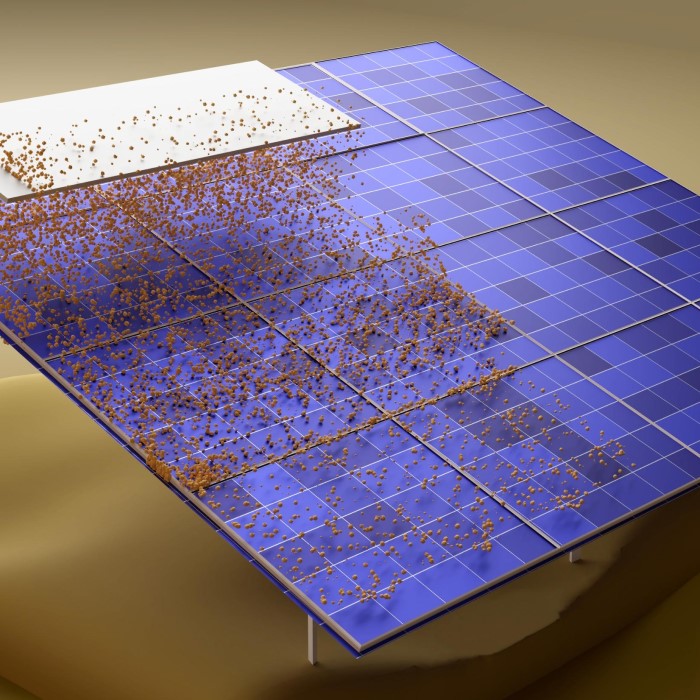
4. Protective Cover and Sealing
To ensure longevity, protecting your solar panel is crucial.
- Cover the Panel: Position a glass or plexiglass sheet over the solar cells, ensuring it doesn’t block sunlight. This protective layer will shield the cells from environmental damage, dirt, and moisture.
- Sealing Edges: Apply silicone sealant around the edges where the cover meets the base. This step prevents dirt and moisture from entering and damaging the internal wiring and connections.
Testing Your Solar Panel
1. Checking Output
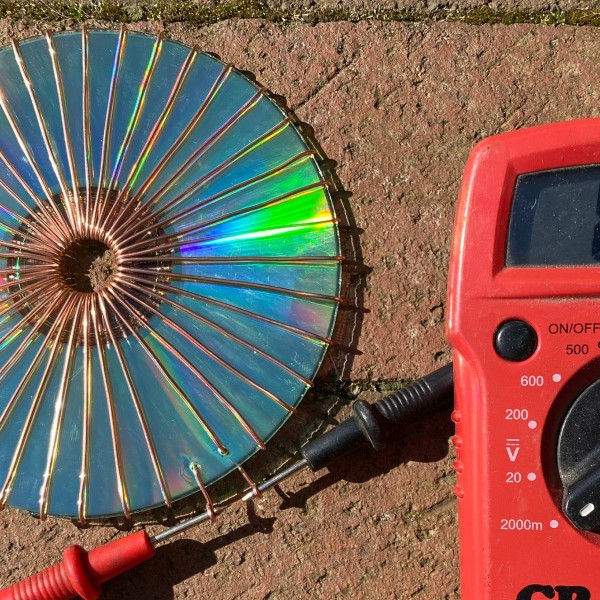
How to make a solar panel? Once your solar panel is complete, it’s time to conduct some tests.
- Using a Multimeter: Connect a multimeter to the output wires of the panel to measure the voltage and current. This allows you to assess whether the panel is functioning correctly and meeting your electrical needs.
- Optimal Performance: Observe how the panel performs in sunlight, adjusting its angle and position to capture maximum solar energy. Even slight adjustments can significantly impact efficiency.
2. Connecting to a Load
Once tested, your solar panel can be connected to a load for practical use.
Wiring to a Battery or Appliance
- Connecting Output Wires: When you’re ready to connect your solar panel, start by identifying the output wires coming from the panel. These are typically positive and negative wires that carry the electricity generated by the solar cells.
- Selecting the Right Battery: Ensure you have the appropriate type of battery for your solar panel. Lead-acid batteries and lithium-ion batteries are common choices. Check that the voltage rating of the battery matches the output of your solar panel to prevent damage.
- Attaching to Battery Terminals: Locate the battery terminals—these are usually marked as positive (+) and negative (-). Attach the positive output wire from the solar panel to the positive terminal of the battery. Similarly, connect the negative wire to the negative terminal.
- Ensuring a Secure Connection: Make sure that the connections are tight and secure to prevent any loss of power. Loose connections may result in inefficient charging or could even lead to electrical hazards.
- Using a Charge Controller: If your solar panel system has a charge controller, connect the wires to the controller instead. The charge controller regulates the power flowing into the battery, preventing overcharging and extending the lifespan of the batteries.
Monitoring Battery Charging
- Regular Checks: It is essential to regularly monitor the charging status of your batteries connected to the solar panel. This can typically be done by checking the battery’s voltage using a multimeter or a dedicated battery monitor.
- Ensuring Effective Energy Supply: Pay attention to the voltage readings. If the voltage is below expected levels, it may indicate that the solar panel is not generating enough energy or that there is an issue with the connections.
- Identifying Performance Issues: Inefficiencies in the system can arise from various factors, including insufficient sunlight exposure, dirty solar panels, or faulty wiring. Regular monitoring helps in promptly identifying any potential problems.
- Checking Battery Health: In addition to monitoring the charging process, it’s important to ensure that the batteries themselves are functioning properly. Look for signs of wear, swelling, or leakage.
- Maintaining Optimal Conditions: Cleaning the solar panels and ensuring they are positioned correctly to capture maximum sunlight can significantly improve charging efficiency. Remember to check for obstructions such as leaves or debris that may block sunlight.
- Documenting Performance Trends: Keeping a log of the battery performance over time can help in assessing the health of your solar charging system. Note the charging times, voltage levels, and any inconsistencies. This documentation can help troubleshoot issues in the future.
Frequently Asked Questions
How to create a solar panel step by step?
To create a solar panel step by step, gather the necessary materials, cut and prepare your base, arrange and connect the solar cells, secure them to the base, and finally, protect the panel with a cover.
How do you produce a solar panel?
Producing a solar panel involves assembling photovoltaic cells, connecting them in a circuit, and encapsulating them in a protective layer that allows sunlight to reach the cells while safeguarding them from damage.
What are the raw materials needed to make solar panels?
The raw materials required to make solar panels typically include silicon for the cells, metals for electrical connections, glass for protection, and various adhesives or fillers to form compact assemblies.
Conclusion: Empower Yourself with Solar Energy
Learning how to make a solar panel from scratch is not only a gratifying DIY project but a meaningful step toward embracing renewable energy. By understanding the construction process, you gain insight into how solar technology works, enriching your knowledge of sustainable practices.
The skills you acquire through building your solar panel can inspire you to explore further possibilities in renewable energy applications, leading to more DIY projects that help save money and positively impact the environment. So gather your materials, embark on this exciting project, and enjoy the benefits of harnessing solar energy for your home or community! With the right approach, you can take a significant step towards a more sustainable future.