Introduction: The Charm of a Fabric Bulletin Board
Creating a fabric bulletin board is an excellent way to merge functionality with style in your home or office. A well-designed bulletin board not only helps you stay organized but also serves as a decorative piece that adds character to your space. With 2026 offering fresh trends, learning how to make a fabric bulletin board can enhance your interior design and personal expression. Let’s dive into how to make a fabric bulletin board and explore its many benefits.
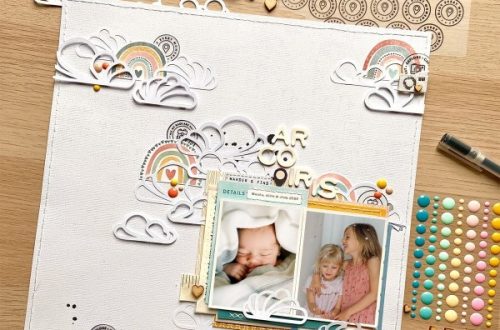
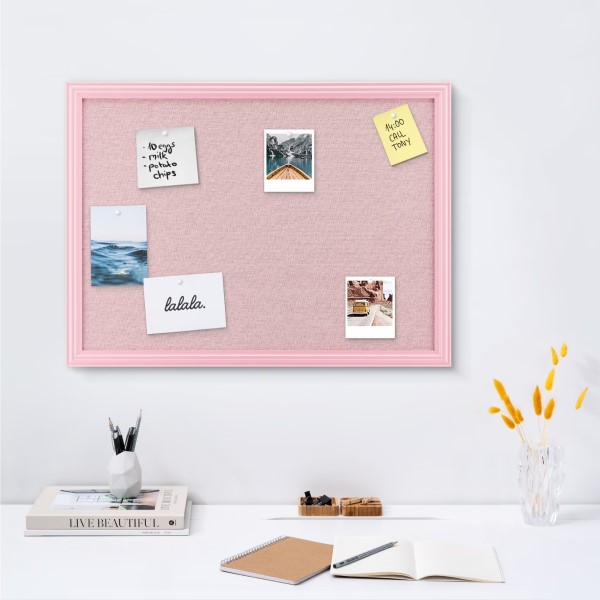
A fabric bulletin board allows you to display notes, memories, photos, and decorative pieces that resonate with your personality. This DIY project can be customized to suit your unique style. The right fabric, frame, and finishing touches can make your bulletin board a standout feature in any room. Whether you are looking to spruce up your workspace or create a cozy nook in your home, a fabric bulletin board is a creative solution.
Why Choose a Fabric Bulletin Board?
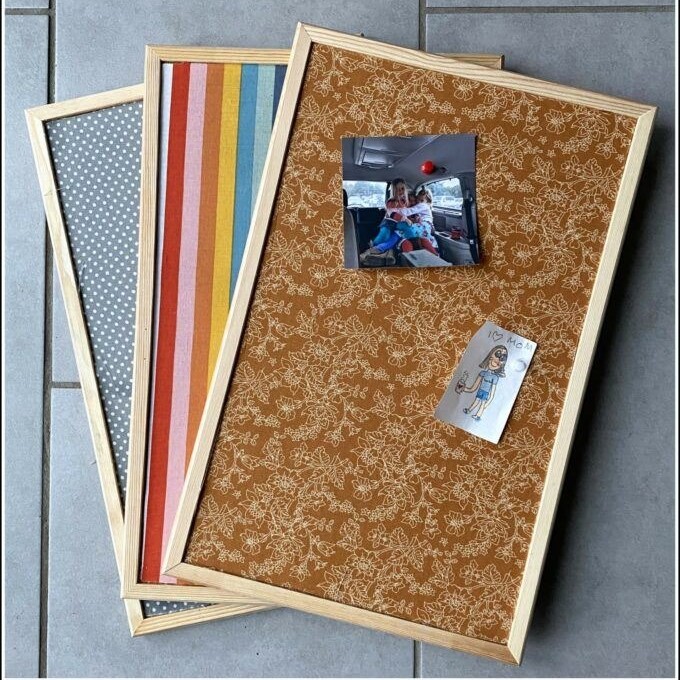
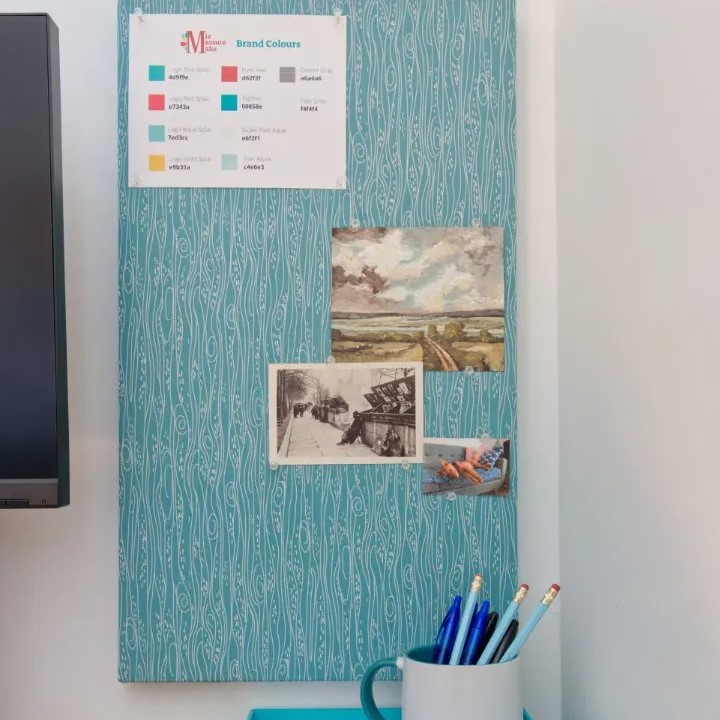
Choosing a fabric bulletin board over traditional cork or paper options can present various benefits. First and foremost, fabric offers numerous design possibilities. You can select patterns, textures, and colors that align with your decor, ensuring the bulletin board complements your overall aesthetic.
Moreover, fabric boards are more versatile when it comes to pinning items. Unlike cork boards, where pins can get lost in the material or wear down over time, a fabric bulletin board provides better grip and stability for your pins. This feature allows you to confidently display important notes, photographs, and creative inspirations without fear of losing them.
Additionally, a fabric bulletin board is easier to personalize. You can change the fabric or add embellishments over time, creating a continually evolving piece of art that reflects your current style. This adaptability contributes to the longevity of the board, making it not just a temporary solution but a lasting element of your space.
Gathering Your Materials
Before diving into the creation process, it’s essential to gather all the necessary materials. Here’s a comprehensive list to help you get started:
- Fabric: Choose a fabric that matches your decor style. Cotton, linen, or upholstery fabric can provide a solid base.
- Bulletin Board Base: This could be a cork board, foam board, or even plywood as the base for the bulletin board.
- Batting or Padding: This optional addition can help create a softer surface for pins. It’s great if you plan to pin items frequently.
- Staple Gun or Adhesive: A staple gun allows for quick and secure attachment of the fabric. Adhesive can also be used depending on the base material.
- Scissors: Sharp scissors are necessary for cutting fabric and batting to size.
- Ruler or Measuring Tape: Accurate measurements ensure everything fits properly.
- Decorative Items: Consider ribbons, buttons, or embellishments to personalize your bulletin board once the base is completed.
By having all these items at hand, the crafting process will go smoothly, allowing you to focus on creating a beautiful fabric bulletin board.
Step-by-Step Guide: How to Make a Fabric Bulletin Board
Now that you have your materials ready, let’s walk through the steps to create your own fabric bulletin board:
- Measure Your Board: Start by measuring the size of your bulletin board base. Use a ruler and write down the dimensions to guide your fabric cutting.
- Cut the Fabric: Cut your fabric according to the measurements you’ve taken, adding an extra 2-3 inches on each side for wrapping around the edges. If using batting, cut it to the same size as the board.
- Adhere the Batting: If you’re using batting, lay it on the board. Staple it down along the edges, pulling gently to avoid wrinkles.
- Position the Fabric: Place the fabric over the board and smooth it down. Ensure the pattern is oriented the way you want.
- Secure the Fabric: Starting from one side, wrap the fabric around the edge and secure it to the back of the board using staples. Repeat this on all sides, making sure the fabric is taut but not overly stretched.
- Finishing Touches: After securing the fabric, trim any excess fabric at the back and ensure everything is neat. You may also add decorative borders or ribbons at this point to complete the look.
- Hang or Display: Your fabric bulletin board is ready to display! Consider where you’d like to hang it, whether it’s in an office, kitchen, or bedroom.
By following these steps, you’ve created a practical and visually appealing fabric bulletin board!
Ideas for Decorating Your Fabric Bulletin Board
Once your fabric bulletin board is assembled, you might wonder how to enhance its appearance further. Here are some creative ideas to consider:
Add a Colorful Border
- Materials Needed: Start by gathering materials like ribbon, decorative tape, or washi tape in various colors and patterns.
- Application Process: Carefully apply the tape or ribbon along the edges of the board, ensuring that it’s straight and evenly placed to create a polished finish.
- Impact on Aesthetics: This simple addition not only frames your board but also adds a pop of color that draws the eye, enhancing its overall appearance.
- Defining Boundaries: Besides aesthetics, the border helps to clearly demarcate the space of the bulletin board, making it feel more organized and intentional.
Incorporate Photos and Artwork
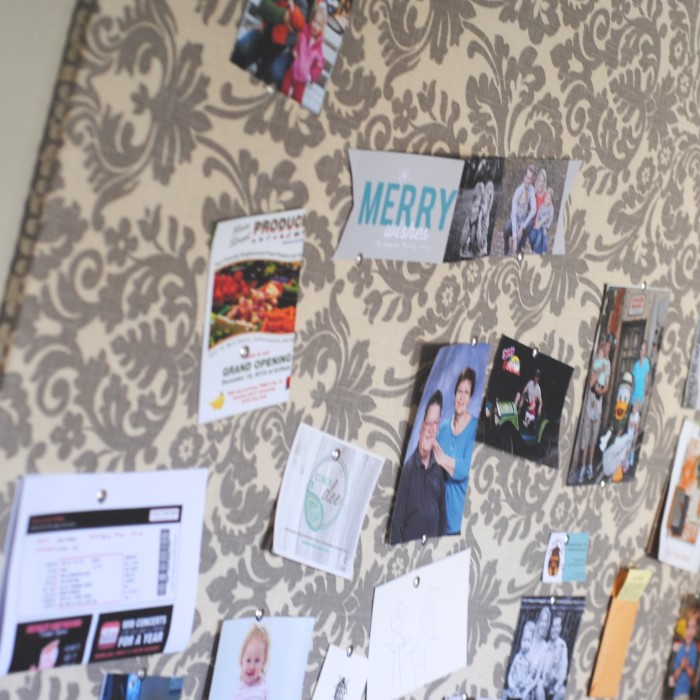
- Personal Selection: Choose photos, postcards, or artwork that resonates with you personally—these could be cherished memories, inspirational images, or pieces from friends and family.
- Arranging for Effect: Experiment with different layouts when pinning these items to create a visually engaging display. Use various sizes and orientations to add dynamism.
- Reflecting Personal Style: This customization transforms your bulletin board into a reflection of your personality and interests, making it a unique piece that stands out.
- Encouraging Engagement: By surrounding yourself with images that you love, you ensure that the board remains a source of joy and inspiration.
Incorporate Seasonal Themes
- Planning Seasonal Changes: Stay attuned to the calendar and plan ahead for decorations that align with upcoming seasons or holidays.
- Examples of Seasonal Decor: For instance, in autumn, you might use artificial fall leaves or orange and brown colors, while in spring, opt for floral designs or pastel colors.
- Keeping Things Fresh: Changing decorations periodically keeps the bulletin board feeling new and relevant, which can make it more engaging over time.
- Creating Anticipation: Seasonal themes can also build excitement for upcoming events or festivities, enhancing your environment.
Use Inspirational Quotes
- Choosing Quotes: Gather a selection of your favorite motivational quotes or affirmations from books, speeches, or personal sources that resonate with you.
- Display Techniques: Pin these quotes in creative ways; consider using colorful paper, decorative frames, or even handwritten notes to add a personal touch.
- Daily Motivation: Having these quotes visible serves as a daily reminder to stay focused and inspired, positively influencing your mindset and productivity.
- Encouraging Reflection: Regularly updating or rotating your quotes can keep the content fresh and continue to challenge and inspire you.
Create a DIY Calendar
- Framework for the Calendar: Use a section of your bulletin board to create a calendar layout. You could use sticky notes, printed templates, or even chalkboard paint for a reusable feature.
- Marking Important Dates: Write down important events, birthdays, deadlines, or appointments to ensure you stay organized and on track.
- Combining Functionality with Decor: This functional aspect makes the board not just a decorative piece but also a practical tool that enhances your daily life.
- Encouraging Organization: Regularly updating your calendar can help reinforce a sense of order and responsibility, contributing to overall time management.
These ideas not only enhance the appearance of your fabric bulletin board but also increase its functionality, ensuring it serves as a stylish organizational tool.

FAQs About Fabric Bulletin Boards
1. Can you DIY a bulletin board?
Absolutely! Making a DIY bulletin board is a fun and creative project, allowing you to customize your board according to your style and preferences.
2. How to make a fabric noticeboard?
To make a fabric noticeboard, select your materials, measure and cut the fabric and board, adhere the fabric to the board, and finish it with decorative touches. The step-by-step guide laid out above can help you through the process.
3. What is a fabric bulletin board?
A fabric bulletin board is a soft and stylish board used for pinning notes, photos, and reminders, often made with a layer of fabric over a sturdy base. It combines functionality with aesthetics, making it a versatile addition to homes and offices.
Conclusion: Enhance Your Space with a Fabric Bulletin Board
In conclusion, creating a fabric bulletin board is an enjoyable and fulfilling DIY project that can transform and personalize any space. By following the steps outlined, you can design a bulletin board that suits your style and meets your organization needs.
The ability to customize both the fabric and embellishments allows for a truly unique piece that reflects your personality. As you explore how to make a fabric bulletin board, remember that the joy of crafting lies in your unique touch. Enjoy the process and let your creativity shine, resulting in a beautiful addition to your home or office!