Introduction
When it comes to creating beautiful paintings, the foundation of your artwork is just as important as your choice of colors and materials. Stretched canvas for painting is a popular choice among artists because of its versatility and durability. A well-prepared canvas not only enhances the overall quality of your work but also affects how paint adheres and dries. In this guide, we will explore useful DIY tips for preparing stretched canvas for painting projects, ensuring that you achieve optimal results in your artistic endeavors.
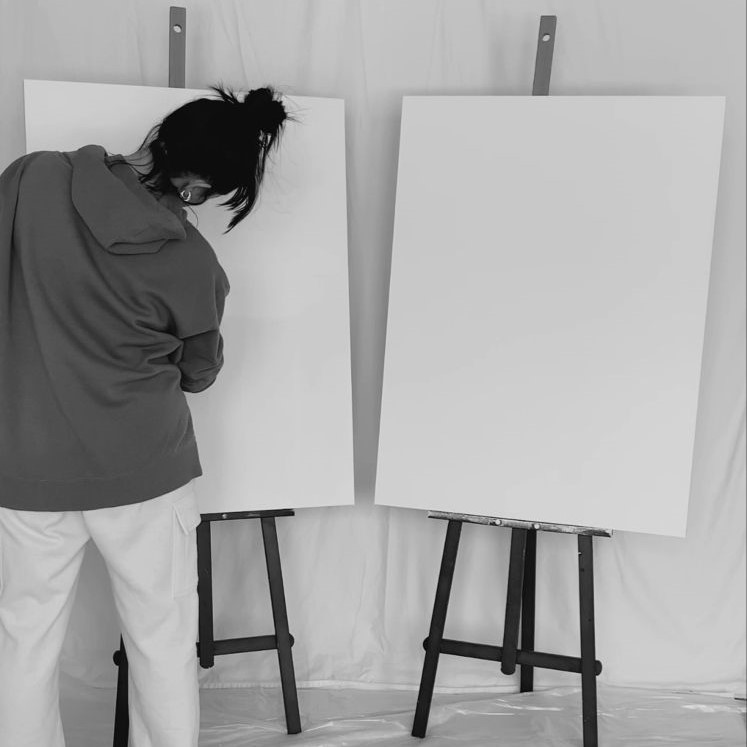
Understanding Stretched Canvas
- What is Stretched Canvas?
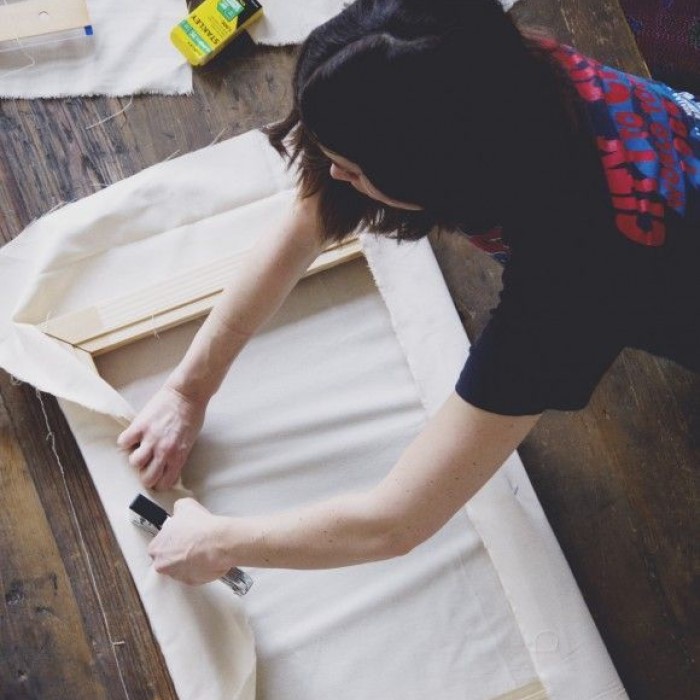
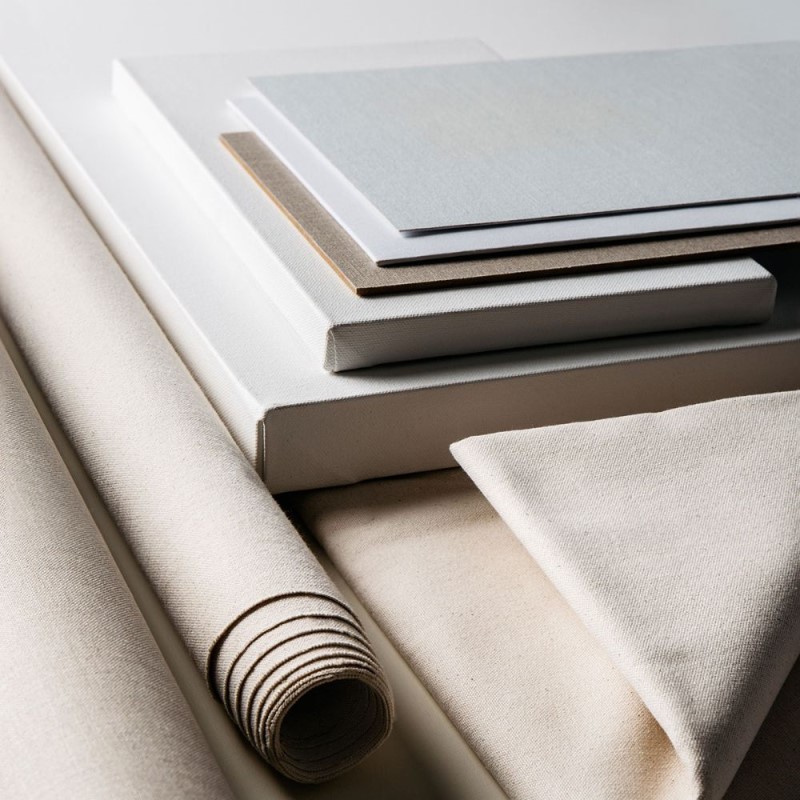
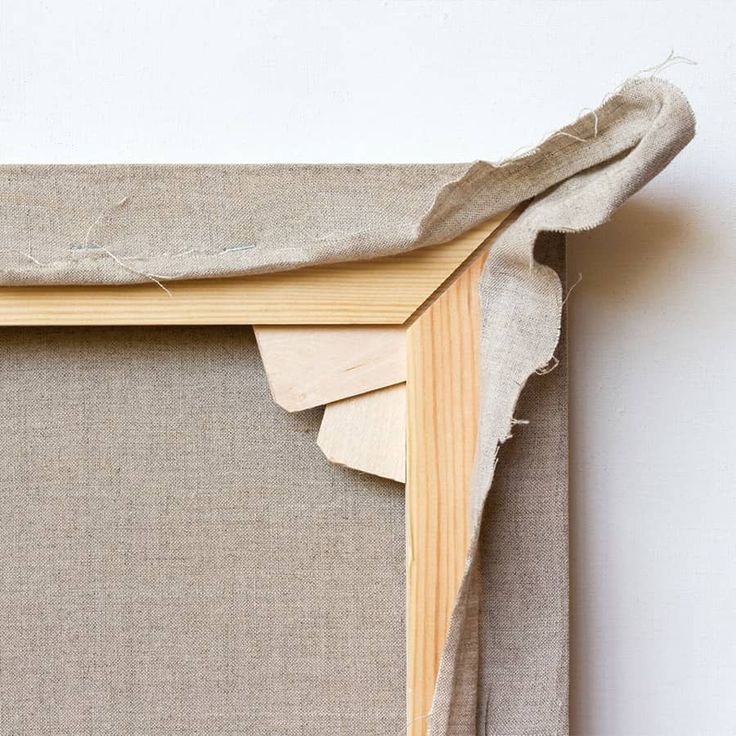
- Stretched canvas refers to high-quality canvas fabric that has been stretched and secured onto a wooden frame, known as a stretcher bar.
- This setup provides a taut working surface, which is essential for various painting techniques.
- Benefits of Using Stretched Canvas:
- One of the primary advantages of using stretched canvas is its sturdy and supportive texture, which can withstand heavy applications of paint without distorting.
- Additionally, stretched canvas is readily available in various sizes, allowing artists to choose the perfect dimensions for their projects.
- Differences Between Canvas Types:
- Unlike canvas panels or rolled canvas, stretched canvas comes ready to use and requires minimal preparation.
- However, proper preparation techniques can enhance the performance of the canvas and affect the final outcome of your painting.
Preparing Your Stretched Canvas: Steps to Follow
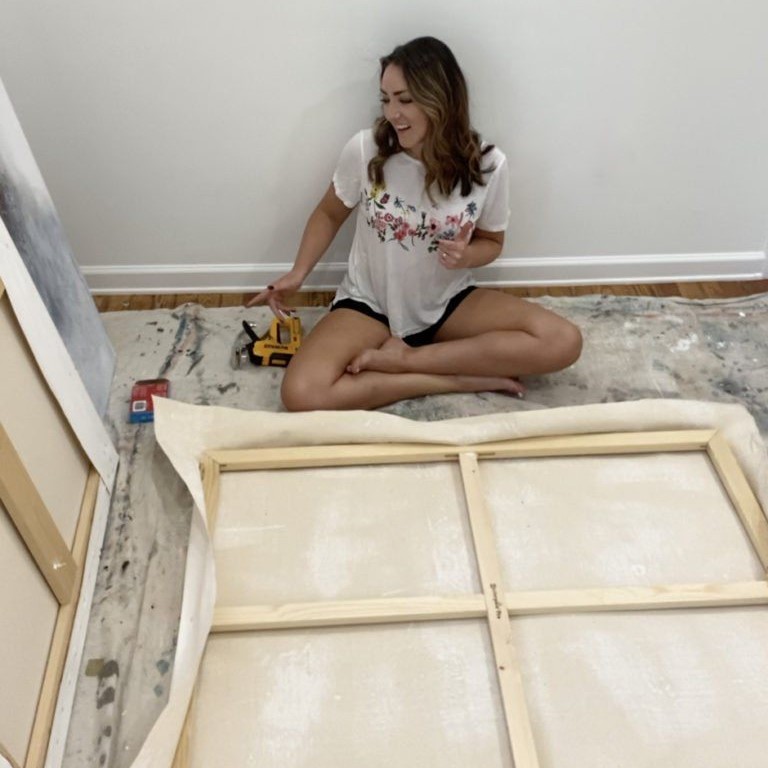
- Gather Your Supplies:
- Before you begin, gather all necessary supplies. You will need your stretched canvas for painting, gesso (a primer for canvas), a paintbrush or roller, and possibly sandpaper for smoothing any rough edges.
- Make sure to work in a well-ventilated area to avoid exposure to fumes from the gesso.
- Assess the Canvas Surface:
- Start by inspecting the canvas surface for any imperfections or irregularities.
- Check for dust, dirt, or fibers that may have accumulated on the surface, as this can affect paint adhesion.
- Clean the Canvas:
- Using a soft cloth or paper towel, gently wipe down the surface of the canvas to remove any debris.
- This step is crucial as a clean surface ensures that the primer adheres properly.
Priming the Canvas with Gesso
- What is Gesso?
- Gesso is a primer specifically designed for preparing canvas surfaces, enhancing paint adhesion and creating a smooth base for painting.
- It comes in various formulations, including acrylic, oil-based, and acrylic-based, so selecting the appropriate type for your paint medium is essential.
- Applying Gesso:
- Use a wide brush or roller to apply a thin, even layer of gesso over the entire canvas surface.
- Make sure to cover the edges as well for a consistent finish. Allow the gesso to dry completely according to the manufacturer’s instructions; this typically takes about one to two hours.
- Sanding for a Smooth Finish:
- Once the gesso is fully dry, you may choose to lightly sand the surface with fine-grit sandpaper.
- This step is optional but can create an ultra-smooth finish that is ideal for detailed painting techniques.
Additional Layers of Gesso
- Applying Multiple Coats:
- Depending on your desired finish, you might consider applying an additional layer of gesso.
- Applying two to three layers of gesso is often recommended, especially if you’re working with high-contrast colors or precision techniques.
- Allowing Drying Time:
- Similar to the first application, ensure sufficient drying time between each layer.
- This will prevent any cracks or peeling in the final paint application.
- Final Surface Check:
- After completing your layers of gesso, make a final check of the surface.
- Look for any inconsistencies and smooth them out as needed before you begin painting.
Choosing the Right Paint for Your Stretched Canvas
- Selecting the Right Medium:
- Knowing whether you will use acrylic or oil paint is crucial in preparing your canvas.
- Acrylic paint adheres well to gessoed surfaces, while oil paints may require special treatment, as they take longer to dry.
- Consider the Color Palette:
- Before you start painting, consider the colors you plan to use.
- Make sure that your selections contrast well with the canvas base to achieve vibrant outcomes.
- Testing Colors:
- It may be beneficial to do a few test swatches on a separate piece of canvas to gauge how the colors will appear once applied.
- This step can help you visualize the final look of your artwork.
Tips for Painting on Stretched Canvas
Use the Right Brushes
- Understanding Brush Types:
- Selecting the appropriate brushes for your painting technique is crucial, as each type is designed for specific purposes.
- Brushes come in various shapes, including flat, round, filbert, and fan, and each offers a unique way of applying paint. Understanding these differences can help you choose the right tool for your artistic vision.
- Fine-Tipped Brushes for Details:
- Fine-tipped brushes are ideal for intricate work and detailed areas.
- These brushes allow you to execute precise lines and delicate designs, making them perfect for detailing, such as facial features, fine textures, or intricate patterns. Artists often use these brushes to add depth and realism to parts of their artwork.
- Broader Brushes for Larger Areas:
- For larger areas or backgrounds, broader brushes are more efficient.
- Flat or large round brushes enable you to cover extensive sections quickly while maintaining control over your brush strokes. Using these brushes can help create smooth washes of color, gradients, or even bold applications of paint.
- Experimentation with Brushes:
- It’s also beneficial to experiment with different brushes to discover which ones suit your style and technique.
- Trying out various brush types can lead to new effects and textures in your artwork, allowing for creative exploration and innovation.
Start with a Sketch
- Importance of Planning:
- Before diving into the actual painting process, starting with a sketch is a valuable step.
- Sketching allows you to visualize your ideas on the canvas, ensuring you have a clear plan for your composition. This foundational step can save time and minimalizes mistakes later on.
- Choosing Sketching Tools:
- Use a pencil or charcoal to create your initial design lightly on the canvas.
- A pencil allows for fine lines and easy corrections, while charcoal offers a richer, darker line that can add immediate contrast under a layer of paint. Depending on your preference, each tool has advantages in terms of visibility and easiness to erase.
- Following Guidelines:
- By having a sketch to refer to, you will have guidelines that keep you on track during the painting process.
- This structure is particularly beneficial for more complex pieces, as it can help maintain proportions and placement of elements throughout your work.
- Flexibility in Sketching:
- Remember that the sketch does not need to be perfect; it serves merely as a guide.
- Feel free to make adjustments as you paint. Being flexible allows your artwork to evolve and respond to your techniques and creative intuition.
Layering Colors
- Understanding the Layering Technique:
- Layering colors is an effective painting technique, especially on a stretched canvas for painting.
- This method involves applying one layer of paint over another, enabling a more complex and rich texture as the artwork develops.
- Starting with Lighter Colors:
- Begin your layering process with lighter colors, as they tend to have a more translucent quality.
- Applying lighter shades first allows them to serve as a base, making it easier to build depth gradually as you add darker tones over time.
- Gradually Transitioning to Darker Tones:
- Once the initial layer is dry, gradually introduce darker colors to create contrast and dimension.
- This gradual transition helps establish depth and visual interest within your piece. The interplay between light and dark can significantly elevate the overall aesthetic of your painting.
- Creating a Dynamic Visual Effect:
- Layering not only enhances depth, but it also contributes to a dynamic visual effect that draws the viewer’s eye.
- By thoughtfully building up layers, you can create richness and vibrancy, ensuring your artwork captivates and engages its audience.
- Tips for Successful Layering:
- Allow each layer to dry before adding the next one to prevent muddying your colors.
- Using a palette knife for texture or glazing techniques can further enhance the dimensionality of your work, making your final piece truly unique.
FAQs About Stretched Canvas Painting
- Is it better to paint on a stretched canvas?
- Many artists prefer stretched canvas for its stability and support, which allows for a variety of techniques without warping or bending.
- Do professional artists stretch their own canvas?
- Some professional artists stretch their canvas to customize sizes and ensure the quality of the materials used. However, many also use pre-stretched canvases for convenience.
- What is the difference between canvas and stretched canvas?
- Canvas refers to the fabric material, while stretched canvas is when that fabric has been mounted onto a frame, providing a ready-to-use surface for painting.
- What is stretched canvas used for?
- Stretched canvas is primarily used for painting with oils or acrylics and is popular for creating artwork, including portraits, landscapes, and abstract pieces.
Conclusion: Get Ready for Your Next Painting Project
In conclusion, preparing stretched canvas for painting is an essential step that can significantly influence the success of your artwork. By following the steps outlined in this guide, you can ensure that your canvas is not only clean and primed but also ready to showcase your creativity.
Whether you are a beginner or an experienced artist, adequate preparation will allow your colors to shine and your techniques to come to life. Embrace the exciting world of stretched canvas painting and enjoy the process of creating stunning visual art!