Introduction: Embracing Kawaii Culture with Perler Beads
In the world of crafting, kawaii perler bead patterns provide a delightful avenue to express creativity and cuteness. Drawing inspiration from Japanese culture, “kawaii” translates to “cute” and encompasses a wide range of designs, from adorable characters to charming everyday objects. Using perler beads to create kawaii designs is not only fun but also a rewarding way to craft personalized items that reflect your unique style.
This DIY guide focuses on various kawaii perler bead patterns, offering step-by-step instructions for creating your projects. Whether you’re a beginner or an experienced crafter, you will find something enjoyable to create. Let’s dive into the enchanting world of kawaii perler beads and explore how you can add a touch of cuteness to your craft collection!
What Are Perler Beads?
1. Understanding Perler Beads
- Definition: Perler beads, also known as fuse beads, are small, colorful plastic beads that can be arranged on pegboards to create kawaii perler bead patterns and designs. Once assembled, these beads are fused together using heat, typically from an iron, creating a solid piece.
- Materials Needed: To start creating, you will need perler beads in various colors, a pegboard, parchment paper, and an iron. These materials are widely available at craft stores and online, making it easy for anyone to begin crafting.
2. Why Kawaii Designs?
- Expressive Creativity: Kawaii designs allow crafters to explore their creativity while making cute and charming pieces. Whether designed for personal use or as gifts, these colorful creations bring joy to both the maker and recipient.
- Variety of Patterns: The beauty of perler beads lies in their versatility. From cute animals and characters to food items and seasonal decorations, the options for kawaii designs are virtually limitless.
Step-by-Step Guide to Creating Kawaii Perler Bead Patterns
1. Gather Your Materials
- Before starting, make sure you have all the necessary supplies on hand. You’ll need a variety of perler beads, a suitable pegboard, parchment paper, and an iron. A pair of tweezers can also help with placing beads accurately.
2. Choose a Pattern
- Select a kawaii design that appeals to you. This could be anything from a cute cat, an adorable ice cream cone, or a bubbly cartoon character. Look for templates online, or sketch your ideas if you feel inspired.
3. Arranging the Beads
- Start arranging your selected colors of beads on the pegboard according to your pattern. Take your time with this process, as accuracy is essential for the final appearance. If needed, use tweezers for more precise placements.
4. Fusing the Beads
- Once your design is complete, cover it with parchment paper. Heat your iron to a low setting and gently iron over the parchment paper in a circular motion. This melting process bonds the beads together. Make sure to monitor the fusion to avoid over-melting.
5. Cool and Remove the Design
- After fusing, let your creation cool completely before removing it from the pegboard. This cooling period allows the beads to solidify and hold their shape, ensuring your design remains intact.
6. Display or Use Your Creation
- The finished kawaii perler bead pattern can serve multiple purposes. Consider using your creation as a keychain, coasters, or wall decorations. Personalizing your crafts adds an extra layer of joy to your projects.
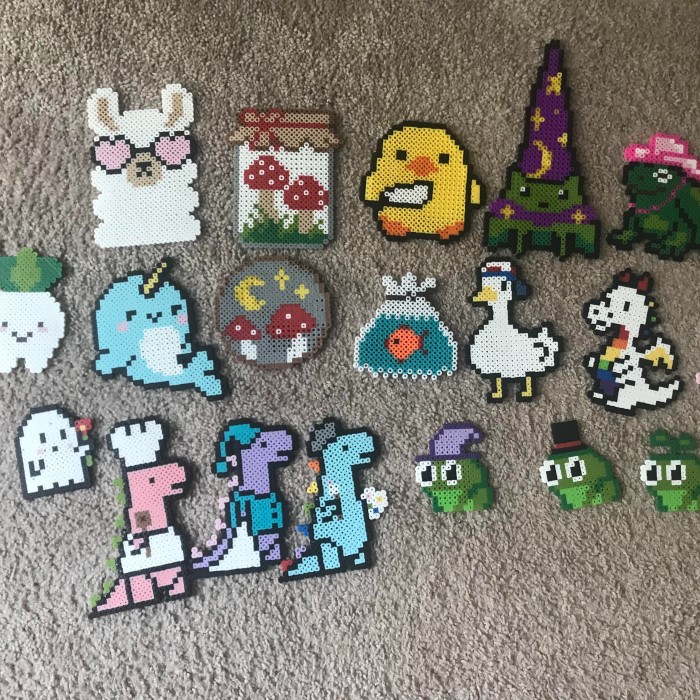
Popular Kawaii Perler Bead Patterns to Try
1. Kawaii Animal Designs
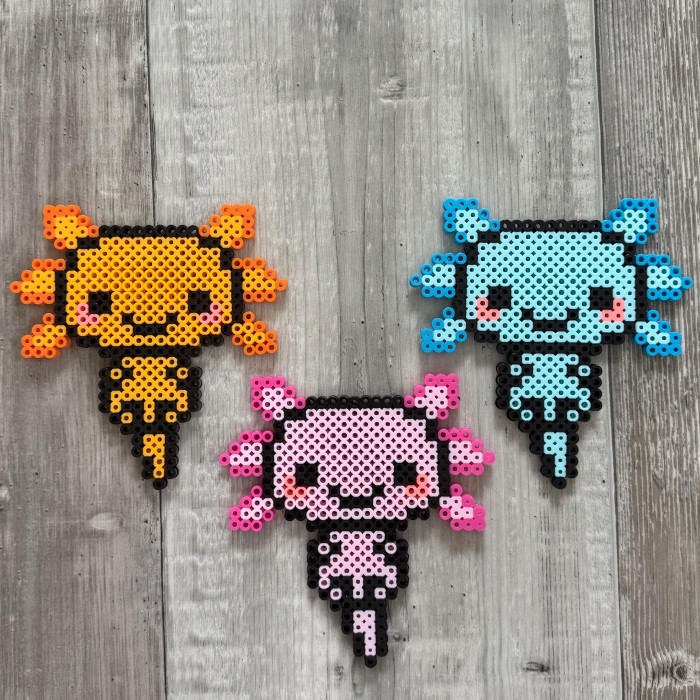
- Adorable Cat: Create a cute cat design complete with big eyes and a cheerful expression. Experiment with different colors for variations in kawaii perler bead patterns.
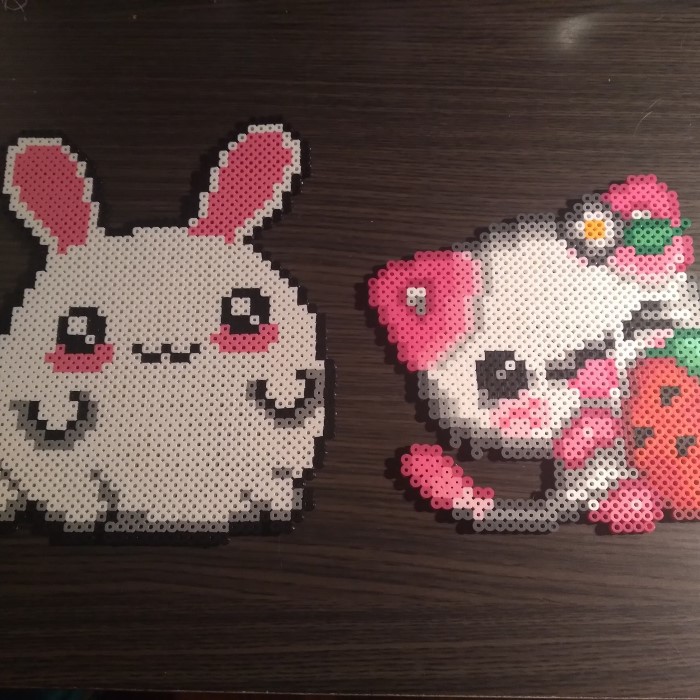
- Bunny Ears: Craft a joyful bunny using soft pastels for an extra touch of cuteness. Adding tiny details like a ribbon can elevate the design.
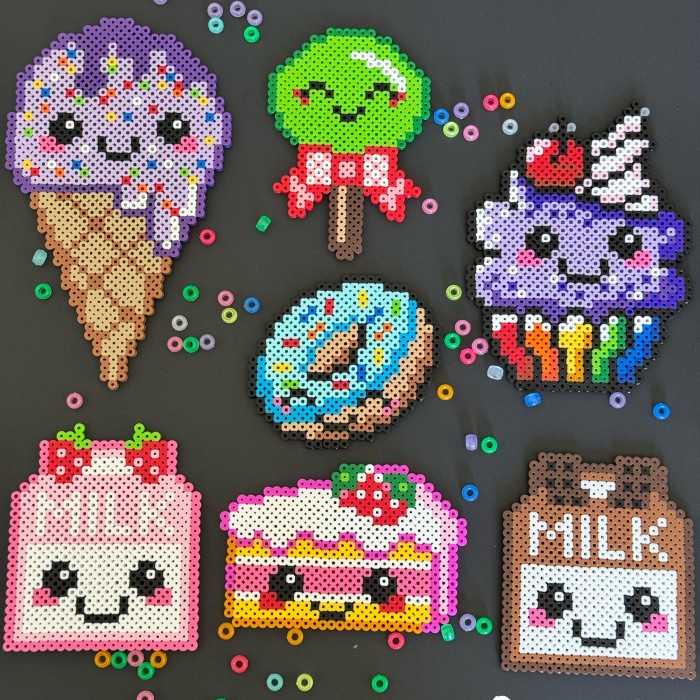
2. Kawaii Food Patterns
- Ice Cream Cone: Design a colorful ice cream cone topped with sprinkles. Use shades of pinks, yellows, and greens for a vibrant look.
- Cute Sushi: Create a fun sushi piece, complete with a smiling face. Use various bead colors for different sushi types, making a complete platter of kawaii treats.
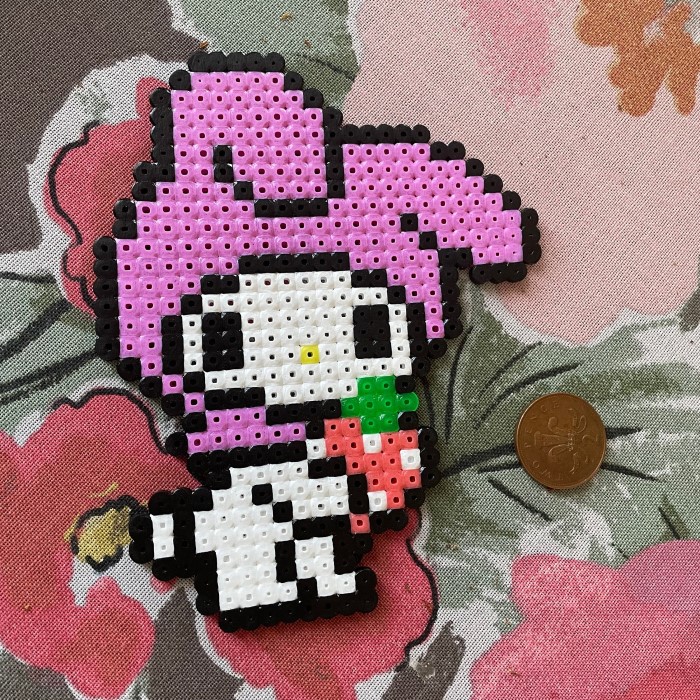
3. Kawaii Characters
- Chibi Characters: Design your favorite chibi-styled character from games, anime, or cartoons. This style emphasizes cute and exaggerated features, perfect for perler bead projects.
- Starry Night: Combine stars and moons into a whimsical design. This celestial pattern radiates charm and can serve as delightful wall art.
Tips for Crafting Kawaii Perler Bead Patterns
Be Patient
- Take Your Time: When arranging your perler beads, it’s essential to move slowly. A deliberate approach allows you to carefully visualize your design, ensuring that each bead is placed correctly according to your intended pattern.
- Focus on Details: Rushing through the arrangement can lead to mistakes, such as placing a bead in the wrong position or using the wrong color. By taking your time, you ensure every detail of your design is just how you envisioned it.
- Avoid Frustration: Mistakes during the arrangement process can be disheartening. Taking your time reduces the likelihood of errors, helping you maintain a positive and enjoyable crafting experience.
- Check Your Work: After placing a certain number of beads, pause to review your progress. This brief evaluation allows you to catch any mistakes early on, preventing potential frustration later.
- Enjoy the Crafting Process: Crafting should be a fun and rewarding experience. Slowing down not only improves the quality of your final product but also enhances your enjoyment throughout the process.
Experiment with Colors
- Mix and Match Boldly: Don’t be afraid to combine different colors in your designs. Exploring various combinations can lead to unique and visually engaging patterns, making your projects stand out.
- Create Unique Designs: Using unexpected color combinations can result in remarkable creations that reflect your individual style. This experimentation adds character and personality to your crafts.
- Consider Seasonal Themes: Experimenting with colors opens opportunities for themed designs. For example, using pastels for spring or rich reds and greens during the holiday season can enhance your creations with seasonal flair.
- Explore Gradation Techniques: Gradual blending of colors within a single design can create depth and visual interest. This technique can elevate your craft from simple to stunning.
- Inspire Yourself with Others: Look at the work of other crafters for color inspiration. Online platforms and crafting communities often showcase innovative designs that can spark new ideas within your work.
Organize Your Workspace
- Sort by Color: Keeping your beads sorted by color is a practical way to simplify the crafting process. Organizing them in labeled containers helps you quickly find the specific colors you need for your current design.
- Reduce Clutter: An organized workspace minimizes distractions and clutter. The fewer items around you, the easier it becomes to concentrate on your craft.
- Prepare for Success: When everything is tidy and in its place, you can focus solely on creativity and design. This will streamline your workflow, allowing for a more enjoyable and efficient crafting experience.
- Use Containers Wisely: Invest in clear containers or sectioned organizers. Transparency allows you to quickly see your bead inventory without having to sift through multiple bags or boxes.
- Keep Your Area Clean: Make a habit of tidying up your workspace before or after each project. This routine maintenance ensures you always have a clean slate for future crafting.
Invest in Quality Beads
- Choose High-Quality Beads: High-quality perler beads melt evenly and consistently, leading to better results. Investing in top-rated brands can prevent frustration caused by poorly melting beads.
- Improve Completion Rates: Quality beads adhere better during the fusing process, which means fewer accidents or breaks in your designs. This reliability leads to successful outcomes every time.
- Avoid Costly Mistakes: Cheaper beads may not only melt poorly but can also result in time wasted repairing mistakes. By starting with quality materials, you save yourself from these complications.
- Enhance Your Art Experience: When using superior materials, crafting becomes more enjoyable and rewarding. The satisfaction derived from high-quality results motivates you to create more.
- Long-Lasting Creations: High-quality materials generally lead to durable finished products. With good beads, your creations will withstand the test of time, allowing you to cherish them or gift them with confidence.
 Join Crafting Communities
- Connect with Fellow Crafters: Engaging with others who share your passion can enhance your crafting experience. Online crafting communities offer platforms to exchange ideas and share inspiration.
- Share and Learn: In these communities, you can share your projects and receive constructive feedback. This interaction can help you refine skills and techniques for future projects.
- Explore Ideas: Access to a broad range of ideas from others can inspire your creativity. Seeing different interpretations of similar themes can ignite new ideas for your own unique designs.
- Participate in Challenges: Many crafting communities host design challenges or contests. Participating in these events can boost your motivation and encourage you to stretch your creative boundaries.
- Foster Lasting Friendships: Engaging with crafting communities can lead to friendships that extend beyond crafting. Sharing a common hobby often results in meaningful connections with like-minded individuals.
Frequently Asked Questions
What were perler beads called in the 90s?
In the 90s, perler beads were commonly known as fuse beads or Hama beads in certain regions. These names still reflect the same concept and crafting process today.
How to make cute melty beads?
To create cute melty beads, follow the same perler bead process. Arrange the colors, fuse them with an iron, and use design templates as inspiration for cuteness.
Are perler beads childish?
Perler beads are enjoyed by people of all ages. While they may initially be associated with children, many adults and crafters enjoy the therapeutic and creative aspects of using them.
Why poke holes in perler beads?
Poking holes in perler beads can create unique designs or kawaii perler bead patterns. Some crafters add holes for attaching loops or to create specific features in their art pieces.
Conclusion: Start Crafting Kawaii Designs Today!
In conclusion, kawaii perler bead patterns offer a delightful way to express creativity and enjoy crafting. Whether you’re a beginner or more experienced, there are countless cute designs to try.
This DIY guide has provided you with the tools, tips, and inspiration to create your charming perler bead art. So gather your materials, unleash your creativity, and let the cute designs flood your crafting space! Happy crafting!