Introduction
In a world filled with digital distractions, one timeless pleasure remains: reading. As you immerse yourself in your favorite books, having the perfect accessories enhances the experience. Cute bookmarks play a unique role by not only keeping your place but also expressing your personality. These simple yet delightful items can reflect your style, interests, and even your favorite quotes. In this article, we’ll explore different collections of cute bookmark and how to choose the right ones to express yourself while enjoying your reading adventures.
The Importance
Aesthetic Appeal
Cute bookmarks come in a variety of designs, shapes, and colors. Unlike standard bookmarks, cute options add an aesthetic appeal to your reading material. When choosing bookmarks, consider how they complement your personal style and book covers. For instance, floral designs may resonate with nature lovers, while minimalistic designs can attract those who prefer a clean look. An attractive bookmark can make the reading experience more enjoyable and inspire you to delve deeper into your books.
Functional Utility
Beyond aesthetics, bookmarks serve a vital purpose. They help readers keep track of their progress without damaging the pages. Cute bookmarks can be functional and enjoyable; they are designed to endure repeated usage without wear and tear. High-quality materials ensure that while expressing your personality, you also maintain functionality.
Conversation Starters
Cute bookmarks can often be conversation starters among friends, especially in book clubs or reading circles. When you pull out an adorable bookmark featuring your favorite character or a unique design, it often leads to discussions about your current read, your favorite genres, or mutual interests. This engagement enriches the reading experience even further.
Types of Cute Bookmark Collections
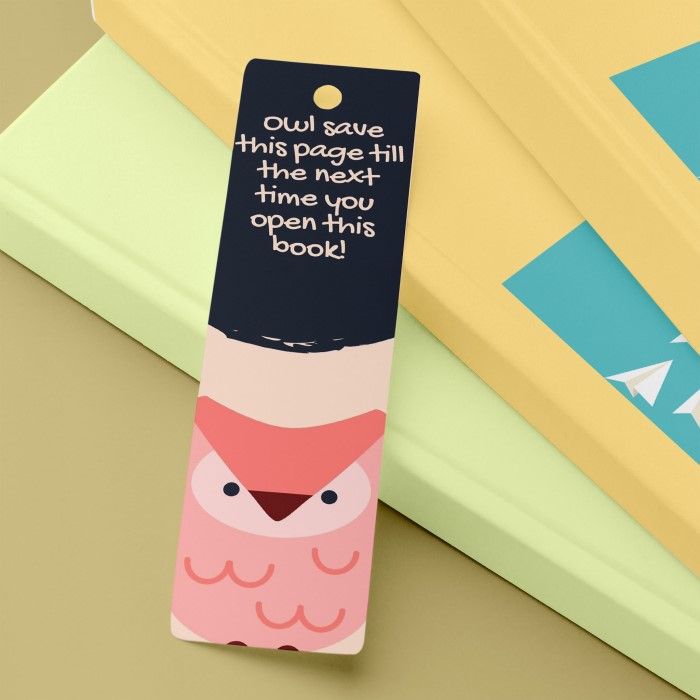
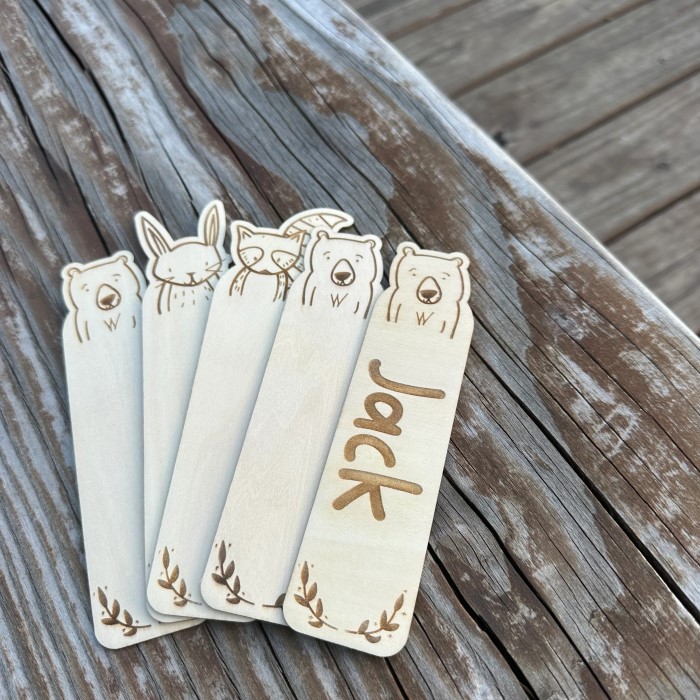
Personalized Bookmarks
Personalized bookmarks stand out among cute collections. These custom designs allow you to express your unique identity. Options include bookmarks engraved with names, favorite quotes, or images reflective of your personality. Personalized bookmarks make excellent gifts for friends and family, as they demonstrate thoughtfulness and consideration. With the rise of online platforms that offer customization, finding the perfect personalized cute bookmark has never been easier.
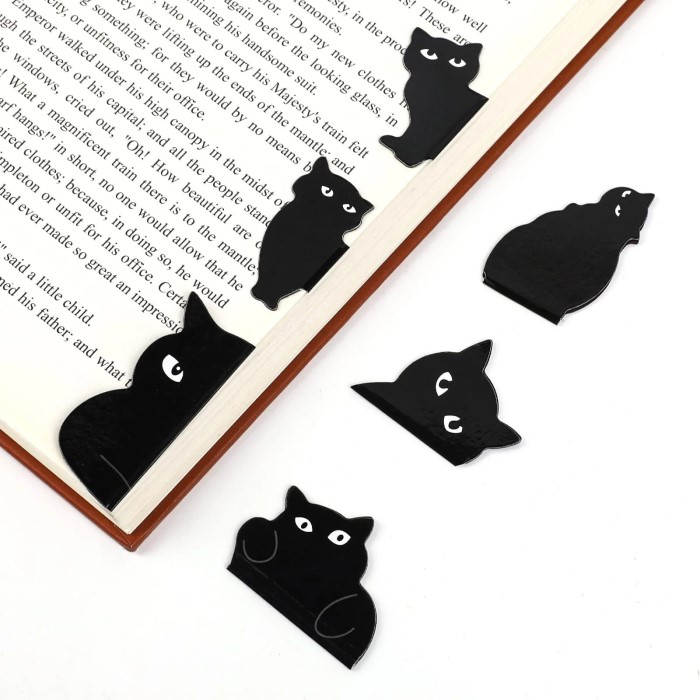
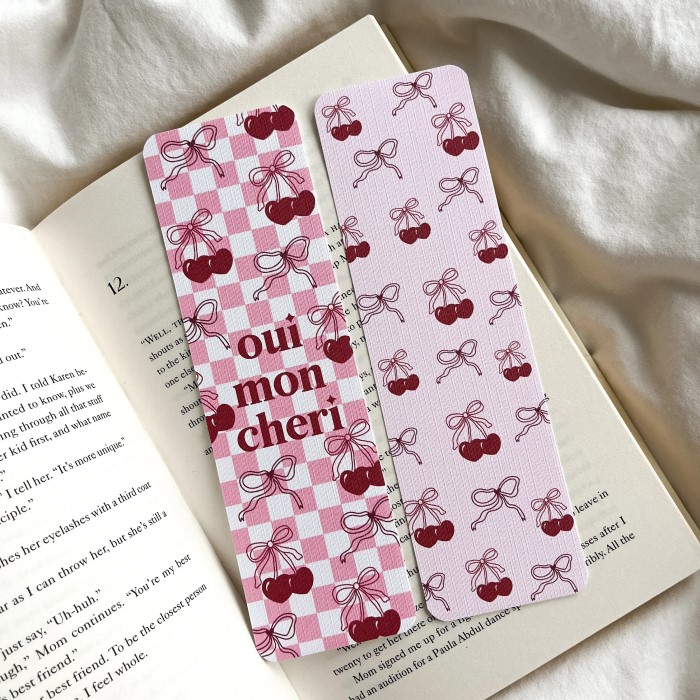
Themed Bookmarks
Themed bookmarks are collections centered around specific motifs or subjects. Whether you adore animal illustrations, fantasy characters, or artistic patterns, themed bookmarks cater to various interests. For example:
- Nature Lover Collection: Featuring designs inspired by flowers, trees, and landscapes.
- Artistic Collection: Showcasing prints of famous artworks, abstract designs, or bohemian patterns.
- Pop Culture Collection: Highlighting characters or elements from movies, TV shows, and books.
These themed bookmarks allow readers to showcase their favorite fandoms or personal interests while keeping their books marked.
DIY Cute Bookmarks
Creating your own cute bookmarks adds a personal touch to your reading accessories. DIY bookmarks are an opportunity to express creativity and utilize materials you already have at home. The next sections will provide some innovative ideas and techniques to create adorable bookmarks that reflect your personality.
How to Make DIY Cute Bookmarks
Materials Needed
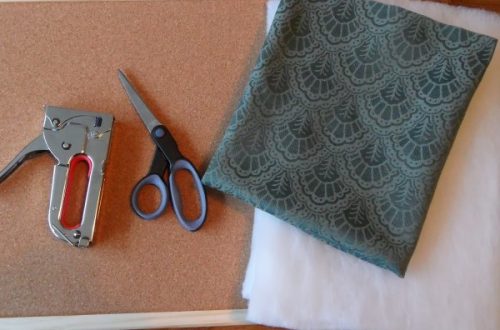
To create DIY bookmarks, gather the following materials:
- Cardstock or decorative paper
- Scissors
- Ruler
- Pencil
- Hole puncher
- String or ribbon
- Markers, stickers, or decorative items
With these materials, you can craft various custom designs for your bookmarks.
Step-by-Step Guide
- Cut the Cardstock: Use the ruler and pencil to measure and mark the desired dimensions. Typical bookmark sizes are 2 inches wide and 6 inches long. Carefully cut the cardstock along the marked lines.
- Decorate Your Bookmark: Use markers, stickers, or decorative washi tape to create unique designs. Personalize the bookmark with your favorite quotes or images.
- Add a Hole: Use the hole puncher to make a hole at the top center of the bookmark. This allows you to add a string or ribbon.
- Attach String or Ribbon: Cut a piece of string or ribbon and thread it through the hole. Tie a knot to secure it, adding an elegant touch to your DIY bookmark.
- Allow to Dry: If you used any glue or wet materials, allow your bookmark to dry completely before using it.
Creating DIY bookmarks is an engaging activity, allowing for untapped creativity and personalized designs.
How to Make a Glowing Bookmark
If you want to enhance your reading experience further, consider making a glowing bookmark. This exciting project can make reading at night more enjoyable.
Materials Needed
- Clear plastic sheet or transparency
- Glow-in-the-dark paint or markers
- Scissors
- Pencil
- Ruler
Step-by-Step Guide
- Create the Bookmark Base: Cut the clear plastic sheet into a rectangular shape, measuring about 2 inches by 6 inches.
- Design the Bookmark: Use the pencil to sketch out the design you want on one side of the plastic sheet.
- Apply Glow-in-the-Dark Paint: Carefully color in the design with glow-in-the-dark paint or markers. The more paint you apply, the brighter the glow will be.
- Let it Dry: Allow the painted bookmark to dry completely, following the instructions on the paint or marker for proper drying time.
- Use Your Glowing Bookmark: Once dry, use your glowing bookmark during nighttime reading sessions. Its luminescent design will guide you through the pages.
A glowing bookmark adds a fun twist to traditional bookmarks while making nighttime reading more convenient.
Choosing the Best Glue for Making Bookmarks
Depending on the materials you use for crafting, selecting the right glue is essential. Here are some options:
PVA Glue (White Glue)
PVA glue is an excellent choice for paper bookmarks. It dries clear, is easy to work with, and provides a strong bond. Best of all, it won’t warp or damage the paper.
Double-Sided Tape
For a quick and mess-free solution, double-sided tape works beautifully. It allows for immediate adhesion without waiting for glue to dry.
Craft Glue
Craft glue is a versatile adhesive perfect for various materials like ribbon, fabric, and paper. Ensure it dries clear to maintain the bookmark’s aesthetics.
By selecting the right glue, your bookmarks will stay intact while showcasing your creative designs.
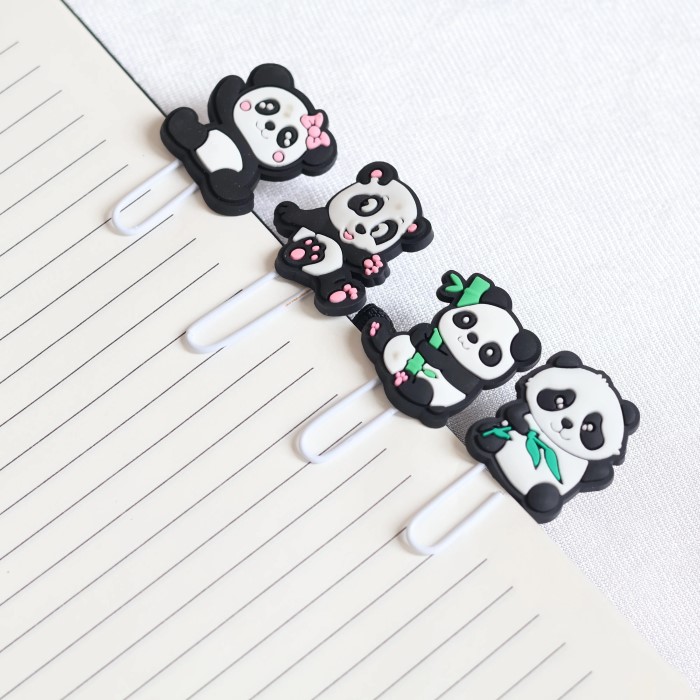
How to Make a Bookmark with a Paperclip
Using a simple paperclip, you can create an adorable bookmark in a few easy steps.
Materials Needed
- Paperclip
- Decorative paper or washi tape
- Scissors
- Stickers or embellishments (optional)
Step-by-Step Guide
Wrap the Paperclip
- Select Your Material: Begin by choosing decorative paper or washi tape that resonates with your style. Look for colors and patterns that inspire you and reflect your personality.
- Measure and Cut: Use scissors to cut a strip of the chosen paper or tape. Ensure the strip is long enough to cover a section of the paperclip comfortably. A length of about 2-3 inches often works well.
- Prepare for Wrapping: Hold the paperclip in one hand and the cut paper strip in the other. Position the paper so you are ready to wrap it around the paperclip.
Secure the Paper
- Align and Wrap: Start at one end of the paperclip and align the decorative paper with the top edge. Gently wrap the paper around the paperclip, ensuring it covers the desired section completely.
- Fasten the Paper: As you wrap, pull the paper snugly to prevent it from slipping. Use glue or a strong adhesive to secure the end of the paper down onto itself or the clip, ensuring it holds firmly in place.
- Check Stability: After securing, run your fingers over the wrapped paper to ensure there are no loose sections. Make adjustments if necessary to keep everything secure.
Add Embellishments
- Choose Your Embellishments: Gather any additional items you want to include, such as stickers, small charms, or decorative beads. These will help personalize your bookmark and add flair.
- Position the Embellishments: Decide where you want to place your stickers or decorations on the wrapped paper. You can add them in a tasteful alignment or create an artistic arrangement, depending on your preference.
- Affix the Embellishments: Use glue or double-sided tape to attach your chosen embellishments to the paperclip bookmark. Make sure they are securely adhered and check that they won’t interfere with the bookmark’s function.
Use and Enjoy
- Final Check: Once you finish decorating, review your paperclip bookmark to ensure everything is secure and to your liking. Make any last-minute adjustments or touch-ups if necessary.
- Ready to Mark Your Books: Your creative paperclip bookmark is now ready for use. Simply take the bookmark and slide it onto the page of any book you’re reading.
- Enjoy Your Reading Experience: With the bookmark in place, you can enjoy your book while knowing that you have a stylish and personalized way to mark your spot. Each time you use it, appreciate the time you took to create something unique!
This simple craft showcases a quick and efficient way to create cute bookmarks without requiring extensive materials or effort.
Conclusion: Express Yourself with Cute Bookmark Collections
Cute bookmarks play a vital role in enhancing your reading experience while offering an excellent avenue for self-expression. With a diverse range of collections available, there is a perfect bookmark for every reader’s personality. Whether you prefer personalized options, thematic collections, or DIY creations, adding cute bookmark to your reading routine enriches the overall experience.
By understanding the different types of cute bookmarks and learning how to craft your own, you can create a unique reading environment that truly reflects who you are. From glowing bookmarks that illuminate your late-night reads to charming paperclip designs, the possibilities are endless. The next time you dive into a new book, ensure you have a delightful cute bookmark at hand to accompany your journey through its pages. Happy reading!