Introduction
In any chemistry lab, beakers are among the most essential tools for experiments. They come in various sizes and are designed for a range of purposes, including mixing, heating, and measuring liquids. Understanding beaker chemistry is crucial for students and professionals alike. This article will delve into the basics of beaker chemistry, covering their uses, types, and best practices. By the end, you will have a better grasp of this fundamental laboratory equipment.
What is a Beaker?
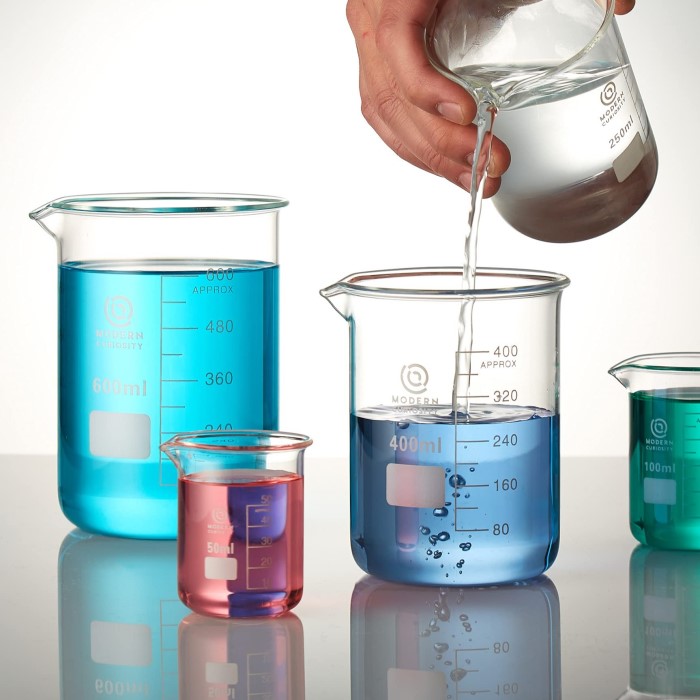
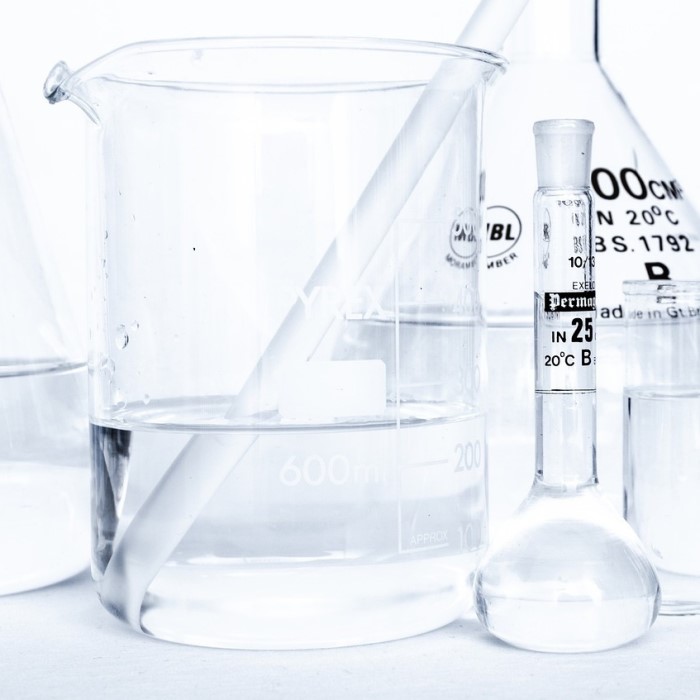
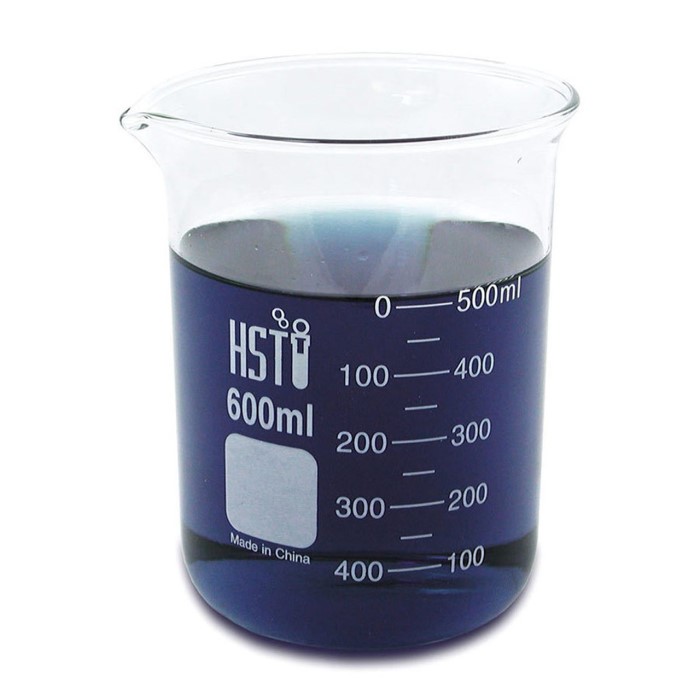
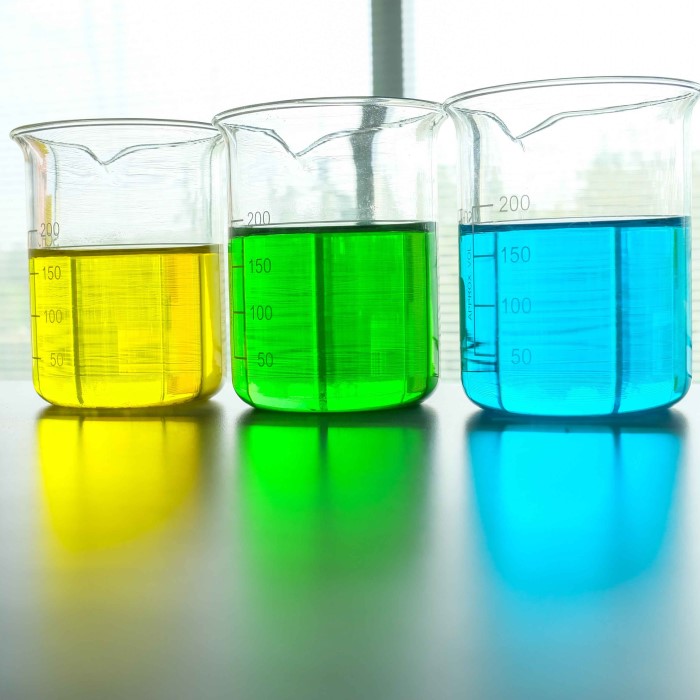
A beaker is a cylindrical container with a flat bottom. It is commonly used for mixing, heating, and measuring liquids in laboratories. Beakers often have a spout for easy pouring and measurement markings on their sides. They come in various sizes and are made from materials like glass or plastic. Glass beakers are common due to their resistance to heat and chemical reactions.
Historical Background of Beakers in Chemistry
The beaker’s origin dates back to ancient glass-blowing techniques. Early alchemists used similar containers for their experiments. Over time, these evolved into modern laboratory beakers. In the 19th century, advancements in glass production standardized beaker designs. Today, they are essential in both educational and professional laboratories worldwide.
Types of Beakers
Beakers come in various designs and materials to meet diverse laboratory needs. Selecting the right type depends on the experiment’s requirements, including heat resistance, chemical compatibility, and precision.
Common Beaker Designs and Materials
Beakers are designed to support different laboratory tasks. Here are the most common ones:
Griffin Beakers
- Design Characteristics: Griffin beakers are characterized by their short and wide shape. This particular design features a flat bottom and straight sides, allowing for easy stirring and mixing of liquids.
- Functionality: These beakers are ideal for a variety of tasks, including mixing solutions and making basic measurements. Their design facilitates efficient mixing, enabling smooth chemical interactions.
- Laboratory Staple: Griffin beakers are considered a staple in most laboratories due to their versatility and practicality. They come in various sizes, which makes them suitable for both small-scale and large-scale experiments. They can be used for anything from simple mixing tasks to more involved experiments, affirming their importance in laboratory settings.
Berzelius Beakers
- Shape and Size: Berzelius beakers are taller and narrower than Griffin beakers. Their elongated design allows for more precise measurements and greater control during experiments.
- Primary Use: These beakers are commonly utilized for titration, which is a technique used to determine the concentration of a solution. The narrow shape helps in reducing the surface area of the liquid exposed to the air, minimizing evaporation and improving accuracy.
- Precision Measurements: The design of Berzelius beakers enhances measurement precision, making them a preferred choice in analytical chemistry and experiments that require exact liquid volumes.
Glass Beakers
- Material Composition: Glass beakers are typically made from borosilicate glass, which is known for its high resistance to thermal shock and chemical reactions. This makes them ideal for a wide range of laboratory applications.
- Heat and Chemical Resistance: The borosilicate composition ensures that these beakers can withstand high temperatures without cracking. Additionally, they resist corrosion and can handle a variety of chemicals, making them suitable for use in experiments involving acids and bases.
- Durability: Glass beakers are highly durable despite their fragile appearance. They are suitable for both heating on a hot plate and routine measurements, as they do not react with most substances, preserving the integrity of the experiments.
Plastic Beakers
- Lightweight and Affordable: Plastic beakers are notably lightweight, making them easy to handle for various laboratory tasks. Moreover, they are often more affordable than glass alternatives, making them accessible for educational settings and budget-conscious laboratories.
- Usage Scenarios: These beakers are excellent for conducting non-corrosive and low-temperature experiments. They are typically made from materials like polypropylene or polystyrene, which provide good chemical resistance for non-aggressive substances.
- Disposability: Many plastic beakers are designed for single-use, allowing for easy cleanup and minimizing the risk of contamination between experiments. This feature makes them particularly useful in clinical or educational settings where quick turnover is necessary.
Metal Beakers
- Specific Applications: Metal beakers are less common in laboratory settings compared to glass and plastic options, but they have unique advantages in certain types of experiments. They are sometimes used in processes requiring durability under extreme conditions.
- Heat Conductivity: One of the significant benefits of metal beakers is their excellent heat conductivity. This property enables them to heat or cool liquid contents quickly and uniformly, making them suitable for reactions that require precise temperature control.
- Material Choices: Typically made from stainless steel or aluminum, metal beakers are resistant to corrosion and can withstand high temperatures and pressures, making them ideal for specialized industrial applications or specific scientific experiments.
Each design and material has unique strengths. Choosing the right one ensures efficiency and safety during experiments.
Standard Sizes and Volumes of Beakers
Beakers are available in many sizes to fit various tasks. Standard volumes range from 5 mL to several liters:
- Small beakers, like 10 mL or 50 mL, are used for minor reactions.
- Medium beakers, around 250 mL to 500 mL, are ideal for common lab mixing and heating.
- Large beakers, like 1 liter or 2 liters, are perfect for industrial-scale experiments.
Measurement markings on beakers are approximate. For precise work, use additional measuring tools. Always match the beaker size with the quantity of liquid to prevent spills and ensure accurate results.
Understanding these types and sizes will enhance your “beaker chemistry” skills and laboratory efficiency.
Importance of Beakers in Laboratory Experiments
Beakers are essential tools for conducting experiments. They assist in measurements, mixing, and chemical reactions effectively.
Accurate Measurement and Mixing
Beakers are key to precise measurements in the lab. They feature markings for rough volume estimation. Their wide shape simplifies mixing liquids, powders, and solutions. Scientists depend on beakers for combining chemicals safely. They prevent spills with their sturdy design and spout.
Proper mixing ensures accurate experimental results. Beakers allow researchers to observe reactions clearly. For consistent mixtures, their flat base ensures stability. This minimizes errors during ingredient preparation.
Role in Chemical Reactions
Beakers are vital for performing controlled chemical reactions. Their heat-resistant materials, like borosilicate glass, support reactions needing heating. They endure extreme conditions without breaking or reacting with chemicals.
In experiments, beakers hold and heat reactants. Their open-top design enables adding substances easily. This aids in monitoring progress or adjusting reactant ratios quickly. Many reaction processes rely on their durability and compatibility.
From small-scale tests to complex formulations, beakers ensure safe and efficient handling. They contribute to understanding properties, behaviors, and interactions between chemicals. Beaker chemistry enhances lab procedures every day.
How to Use a Beaker Effectively
Using beakers effectively requires proper safety measures and handling techniques. These steps ensure experiment success.
Safety Guidelines
- Wear Protective Gear: Always use gloves, lab coats, and safety goggles. This prevents chemical exposure.
- Inspect Beakers: Check for cracks or damage before use. Damaged beakers can fail during experiments.
- Use Heat-Resistant Beakers: For heating, select high-temperature resistant materials like borosilicate glass.
- Keep Work Area Clear: Avoid clutter to reduce the risk of accidents or spills during experiments.
- Follow Chemical Handling Rules: Know the properties of chemicals used to adhere to safe mixing and reactions.
- Heat Gradually: Avoid sudden temperature changes to prevent breakage.
Proper Handling Techniques
- Choose Correct Size: Select a beaker size appropriate for the liquid volume to prevent overflows.
- Hold Beakers Steadily: Use clamps, tongs, or your hand’s grip for stability, especially when pouring.
- Pour Slowly: Pour liquids at a controlled pace through the spout to prevent splashing.
- Mix Properly: Use stirrers instead of shaking to protect beaker integrity.
- Handle Hot Beakers Carefully: Use insulated gloves or grips when dealing with heated beakers.
By following these guidelines and techniques, laboratory work becomes safer and more efficient in “beaker chemistry.”
Cleaning and Maintenance of Beakers
Proper cleaning and maintenance keep beakers in top condition for laboratory work. Regular care prevents contamination and extends their lifespan.
Best Practices for Cleaning
- Rinse Immediately After Use: Rinse beakers with water to remove residues after each experiment.
- Use Appropriate Cleaning Agents: Choose detergents that suit the chemicals used. Avoid abrasive cleaners.
- Scrub Gently: Use soft brushes or sponges to clean beaker surfaces without scratching them.
- Avoid Mixing Substances: Never clean beakers with agents that react with residue from previous substances.
- Dry Thoroughly: Air dry or use lint-free towels to remove moisture completely.
- Store Properly: Keep beakers in a safe, clean place to protect them from dirt or damage.
Preventing Damage and Contamination
- Handle Carefully: Avoid dropping beakers to prevent cracks or scratches.
- Inspect Regularly: Check for chips, cracks, or weak spots before using them.
- Use the Right Beaker: Select ones that suit the experiment, such as chemical-compatible materials.
- Avoid Extreme Heat: Gradually heat beakers to avoid stress or sudden breakage.
- Limit Chemical Exposure: Don’t leave strong chemicals inside beakers for extended periods.
- Label Beakers: Clearly label beakers to prevent mix-ups during experiments.
Following these steps ensures beaker durability and reduces risks in “beaker chemistry.”
Alternative Tools to Beakers
Beakers are versatile, but they aren’t always the best choice in laboratories. Other tools like flasks and test tubes have unique advantages. Knowing when to use alternatives can enhance efficiency and safety in experiments.
Comparison With Flasks and Test Tubes
- Flasks:
- Design: Flasks, such as Erlenmeyer flasks, have narrow necks and conical bodies.
- Benefits: They minimize spillage and are excellent for swirling liquids without losing contents.
- Uses: Ideal for reactions needing containment or heating under controlled conditions.
- Limitations: They aren’t as convenient as beakers for pouring liquids or accessing contents.
- Test Tubes:
- Design: Test tubes are small, cylindrical, and closed at one end.
- Benefits: They are compact and great for observing small-scale reactions.
- Uses: Perfect for experiments with small sample sizes or for heating substances in bunsen burners.
- Limitations: Test tubes aren’t suitable for precise measurements or large-scale mixing.
- Beakers:
- Design: Wide mouths allow easy access, and they have a flat bottom for stability.
- Benefits: Beakers excel at mixing and roughly measuring liquids.
- Limitations: They lack containment, making them less effective for reactions needing isolation.
Each tool has its strengths. The choice depends on the experiment’s requirements.
Situations Where Beakers May Not Be Ideal
- High-Pressure Reactions: Beakers can’t contain pressurized reactions, risking spills or accidents. Use flasks instead.
- Precise Measurements: Beakers lack precision. Graduated cylinders or pipettes ensure better accuracy.
- Controlled Mixing: Unlike flasks, beakers aren’t great for efficient stirring and preventing spills.
- Volatile Reactions: Lidless designs expose substances to air. Sealed containers or flasks work better here.
- Minimal Sample Sizes: For tiny quantities, test tubes or microplates are more practical.
Understanding when beakers fall short helps choose the right tool. This ensures safety and reliable results in laboratory experiments.
Frequently Asked Questions About Beaker Chemistry
Common Misconceptions
- Beakers offer precise measurements: This is not true. Beaker markings provide only rough volume estimates. Use graduated cylinders or pipettes for accuracy.
- All beakers can withstand high heat: Not all beakers are heat-resistant. Only borosilicate glass beakers handle high temperatures safely.
- Beakers are suitable for storing chemicals long-term: This is a misconception. Beakers are open-topped and unsuitable for long-term chemical storage.
- Plastic beakers are always safer than glass: While plastic is shatterproof, it may react with strong chemicals, unlike borosilicate glass.
- A single beaker type works for all tests: Different beakers serve different purposes. Choose them based on your experiment.
Clearing these misconceptions will enhance your “beaker chemistry” understanding and help ensure better experiments.
Tips for Choosing the Right Beaker
- Assess Chemical Compatibility: Select beaker materials that resist reactions with the chemicals you’ll use.
- Consider Heat Requirements: For heating, use borosilicate glass beakers to withstand high temperatures.
- Determine Experiment Size: Match the beaker size to your liquid volume to avoid overflows.
- Inspect Markings: Prefer beakers with clear and accurate measurement markings for better estimation.
- Choose Appropriate Design: Tall, narrow beakers are better for titrations, while wide ones suit mixing.
- Check Durability: Use sturdy beakers for intensive experiments to reduce the risk of breakage.
- Cost Consideration: For routine, low-risk experiments, plastic beakers can be a cost-effective option.
Following these tips ensures you select the best beaker for safe and accurate experiments in “beaker chemistry.”
Conclusion
In summary, understanding beaker chemistry is fundamental for anyone engaged in laboratory work. From recognizing the different types and uses of beakers to mastering measurement techniques and safety protocols, a solid grasp of these basics can significantly enhance your laboratory experience. By applying the knowledge shared in this article, you can effectively utilize beakers and improve your scientific skills. As you continue your journey in chemistry, always prioritize safety and accuracy. Beaker chemistry forms the foundation of many experiments; mastering it will prepare you for more advanced concepts and methods.


