Introduction
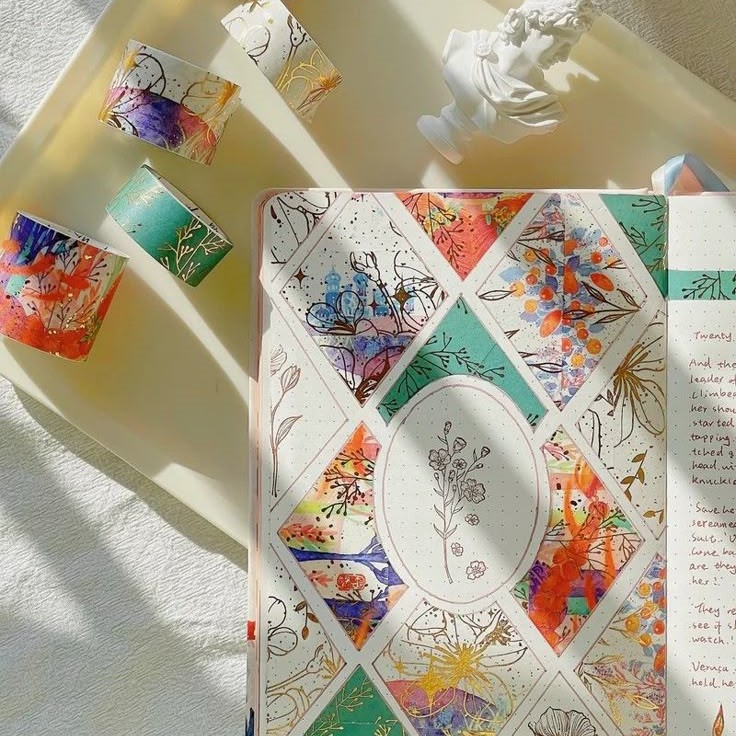
Washi tape art has surged in popularity as a delightful way for people of all ages to express creativity and decorate their surroundings. Originating from Japan, washi tape is a decorative adhesive tape that comes in a multitude of colors, patterns, and widths. Its versatility makes it perfect for a wide range of crafts, including home decor, scrapbooking, card making, and more.
This easy-to-use medium can transform ordinary items into eye-catching art pieces. From simple projects that children can undertake to more complex designs for the seasoned crafter, washi tape art fosters creativity and personal expression. In this article, we will explore exciting DIY projects and ideas that allow anyone to dive into the colorful world of washi tape art.
Why Choose Washi Tape for Your Crafts?
Choosing to work with washi tape comes with numerous benefits, making it an appealing option for crafters. Here’s why washi tape should be your go-to material:
- Ease of Use: Washi tape is incredibly easy to handle. It tears easily and can be repositioned, which is perfect for beginners or those who like experimenting with their designs.
- Variety of Designs: With countless options available, from floral and geometric patterns to themed and seasonal designs, washi tape allows for endless creativity. You can find tapes that match any occasion or color scheme.
- Non-Damaging: When used on walls or other surfaces, washi tape is adhesive enough to stay in place yet gentle enough to remove without leaving sticky residue or damaging paint. This makes it ideal for temporary decorations.
- Lightweight and Portable: Washi tape is lightweight, making it easy to take along to craft events, parties, or just to have on hand for spur-of-the-moment crafting sessions.
- Affordable: Generally less expensive than other craft supplies, washi tape allows you to create stunning projects without breaking the bank. Many stores offer rolls at very reasonable prices.
Essential Tools and Materials
Before you start creating your washi tape art, gathering a few essential materials will help streamline your crafting process:
- Washi Tape: Choose an assortment of washi tapes that appeal to you. Consider buying packs with multiple patterns to give you more flexibility.
- Blunt Scissors: While washi tape can be torn by hand, having a pair of scissors can enable cleaner cuts, especially for layering or creating precise shapes.
- Base Materials: Decide what you want to create. Gather items such as blank canvases, gift boxes, notebooks, picture frames, or any other surfaces you want to decorate.
- Crafting Paper: For projects like scrapbooking or card-making, having a variety of colored cardstock or patterned paper can enhance your designs and provide a solid base.
- Craft Glue or Mod Podge: While washi tape is adhesive, using craft glue can help secure it on more slippery surfaces or when layering and combining with other materials.
- Markers or Pens: Add details or embellishments to your designs with markers or pens. This can provide that extra touch to your finished pieces.
Fun and Simple DIY Washi Tape Art Projects
Now that you have the basic understanding and materials, let’s dive into some fun and simple DIY projects to spark your inspiration:
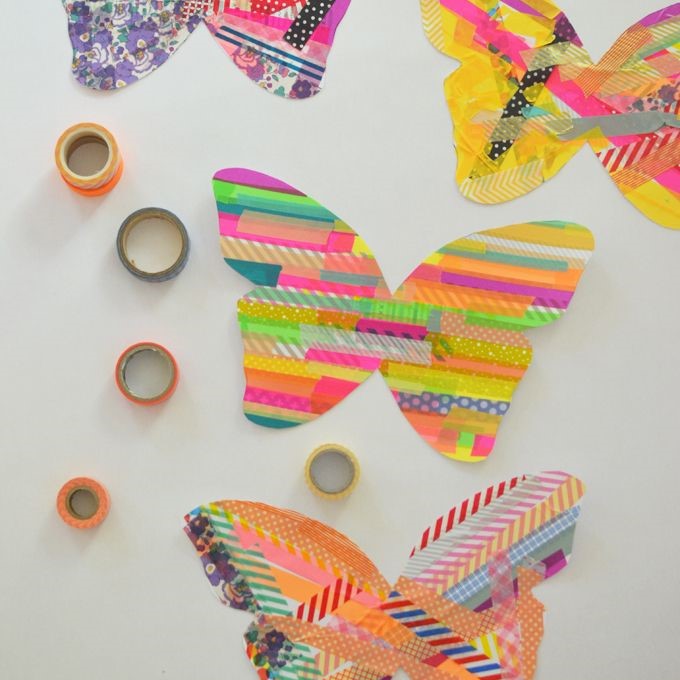
1. Washi Tape Wall Art
Creating stunning wall art with washi tape is straightforward. Here’s how:
- Materials Needed: Several rolls of washi tape, a blank canvas or poster board, scissors.
- Instructions:
- Plan your design on paper. Sketch ideas such as geometric patterns, characters, or abstract forms.
- Start applying washi tape to the canvas, ensuring pieces overlap slightly for coverage.
- Experiment with colors and patterns as you work. The beauty here is flexibility—you can always change designs as you go!
- Once satisfied with your design, display it prominently on your wall.
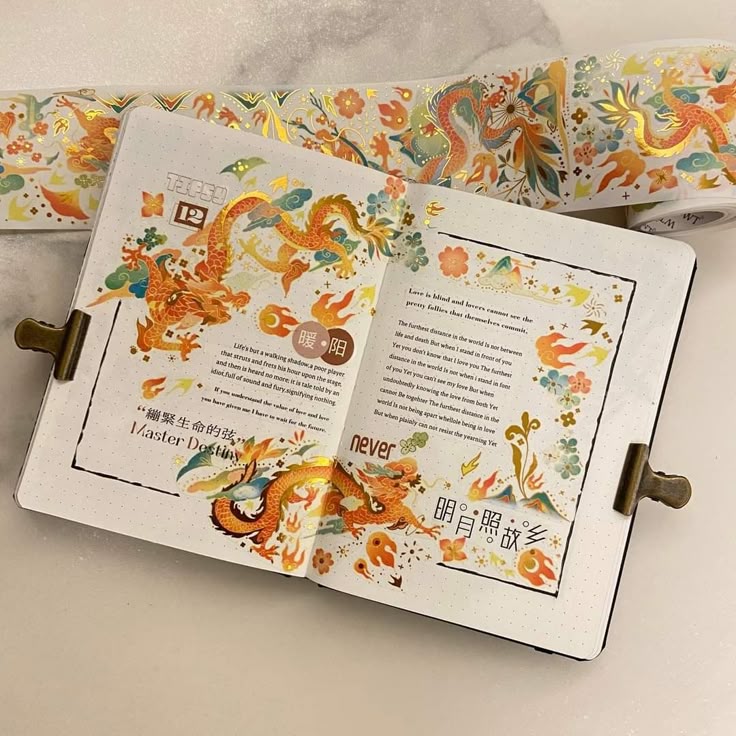
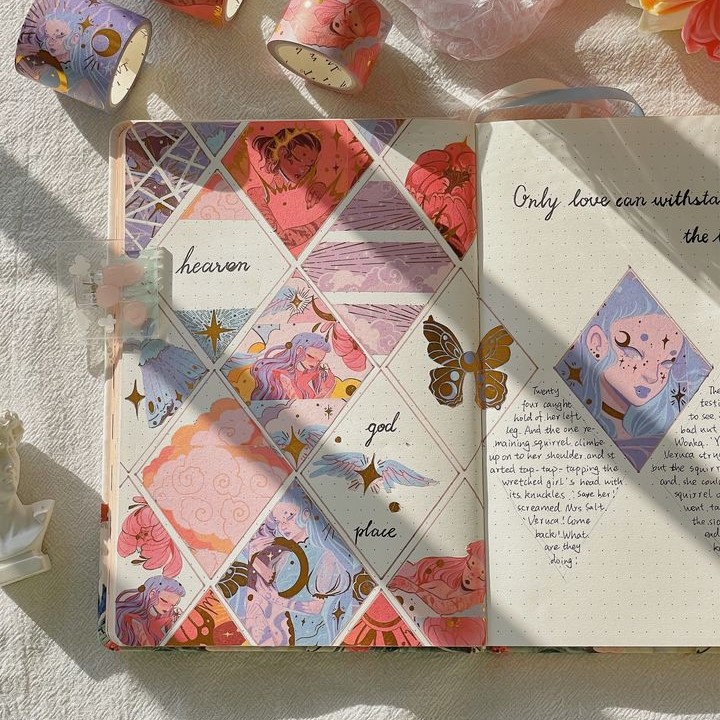
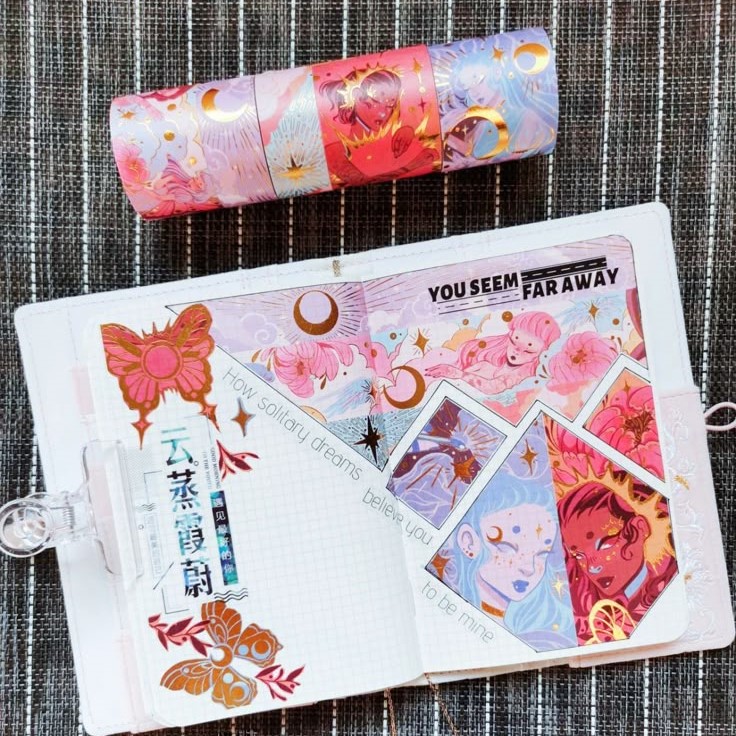
2. Personalized Notebooks
Transform boring notebooks into personalized treasures using washi tape:
- Materials Needed: Plain notebooks, various washi tapes.
- Instructions:
- Choose a notebook you’d like to customize.
- Use washi tape to decorate the cover, creating stripes, patterns, or frames around edges.
- For added personalization, write your name or favorite quotes using markers alongside the washi tape decorations.
- Enjoy your new, vibrant notebook for school or personal use!
3. Gift Wrap Enhancements
Washi tape can elevate even the most basic gift wrap. Here’s a great method:
- Materials Needed: Plain gift wrap, washi tape, scissors.
- Instructions:
- Wrap your gift in simple wrapping paper.
- Use washi tape to create decorative elements. You can outline the edges with tape or make fun designs over the top.
- For an innovative approach, create a washi tape bow to add that perfect finishing touch.
- Your gift will stand out and feel special even before it’s opened!
4. Fun Bookmarks
Making unique bookmarks is a simple and practical project:
- Materials Needed: Cardstock or thick paper, washi tape, scissors.
- Instructions:
- Cut the cardstock into rectangular shapes, about 2 inches wide and 6 inches long.
- Cover one side with your choice of washi tape, creating fun patterns or designs.
- Consider adding other embellishments, such as stickers or additional tape for flair.
- Once done, enjoy reading with your personalized bookmarks!
5. Decorative Photo Frames
Give an ordinary photo frame a fresh look using washi tape:
- Materials Needed: Plain photo frames, washi tape, scissors.
- Instructions:
- Choose a simple photo frame that you want to spruce up.
- Wrap washi tape around the edges of the frame, covering it entirely or in a striped pattern.
- Customize further by using other decorative elements or gluing tiny embellishments to the frame.
- Insert your favorite photo and display your newly adorned frame!
Tips for Maximizing Your Washi Tape Projects
While creating washi tape art is fun and straightforward, a few tips can improve your projects:
Experiment with Patterns
- Mixing Colors and Designs: Don’t hesitate to experiment by combining various colors and patterns of washi tape. This creative approach can lead to unique and eye-catching designs.
- Finding Optimal Combinations: Try different combinations to identify what works best for each project. Sometimes unexpected pairings result in the most striking designs.
- Embrace Creativity: Allow yourself to explore bold contrasts or subtle harmonies, depending on the style you wish to achieve. This experimentation fosters innovation in your artwork.
Layering Techniques
- Creating Depth and Texture: Use multiple layers of washi tape to add visual depth and texture to your creations. Layering brings a three-dimensional quality to flat surfaces.
- Variety of Layering Methods: Experiment with different layering techniques, such as crisscrossing tapes or overlapping them at various angles, to enhance the dimensionality of your design.
- Making Designs More Engaging: The added depth from layering can make your projects more visually interesting and dynamic, capturing the viewer’s attention more effectively.
Use Templates
- Guided Application: For intricate designs, consider printing templates or using stencil shapes to guide your washi tape application. This approach provides a structured way to achieve precision.
- Improving Accuracy: Employing templates not only simplifies the process of applying washi tape but also ensures that your designs are geometrically accurate and professionally finished.
- Variety of Template Options: You can find or create templates in various shapes, sizes, and complexities, allowing you to tailor your design to your specific project needs effortlessly.
Test Adhesion
- Assessing Tape Stickiness: Although washi tape is generally reusable, it’s wise to test its adhesion on different surfaces beforehand. This step ensures that the tape will stick appropriately without damaging the surface.
- Gentle Application: To maintain the washi tape’s stickiness, gently tape and untape it if adjustments are needed. This practice can help prolong the tape’s usability while preventing it from losing its adhesive properties.
- Surface Compatibility: Different surfaces (like paper, plastic, or wood) may affect how well the washi tape adheres. Testing on a small area can prevent potential issues before starting your main project.
Plan Before Applying
- Visualize Your Design: Before applying the tape, take the time to visualize your final design. Consider how each piece will fit into the overall composition for the best results.
- Temporary Placements: Lay out pieces of washi tape temporarily to assess the overall look without committing to a permanent placement. This step helps in making adjustments easily.
- Consider Color and Pattern Balance: Pay attention to the overall balance of colors and patterns in your design. Planning ahead allows for a more cohesive appearance and a more satisfying end product.
Conclusion: Unleash Your Creativity with Washi Tape Art
In conclusion, washi tape art is an accessible and enjoyable way to explore creativity through crafting. With a wide variety of projects to try, you can use washi tape to produce unique decorations, personalized gifts, and memorable keepsakes. The ease of use combined with the colorful designs available encourages individuals of all ages to engage in hands-on creative expression.
From creating beautiful wall art to sharing thoughtful gifts, washi tape inspires innovation in artistry and practicality. Gather your materials, unleash your inner artist, and embark on your washi tape crafting journey today! No project is too simple or complicated when you embrace the fun of crafting with washi tape. Your creative possibilities are endless—so get started and enjoy the magic of washi tape art!