Introduction to Optical Microscopy
The optical microscope, a crucial tool in the scientific arsenal, has come a long way since its invention in the 17th century. It works by magnifying images using lenses and visible light. This allows researchers and hobbyists alike to explore the tiny worlds invisible to the naked eye. In this section, we delve into the basics of optical microscopy and its importance in various fields.
An optical microscope usually comprises a series of lenses that work together to magnify small samples. The setup includes an eyepiece lens and an objective lens to achieve the necessary magnification power. Users can examine objects like cells, microorganisms, and mineral sections in remarkable detail.
Optical microscopy is pivotal in disciplines such as biology, materials science, and chemistry. It enables the visualization of structures and processes that are crucial for understanding complex systems. In educational settings, optical microscopes serve as foundational instruments, sparking curiosity and providing a hands-on experience with scientific phenomena.
Advancements in technology have led to various enhanced techniques within optical microscopy. These techniques expand the microscope’s capabilities beyond simple magnification. They include phase contrast microscopy, fluorescence microscopy, and confocal microscopy, each with unique applications. Innovations like super-resolution microscopy have even broken the perceived limits of optical microscopy, enabling us to see finer details than ever before.
As a versatile instrument, an optical microscope is key in numerous investigative scenarios. It is not only used for research but also in medical diagnosis, quality control in manufacturing, and even in forensic science. This introduction sets the stage for understanding the key components, sample preparation, and advanced techniques that make optical microscopy an indispensable tool in modern science.
Key Components of an Optical Microscope
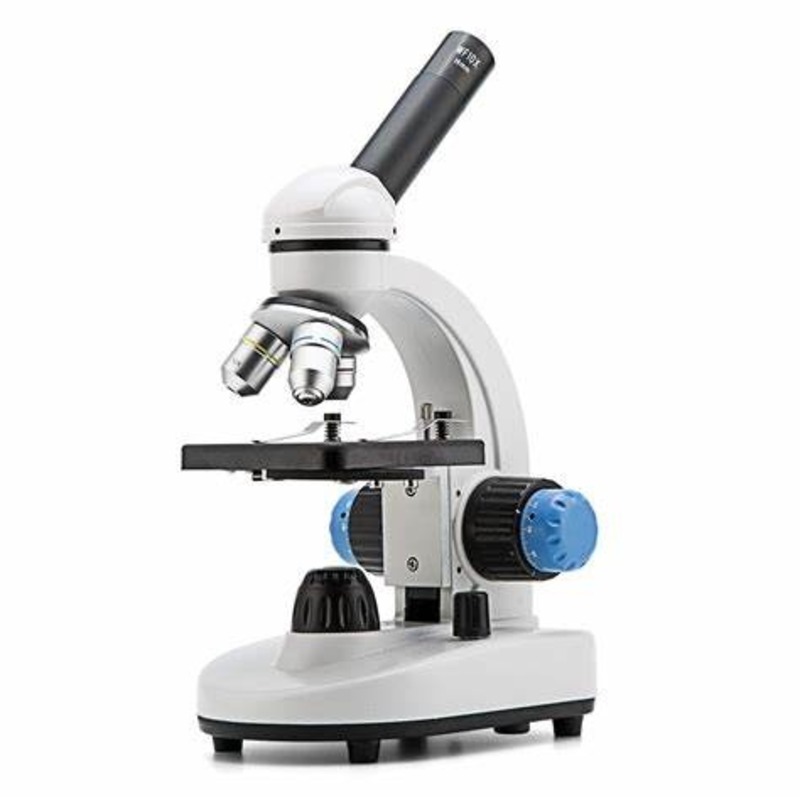
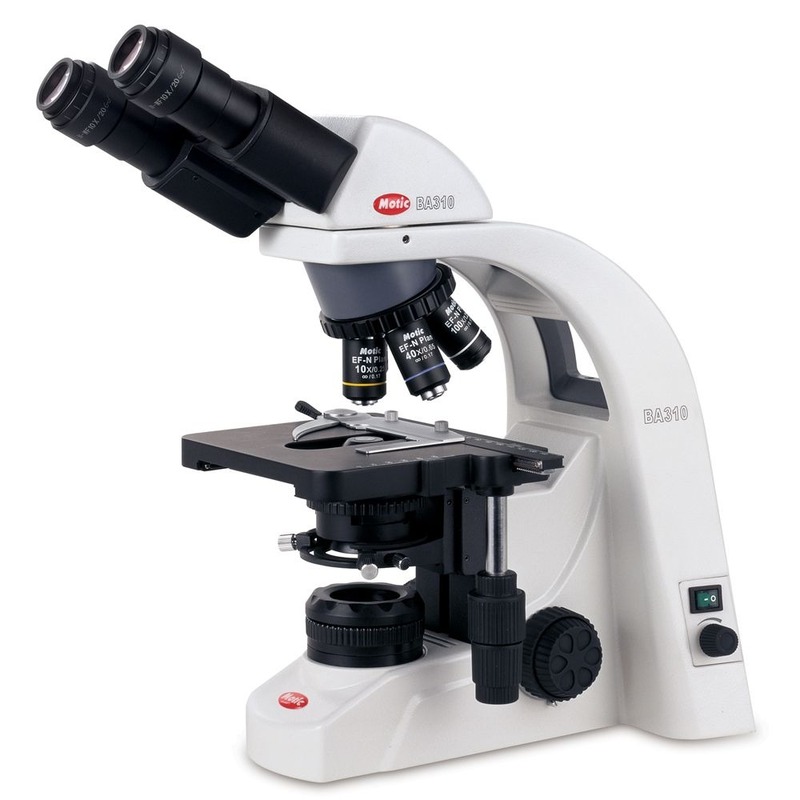
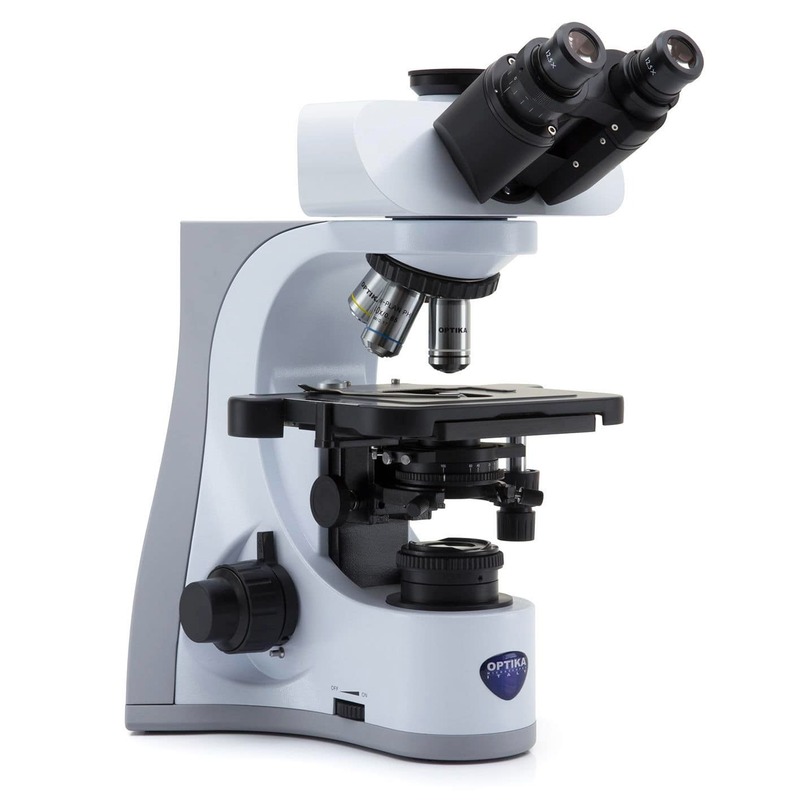
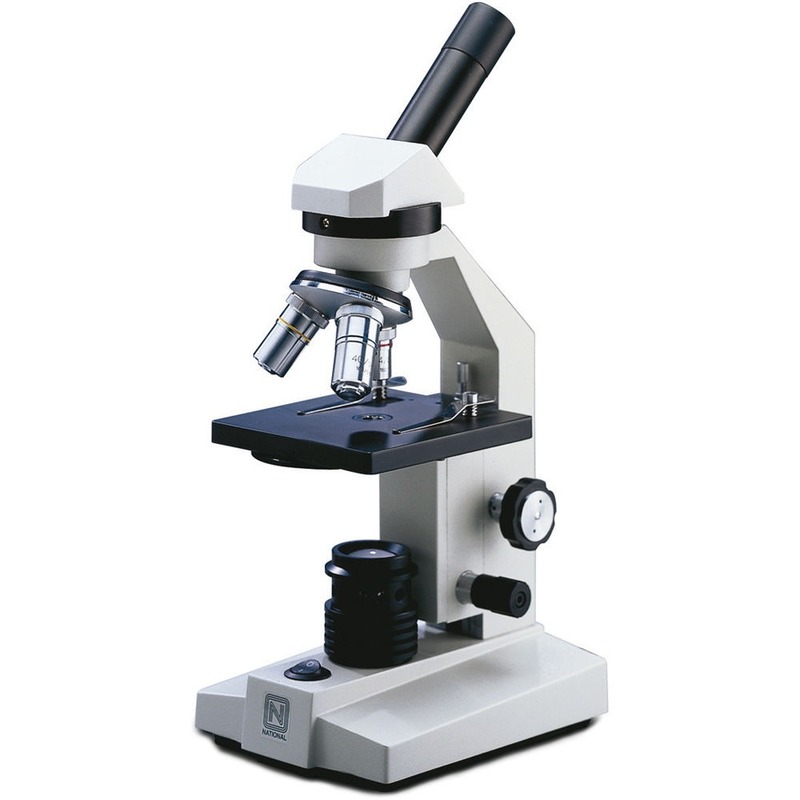
An optical microscope consists of several key parts, each playing a critical role in the magnification and examination of samples. Understanding each component can help users optimize their microscopy experience. Here are the essential parts of an optical microscope:
- Eyepiece Lens (Ocular Lens): The eyepiece is where the viewer peers through to see the magnified image. It typically has a magnification power of 10x.
- Objective Lenses: Mounted on a rotating turret, these lenses range in magnification, usually from 4x to 100x. They are closest to the sample and do the initial magnification.
- Stage: The flat platform holds the slide on which the sample is mounted. It usually comes with clips to keep the slide in place.
- Condenser: Situated under the stage, the condenser focuses light from the illumination source onto the sample, increasing clarity and contrast.
- Illumination Source: This can be a mirror that reflects external light or an in-built light, like an LED, providing consistent lighting for visibility of the sample.
- Focus Knobs: These are two knobs, coarse and fine, used to bring samples into clear focus. Coarse adjustments are for general focusing, while fine adjustments make the image sharper.
- Diaphragm: It controls the amount of light reaching the sample, which can prevent overexposure and improve contrast.
- Frame: The structural component that holds all other parts together and enables safe handling of the microscope.
Each part of the optical microscope must function properly for accurate observation. Users must handle these components with care, ensuring that maintenance is regular to avoid damage and preserve the microscope’s functionality. When these elements come together effectively, the optical microscope serves as a powerful tool for scientific exploration.
Sample Preparation for Optical Microscopy
Preparing samples for observation under an optical microscope is a critical step in microscopy. It demands careful attention to detail to ensure that what you are viewing under the microscope is a true representation of the specimen. Here’s a simple guide to help you prepare samples effectively:
- Cleaning Slides: Start with clean glass slides. Any dust or smudge can interfere with the clarity of the image.
- Sample Slicing: If your sample is solid, like tissue, slice it thinly. Thin slices allow more light to pass through, improving visibility.
- Staining: Some samples might need staining. Stains can highlight important features or structures.
- Mounting the Sample: Carefully place the sample on the slide and cover it with a cover slip. Avoid air bubbles, as they can distort the image.
- Positioning on Stage: Once the sample is mounted, place the slide on the stage. Secure it with the clips provided.
- Adjusting the Focus: Once the slide is in place, start with the lowest magnification. Use the coarse focus knob to find focus, then the fine focus for a clearer image.
Every step in the sample preparation process is crucial. Take your time to prepare slides properly. This ensures you get the most accurate results from your optical microscope examinations. By mastering the art of sample preparation, you enhance your ability to observe and analyze microscopic worlds.
Phase Contrast Microscopy Technique
Phase contrast microscopy is a technique that enhances contrast in transparent specimens. This method proves invaluable when examining cells, tissues, or microorganisms that lack significant color contrasts themselves. Fundamentally, the technique exploits light phase differences passing through different parts of the specimen. It turns these phase differences into variations in light intensity. This creates an image with marked contrasts, making previously invisible details appear.
The technique was developed by Frits Zernike in the 1930s, for which he later received the Nobel Prize. It has since become a staple in biological and medical laboratories. The principal advantage lies in its ability to view live cells in their natural state. There is no need for staining, which not only saves time but also preserves the living cells from potential damage caused by dyes.
To implement phase contrast microscopy, first ensure the optical microscope is set up correctly. Check the alignment of the phase contrast objectives and the corresponding condenser annuli. When the alignment is precise, light passing through the specimen will experience phase shifts. The phase contrast optics then convert these shifts into differences in brightness.
Lastly, adjust your focus carefully. Use the coarse and fine knobs to achieve a sharp image. Observing samples with the phase contrast method reveals more about cell structures and their dynamics without altering or harming them. It’s a powerful addition to the optical microscopy toolkit for both education and research.
Fluorescence Microscopy and Its Applications
Fluorescence microscopy is an advanced optical microscopy technique. It relies on the emission of light from a sample after it has absorbed light. This method is particularly useful for studying materials and biological specimens that are naturally fluorescent or tagged with fluorescent dyes.
Fluorescence microscopy has several important applications:
- Biological Research: It enables scientists to track and image specific components within cells. By using fluorescent markers, researchers can highlight structures like proteins or organelles.
- Medical Diagnosis: Fluorescent markers help in identifying cells and tissues during medical examinations. For instance, they assist in detecting cancerous cells.
- Microbial Studies: This technique allows for the observation of microorganisms. It helps in studying the behavior and interactions of bacteria and viruses.
- Material Science: Fluorescence microscopy can investigate the properties of materials. It can reveal their structure and composition in detailed ways.
Setting up for fluorescence microscopy involves the right filters and lamps. You need to select the appropriate wavelength of light. The sample is then excited by this light, causing it to emit a different wavelength. This emitted light is what you see through the eyepiece, often in bright, contrasting colors.
To achieve the best results, your sample needs proper preparation. Sometimes, this includes staining with dyes that attach to desired molecules. Once stained, these molecules will fluoresce under the microscope. Again, it’s crucial to handle the staining carefully. This ensures you’re observing the true nature of the specimen, not artifacts.
In essence, fluorescence microscopy gives us a vibrant look into microscopic worlds. It reveals details that would remain hidden under standard optical microscope techniques. Its ability to light up the minuscule life forms and materials has transformed scientific research and diagnostics.
Confocal Microscopy: A Detailed Overview
Confocal microscopy stands out as a pivotal advancement in the field of optical microscopy. It offers a significant increase in both resolution and contrast compared to traditional microscopy methods. Through the use of a unique optical design, confocal microscopy ensures that only light from the focal plane reaches the detector. This results in images with sharp detail and minimal background noise.
Confocal microscopy functions by using a laser to illuminate a single point in the specimen at a time. A pinhole located in front of the detector selectively allows light from the in-focus plane to pass, while out-of-focus light is blocked. This pinpoint imaging method is repeated across the specimen’s various points, assembling a composite image with pronounced clarity.
This technique has three primary applications. First, it provides a three-dimensional analysis of samples, essential for understanding complex structures. Second, it helps in live cell imaging, allowing researchers to observe cells over time without excessive damage. Lastly, confocal microscopy aids in quantifying fluorescence signals, a necessity in many biological assays.
To use confocal microscopy to its full potential, one must correctly setup the microscope. It involves aligning the laser, detector, and pinhole. Samples often require fluorescent labeling. This ensures that the areas of interest are visible when illuminated by the laser. When used effectively, confocal microscopy transforms how we visualize and analyze microscopic specimens, leading to groundbreaking discoveries in science.
Super-Resolution Microscopy: Breaking the Diffraction Limit
Super-resolution microscopy represents a significant leap in optical microscope capabilities. Traditional microscopes are limited by the diffraction limit. This principle caps the resolution at about half the wavelength of the light used. Super-resolution techniques, however, bypass this boundary, allowing us to see details finer than ever before.
Super-resolution microscopy encompasses several methods, each with its approach to exceed the diffraction limit. Techniques like STED (Stimulated Emission Depletion) microscopy, SSIM (Saturated Structured Illumination Microscopy), and PALM (Photoactivated Localization Microscopy) are among the most common. These methods use clever tricks of light and fluorescent molecules to sharpen the image beyond conventional limits.
The impact of super-resolution microscopy is vast:
- Cell Biology: It reveals interactions at the molecular level within cells.
- Neuroscience: Scientists observe synapses and nerve pathways in great detail.
- Disease Research: It uncovers structures of viruses and aids in the design of drugs.
By breaking the diffraction limit, super-resolution microscopy pushes the frontiers of science. It allows us to observe phenomena previously thought to be invisible. As an advanced technique of optical microscopy, it has opened new doors for research and discovery.
Latest Advances in Optical Microscopy
Optical microscopy has seen rapid advancement, pushing the boundaries of our microscopic view. Let’s explore these recent breakthroughs and see how they enhance research capabilities:
- Digital Microscopy: Integrating digital cameras and software with optical microscopes, digital microscopy makes image capture and analysis more efficient.
- 3D Imaging: Advanced software now enables 3D reconstructions of specimens, providing depth and structure beyond flat images.
- High-Throughput Microscopy: Automated systems can handle and analyze multiple samples quickly. This speeds up data collection significantly.
- Artificial Intelligence (AI): AI improves microscopy by enhancing image quality and identifying patterns in data. This reduces analysis time and increases accuracy.
- Adaptive Optics: This technology corrects distortions in real time, enhancing image resolution even under imperfect conditions.
- Multi-Photon Microscopy: With deeper tissue penetration and less damage, multi-photon techniques are key for in vivo imaging.
- Portable Microscopes: Miniaturization has given rise to portable devices, making optical microscopy accessible in fieldwork and education.
- Quantitative Phase Imaging: This method measures the phase of light passing through samples, offering insights into cellular properties without dyes.
These innovations continue to extend the optical microscope’s utility. They are proving essential across diverse fields like healthcare, environmental science, and nanotechnology. By adopting these latest advances, scientists and hobbyists alike can unlock new possibilities in their microscopic explorations.


