Introduction to Modern Microscopy
The year 2025 marks significant advancements in the world of microscopy. Understanding modern microscopy is crucial for anyone looking to master the art of using these intricate instruments. Here are the key updates and trends that define modern microscopy.Learn how to use a microscope effectively with this guide!
Importance of Advanced Microscopy
The ability to observe the smallest details of our world has never been more important. Researchers and scientists rely on advanced microscopy to unravel mysteries at the cellular and molecular levels. As microscopes evolve, they open new doors for discovery in various fields such as biology, materials science, and nanotechnology.
Breakthroughs in Microscopy Technologies
The latest breakthroughs in microscopy include augmented reality (AR) integration, enhanced digital imaging, and AI-driven analysis. These innovations not only improve the quality of images but also simplify how to use a microscope. They make intricate processes more accessible to beginners and seasoned professionals alike.
Digitization and Microscopy
Digitization plays a pivotal role in microscopy’s future. With the digitalization of images and data, sharing and analyzing microscopic findings has become more efficient. Digital slides can be shared across the globe, enabling collaborative research efforts and educational opportunities.
Understanding these trends is crucial for utilizing modern microscopes effectively. As you continue reading, you’ll learn about the components, setup, and techniques that are fundamental to harnessing the full potential of today’s microscopes. Whether you’re a student, a research scientist, or a hobbyist, mastering how to use a microscope in the digital age will enhance your skill set and expand your investigative capabilities.
Essential Components of a Microscope
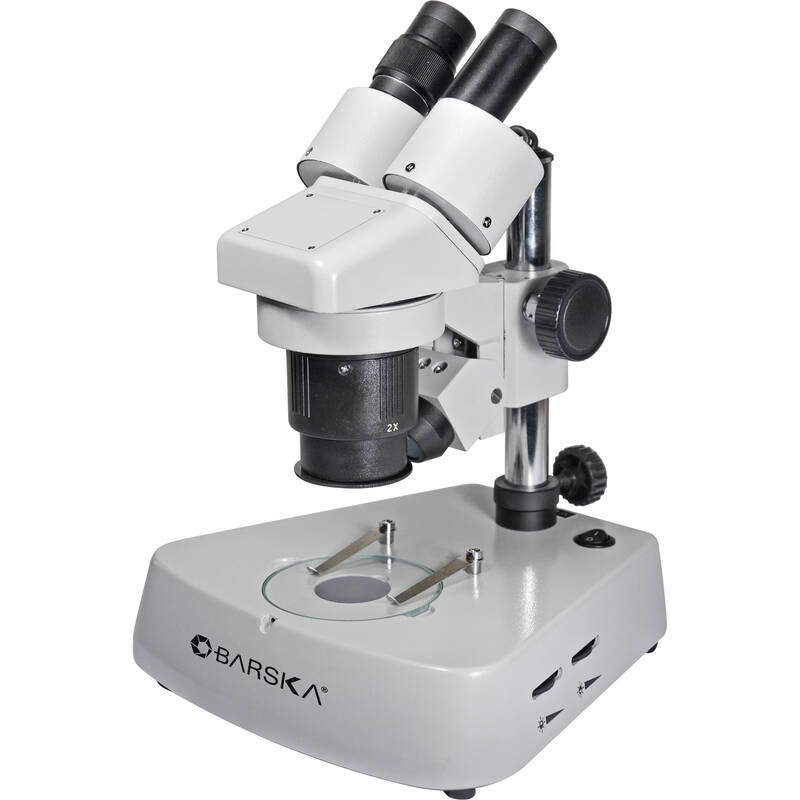
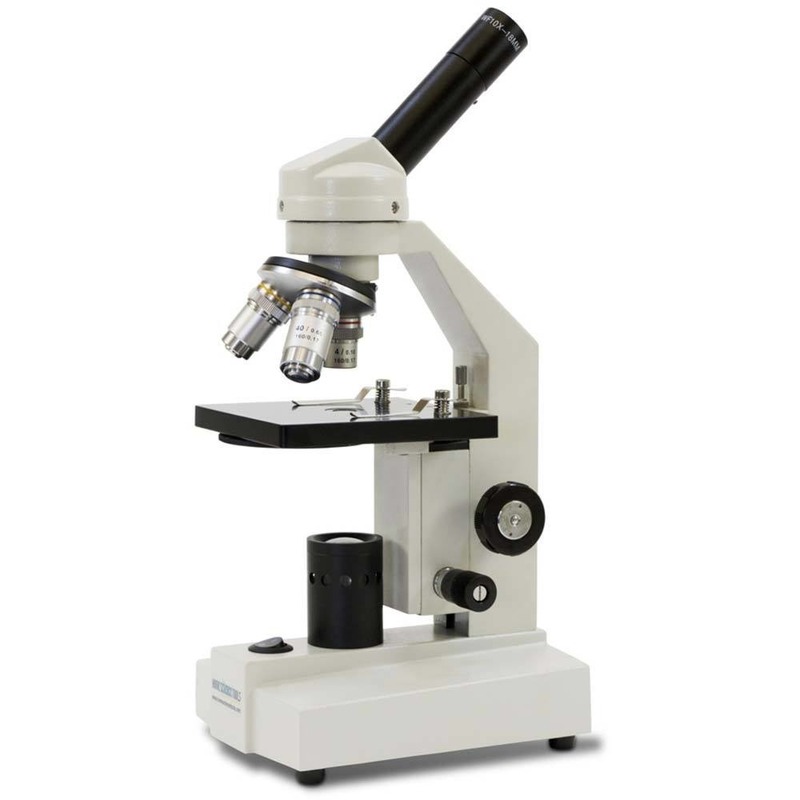
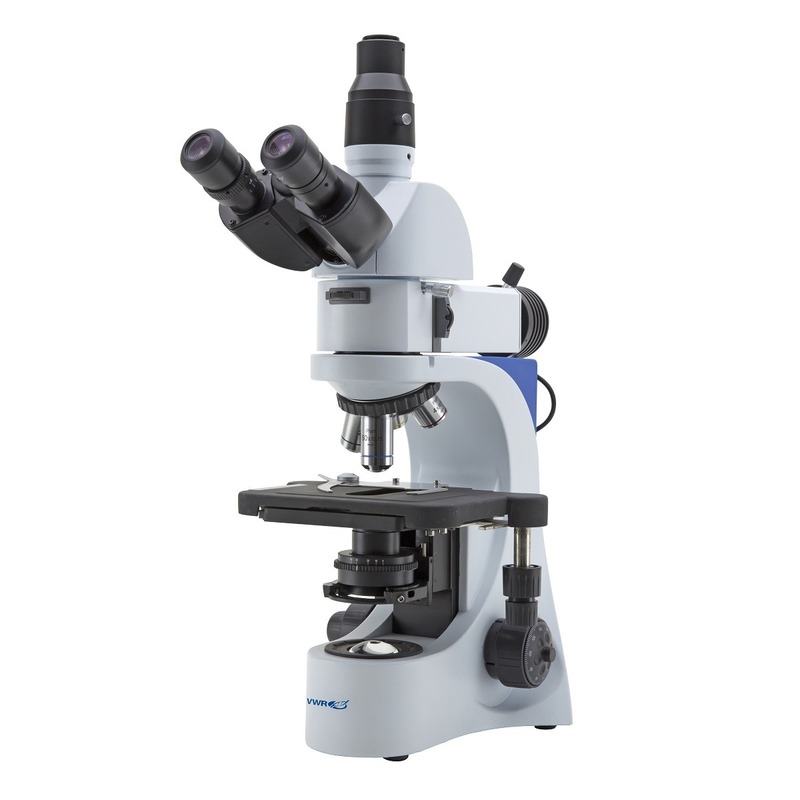
When tackling how to use a microscope, you must first familiarize yourself with its essential components. Each part plays a critical role in magnifying and viewing specimens.
Eyepiece or Ocular Lens
The eyepiece is where you look through to see the magnified image of your sample. It typically has 10x magnification and sometimes includes a pointer.
Objective Lenses
Objective lenses come in various magnifications, usually ranging from 4x to 100x. They are mounted on a rotating turret so you can switch between different levels of detail.
Stage
The flat surface where you place your slides is the stage. It often comes with clips to hold the slides in place during examination.
Illuminator
An illuminator is a microscope’s light source, crucial for making the sample visible. LED lights are common in modern devices for their brightness and longevity.
Focus Knobs
Focus knobs adjust the lens distance to sharpen the image. Coarse and fine knobs allow for rough and precise focusing, respectively.
Condenser and Diaphragm
These parts adjust the light’s intensity and focus to enhance the image quality. A condenser gathers light onto the sample, while the diaphragm controls the amount of light reaching it.
Knowing these components is the first step in mastering how to use a microscope. As you become acquainted with each part, operation becomes easier and more intuitive.
Setting Up Your Microscope
Before diving into the microscopic world, setting up your microscope correctly is essential for accurate observations. Here’s a simplified guide on how to use a microscope by setting it up properly.
- Position the Microscope: Place the microscope on a flat, stable surface to ensure it doesn’t shake or move.
- Install the Illuminator: Ensure the light source, usually an LED illuminator, is working and provides even illumination.
- Attach the Eyepiece: Secure the eyepiece or ocular lens onto the microscope. This is where you’ll be looking to see the specimen.
- Select the Objective Lens: Start with the lowest magnification lens. This makes it easier to locate your sample when you begin.
- Prepare the Stage: If your microscope has stage clips, open them. Be ready to place your slide here.
- Adjust the Condenser: Set the condenser to focus the light onto the sample, which enhances image clarity.
- Set the Diaphragm: Regulate light reaching the sample using the diaphragm. Start with a wider setting and adjust as needed.
- Check the Focus Knobs: Familiarize yourself with the coarse and fine focus knobs. You’ll use these to sharpen your image.
Once you’ve taken these steps, your microscope should be ready for use. Remember that proper setup is crucial and can significantly impact the quality of your observations. With everything in place, you’ll be better positioned to explore the microscopic universe with precision and ease.
Preparing Microscope Slides
Preparing slides is a critical step in learning how to use a microscope. Good slides lead to clearer images. Here are streamline instructions to ensure your slides are ready for observation.
- Select the Right Glass Slides: Use clean, clear slides without scratches or chips.
- Apply the Specimen: Place your sample or droplet of liquid in the center of the slide.
- Use Cover Slips: Gently place a cover slip over the specimen to flatten and protect it.
- Remove Air Bubbles: Tap the cover slip gently to remove trapped air, which can distort the view.
- Label Your Slide: Write the specimen’s name and date on the slide’s edge. Use a pencil for durability.
- Clean Excess: Wipe away any extra stains or liquids around the slide to keep the view unobstructed.
- Store Slides Properly: Keep prepared slides flat in a dry, cool place until ready for use.
Following these steps carefully will give you a prepared slide that yields a high-quality microscopical image. For the best results, handle slides with care, and avoid touching the glass where the specimen is placed. Proper slide preparation is the foundation for successful microscopic observations.
Focusing Techniques and Image Clarity
After setting up your microscope and preparing your slides, achieving optimal image clarity is your next goal. Effective focusing techniques are essential to gain the clearest possible image of your specimen. Here’s how to use a microscope focusing features for the best image quality.
- Begin with the Lowest Magnification: Always start by using the microscope’s lowest magnification lens. It gives you a broader view, making it easier to locate the specimen.
- Use Coarse Knob for Initial Focusing: Turn the coarse focus knob slowly. Watch carefully until the specimen comes into general focus. This prevents damage from the lens touching the slide.
- Switch to Fine Focusing Knob: Once the image is roughly focused, use the fine focus knob for detailed adjustments. This knob will allow you to achieve the sharpness required for a flawless observation.
- Adjust the Light: Altering the illuminator’s intensity and the diaphragm setting can enhance the image contrast and clarity. Experiment to find the right balance for your specific slide.
- Move to Higher Magnifications: After focusing at low power, you may switch to higher magnification lenses. Remember to refocus with each increment, using the fine focus knob to maintain clarity.
- Reposition Your Specimen: Sometimes the area of interest may drift out of view. Carefully move the slide back to the center under the objective lens.
- Use Oil Immersion If Necessary: For extremely high magnifications, applying a drop of immersion oil can increase image resolution. Only do this if your microscope and lens are designed for oil immersion techniques.
Remember, patience and gentle adjustments are key in achieving the desired image clarity when discovering how to use a microscope. Even small shifts can greatly affect the visibility of minute details. By mastering these focusing techniques, you will enhance your microscopy skills and enjoy a more fruitful viewing experience.
Advanced Microscopy Methods
When exploring how to use a microscope in 2025, one must adapt to advanced methodologies. Advanced microscopy methods have seen significant innovation, transforming the landscape of microscopic examination.
- Fluorescence Microscopy: This technique uses high-intensity light to excite fluorescent-tagged samples. It highlights specific structures with a glow which helps in detailed analysis.
- Confocal Microscopy: Confocal methods sharpen the focus of a microscope by scanning with a laser. They bring one plane of a specimen into clear focus against a blurred background.
- Two-Photon Excitation Microscopy: It employs near-infrared light, reducing photodamage to living specimens. This makes it ideal for in-depth, live-cell imaging studies.
- Super-Resolution Microscopy: Super-resolution techniques break the diffraction limit of light. They provide a higher resolution than conventional light microscopes.
- Electron Microscopy: By utilizing beams of electrons, these microscopes achieve higher magnifications. They can visualize structures at the nanometer scale.
- Cryo-Electron Microscopy (Cryo-EM): Cryo-EM lets you observe specimens at cryogenic temperatures. This preserves their natural structure without the need for dyes or stains.
- Atomic Force Microscopy (AFM): AFM feels the surface of a sample with a fine probe. This generates topographical maps at the atomic level.
- Scanning Probe Microscopy (SPM): SPM variants, like AFM, collect data by physically scanning a probe over a specimen. It results in detailed surface data.
- Digital Pathology and Whole Slide Imaging (WSI): These methods digitize slides for analysis and sharing. WSI allows the examination of entire slides at once, not just sections.
Embracing these techniques will enhance your ability to discern finer details far beyond traditional methods. It’s key to practice and becomes adept with these tools to fully exploit their capabilities when learning how to use a microscope in this era.
Maintaining and Cleaning Your Microscope
Regular maintenance and cleaning are vital for keeping your microscope in top condition. Dirt, dust, and oils can blur images and damage components. Follow these simple steps on how to use a microscope and keep it clean.
- Handle with Care: Always grasp the microscope by its base and arm when moving it.
- Use Proper Cleaning Solutions: Apply special lens cleaning solutions or isopropyl alcohol to gently wipe lenses.
- Clean the Eyepiece and Lenses: Remove oils and dirt with lens paper. Do not use regular tissues.
- Remove Dust: Use a soft, lint-free cloth or compressed air to clear away dust particles.
- Check Mechanical Parts: Inspect the focus knobs and stage clips. Ensure they move smoothly.
- Avoid Touching Glass Surfaces: Handle slides and lenses by their edges to prevent smudges.
- Store Correctly: Cover the microscope with a dust cover and keep it in a dry place.
- Schedule Regular Cleanings: Clean your microscope after each use to maintain its performance.
- Seek Professional Help: If you’re unsure about cleaning delicate parts, consult a specialist.
By following these steps, you help preserve your microscope’s condition and ensure reliable performance. Proper maintenance and cleaning are as important as knowing how to use a microscope.
Common Mistakes to Avoid When Using a Microscope
Learning how to use a microscope involves more than just knowing the right steps. It’s also important to be aware of the common mistakes that can affect the quality of your microscopic observations and cause frustration. Here are some key errors to watch out for:
- Skipping Calibration: Always calibrate your microscope before use. It helps ensure accuracy.
- Ignoring Cleanliness: Keep slides and lenses clean, or images will blur.
- Forcing Focus Knobs: Turning focus knobs too hard can damage the microscope or the slide. Be gentle.
- Using Wrong Eyepiece Position: Your eye should be close to the eyepiece, but not touching it.
- Overlooking Illumination Settings: Proper light settings are crucial. Too much or too little light affects image quality.
- Neglecting Proper Storage: Microscopes should be covered when not in use to prevent dust accumulation.
- Rushing the Process: Take your time when setting up and focusing. Rushing leads to errors.
- Switching Magnifications Improperly: Increase magnification step by step, refocusing each time.
By avoiding these common pitfalls, you’ll be on your way to becoming proficient in how to use a microscope. Patience and careful handling are your best tools for successful microscopy.

Incorporating Digital Tools in Microscopy
The year 2025 has ushered in an era where digital tools are integral in how to use a microscope. Engaging with these tools is key for any modern microscopist. Here are the essential digital tools and how to integrate them into your microscopy practice:
- Digital Cameras: Attach these to capture high-resolution images of your specimens. They allow for easy image sharing and analysis.
- Microscopy Software: Use advanced software for image processing. This enables better visualization and precise measurements.
- Live Streaming: Share live images with peers or students. This fosters a collaborative environment.
- Data Storage: Store your images and findings on cloud services. This ensures easy access and backup.
- Image Analysis Tools: Apply AI-driven tools to analyze complex images. They can detect patterns and anomalies faster than humans.
- 3D Modeling: Convert images into 3D models. This helps in understanding the spatial structure of samples.
- Remote Operation: Control microscopes remotely via software. This feature is invaluable for teaching or when sharing devices.
- Digital Slides and WSI: Use whole slide imaging to view entire slides digitally. This makes the analysis more comprehensive and efficient.
- Mobile Apps: Utilize apps for quick access to your microscope’s digital tools. They provide flexibility and on-the-go adjustments.
By incorporating these digital tools, microscopists can take their skills to new heights. Embrace the digital revolution in microscopy to enhance your capabilities and results. Keep learning and adapting to remain at the forefront of microscopic discovery.


