Introduction to Microscope Slide Preparation
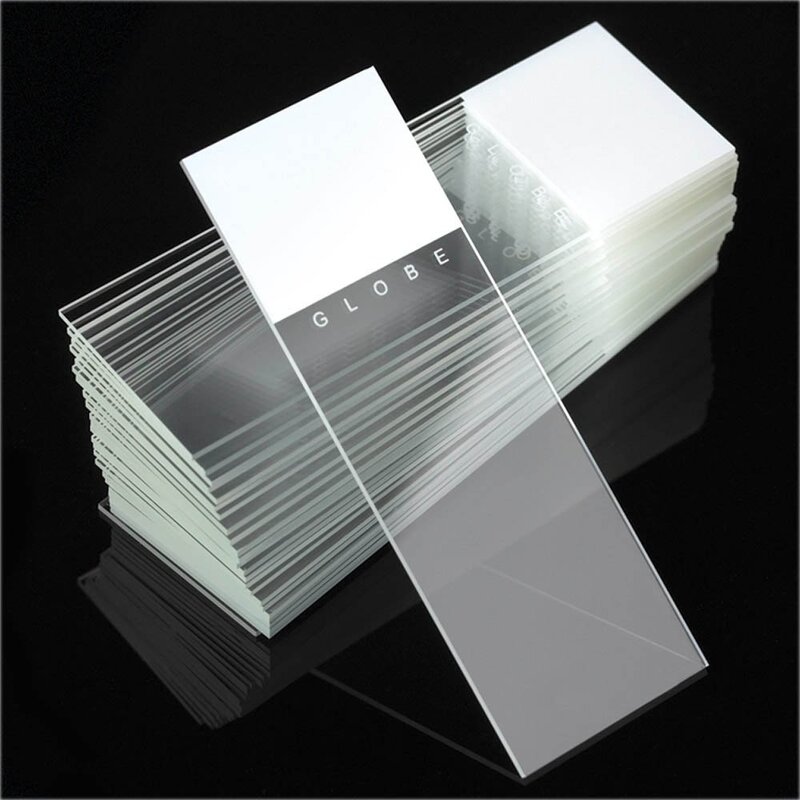
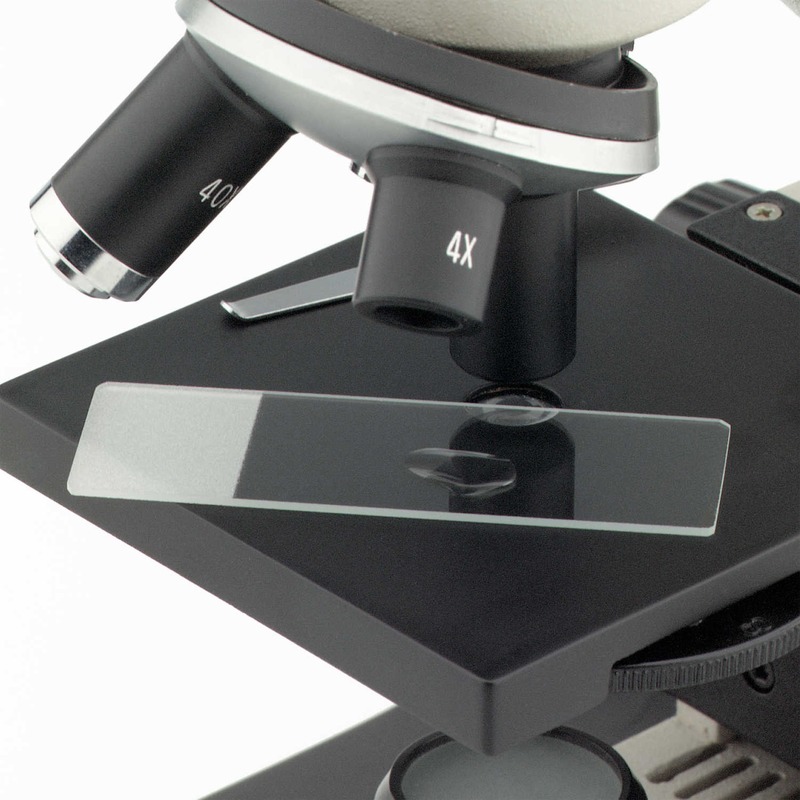
Microscope slides serve as a platform for sample examination. They are the thin glass pieces that support specimens for microscopic study. It’s where all the action happens, under the lens that magnifies the fine details of your sample. Proper microscope slide preparation is crucial. It ensures that the details of the specimen can be observed clearly and accurately.
Preparing a microscope slide may seem simple, but it requires attention to detail. Cleanliness, correct placement of the specimen, and the right use of chemicals are all vital. Each step, from cleaning the slide to placing the cover slip, impacts the quality of your observation.
Professionals and students alike use microscope slides in labs around the world. Knowing how to prepare them correctly enhances the outcome of scientific experiments. In this section, we’ll outline the basic practices needed for successful microscope slide preparation. We’ll include equipment selection, cleaning methods, specimen mounting, staining, and cover slipping. By mastering these steps, you can create slides that provide a clear window to the microscopic world.
Essential Equipment for Slide Prep
To prepare microscope slides effectively, you’ll need specific tools. The right equipment ensures precision and cleanliness, which are key to quality slides. Here are the essentials:
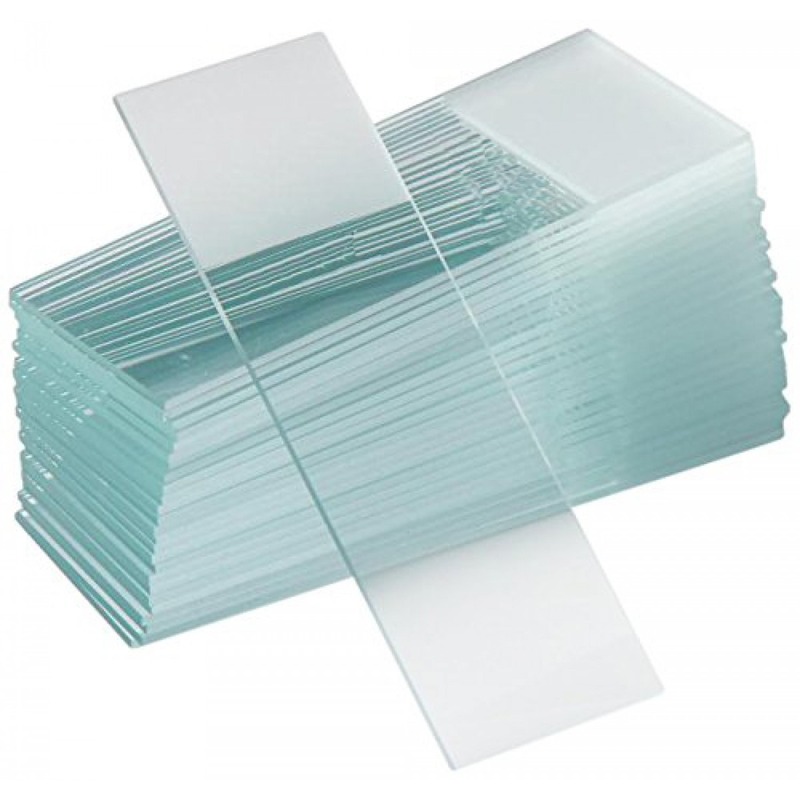
- Microscope slides: These are the base for your specimens. Select slides without chips or scratches.
- Cover slips: These thin glass pieces seal the specimen on the slide. Ensure they are clean and clear.
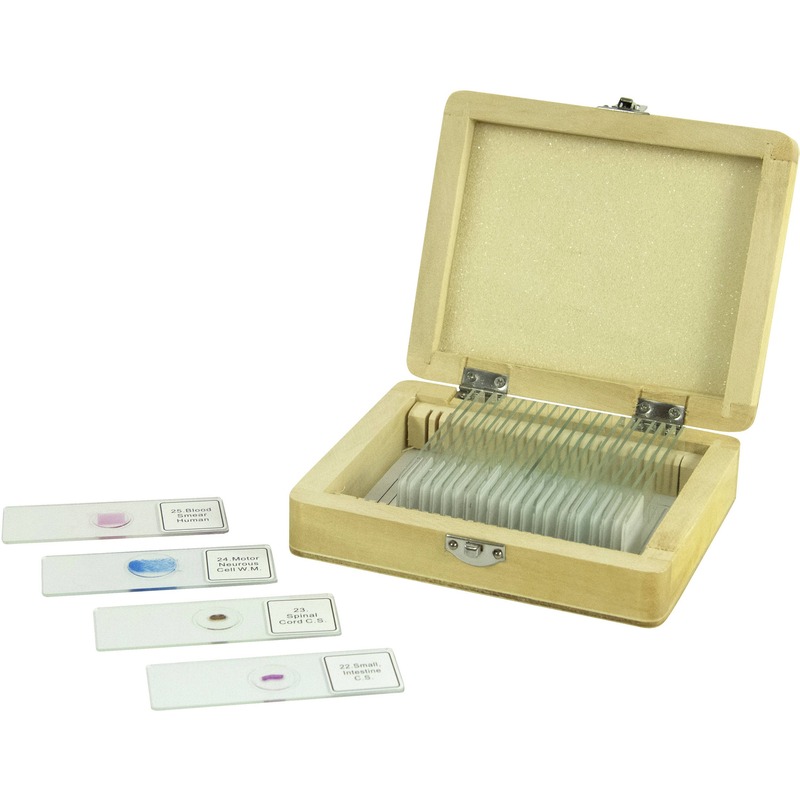
- Slide storage boxes: These protect your slides from dust and damage.
- Cleaning supplies: Use lint-free wipes and alcohol or a cleaning solution to clean your slides. This prevents smudges that can interfere with viewing.
- Tweezers or forceps: These help you handle the slides and cover slips without leaving fingerprints.
- Specimen containers: Small containers or petri dishes to manage your samples before placing them on the slide.
- Stains and dyes: These chemicals highlight important features of your specimen.
- Droppers or pipettes: They allow you to apply stains and other liquids precisely.
- Gloves: Wear gloves to keep oils from your hands off the slides.
Invest in quality equipment for the best results in your microscope slide preparation. Remember, the smallest impurity can compromise your entire observation. Use every tool wisely and maintain a clean workspace.
Cleaning and Handling of Microscope Slides
Before diving into the staining and mounting of microscope slides, ensuring cleanliness is paramount. Here’s a focused look at keeping your slides spotless and safe to handle.
Start by holding the slide by its edges. This minimizes the risk of leaving fingerprints on its surface. Use lint-free wipes to gently clean any dust or particles off the slide. If available, a cleaning solution or alcohol can remove smudges effectively. Wipe in one direction to avoid spreading any residue.
Once clean, handle microscope slides with care. Use tweezers or forceps to pick them up and avoid touching the surface. Always store slides flat in a dedicated box, which shields them from dust and accidental damage.
A clean slide not only ensures a clear view but also prevents contaminants from affecting the specimen. Treat each slide with respect and store it securely to maintain its pristine condition.
Basic Steps for Preparing a Microscope Slide
Preparing a microscope slide involves a sequence of careful steps. The goal is to make your sample visible and keep it intact for observation. Here’s a streamlined process for effective slide preparation.
First, gather all the required equipment listed in the previous section. Ensure you have clean microscope slides, cover slips, and the necessary tools.
Then, hold a slide by the edges to avoid fingerprints. Clean it gently using a lint-free wipe and some alcohol. This ensures a smudge-free surface.
Next, place your specimen on the slide. Make sure it’s centered for the best viewing experience. If dealing with liquids, use a dropper or pipette to dispense a drop on the slide.
Now, add a stain if needed to highlight the specimen’s features. Stains help differentiate various components of your sample.
After staining, give the slide time to dry. This prevents smearing or blending of the stain.
Finally, place a cover slip over the specimen. Do this carefully to avoid trapping air bubbles. The cover slip protects the sample and flattens it for better viewing.
By following these steps, your microscope slide will be ready for examination under the microscope. Remember to take your time and handle each slide with care to ensure accuracy in your observations.
Mounting Specimens on Slides
Mounting is crucial in slide preparation. It involves placing your sample on the microscope slide. This stage demands precision and a steady hand. Start by placing your clean slide on a flat surface. Then, use forceps to carefully position the specimen in the slide’s center. For solid specimens, you may need to cut them thinly. This makes sure light passes through them on the microscope.
For liquid samples, apply a drop onto the slide using a pipette. Aim for the slide’s center to keep the view consistent. If your specimen is a smear, spread it evenly using a swab. Always avoid using too much force. You want your sample to remain intact during mounting.
Once in position, assess your specimen. Make sure it lies flat and has no folds or creases. Any irregularity can distort the view under the microscope. If you have a thin section, check for air bubbles. Remove them by gently pressing the cover slip over the specimen. This step is delicate yet essential for achieving a clear observation.
Remember, the way you mount your sample will affect the final results. Be patient and meticulous to ensure success in your slide preparation process.
Staining Techniques for Enhanced Visibility
Staining is key for seeing details in specimens. It colors parts of the specimen, improving contrast under the microscope. Here’s how to apply stains for the best results:
First, choose the right stain for your sample. Different stains highlight different structures, so pick wisely. After mounting the specimen, add a small amount of stain. Use a dropper or pipette for this. Let the stain sit for the recommended time. It varies for different stains.
Once enough time has passed, rinse off the excess with water or an appropriate solvent. Do this gently to avoid washing away the specimen. Blot the edge of the slide with a tissue to remove leftover liquid. Be careful not to touch the specimen itself.
Some specimens need a mordant before staining. This helps the stain bind better to the sample. If this is the case, apply the mordant as instructed, before adding the stain.
Stains can be harmful, so always wear gloves. Make sure to work in a well-ventilated area. Dispose of any waste safely, following proper lab protocols.
With these steps, your specimen will show a clear contrast. This makes details pop when you look through the microscope. Remember, good staining takes practice. Keep trying and adjust as needed for crisp, visible results.
Cover Slipping: A Critical Step for Slide Preservation
The final touch of slide preparation is cover slipping. This step protects and preserves your sample. Here are the key actions to take during cover slipping:
Begin by selecting a clean cover slip. Make sure it is free from dust and smudges. Hold it carefully on the sides to avoid fingerprints. Place one edge of the cover slip on the slide, next to your specimen. Lower it slowly to avoid trapping air bubbles beneath it. Air bubbles can block parts of the specimen from view.
If you do trap bubbles, don’t worry. You can gently press on the cover slip to push them out to the edge. But, be gentle to avoid damaging the specimen.
Ensure the cover slip covers the specimen completely. This gives a uniform viewing area. It also stops the stain from drying out and keeps the specimen secure.
Good technique in cover slipping is vital. It preserves your sample’s integrity for longer periods. This means you can re-examine the slide multiple times if needed.
Remember that patience is crucial in this step. Take your time to place the cover slip without rushing. This ensures your microscope slide is well-prepared and preserved for future observation.
Troubleshooting Common Issues in Slide Preparation
Even with care, issues can arise when preparing microscope slides. By understanding common problems, you can prevent and solve them efficiently.
Smudges and fingerprints on slides: These are often due to improper handling. Always hold slides by the edges. If you spot smudges, re-clean the slide with a lint-free wipe and alcohol.
Air bubbles under the cover slip: These can obscure the specimen view. To avoid them, lower the cover slip at an angle. If bubbles form, gently press the cover slip to move bubbles to the slide’s edge.
Specimen not centered: A misplaced specimen can lead to incomplete observations. Before securing the cover slip, ensure your specimen is right in the center of the slide.
Stains not working properly: Incorrect staining can result from using the wrong stain or not letting it sit long enough. Double-check you’re using the correct stain for your specimen and allow it to set for the appropriate time.
Specimen drying out: If a specimen dries before cover slipping, it may be ruined. Work swiftly after adding drops of liquid to prevent this.
Cover slip moving: If the cover slip shifts, it can disturb the specimen. Once placed, avoid touching the cover slip, or secure it with clear tape.
By addressing these issues, your microscope slide preparation will improve. Always take time to ensure each step is done correctly for the best results.
Advanced Preparation Techniques for Specific Samples
When dealing with microscope slides, some samples need advanced preparation techniques. These methods can vary depending on the type of specimen you’re examining. They ensure clarity and detail for specialized research needs. Let’s explore some advanced techniques specific to certain samples.
- Thin Sectioning: For solid materials like tissues or rocks, thin sectioning is essential. This technique involves slicing the specimen into very thin pieces, often micrometers thick. Use a microtome for precise cuts. This allows light to transmit through the specimen on the slide.
- Fixation: Biological specimens often require fixation. This process preserves the tissues and cells in a near-natural state. Apply fixatives like formaldehyde or glutaraldehyde. They prevent decay and maintain the sample’s structure during observation.
- Dehydration: After fixation, some specimens need dehydration. This step involves removing water from the sample. Use a series of alcohol baths of increasing concentration. This helps harden the specimen for further processing.
- Embedding: To support fragile specimens, embedding them in a medium like paraffin wax or resin might be necessary. Once solidified, you can cut the embedded specimen into thin sections easily.
- Fluorescence Staining: Some samples require a specific type of staining to be visible. Use fluorescence stains that emit light under certain wavelengths. These are often used in immunology and molecular biology.
- Phase-Contrast Techniques: For samples that are transparent and lack contrast, phase-contrast microscopy can be used. This technique amplifies differences in the refractive index within the specimen. It is particularly useful for live cell imaging.
Each of these methods requires extra care and attention. You have to follow protocol strictly to avoid damaging the sample. These advanced techniques can reveal incredible details not visible with standard preparation methods. So, take the time to learn and practice them when working with complex specimens.
