Essential Supplies for Beaker Drawing
Before diving into the process of beaker drawing, having the right supplies is crucial. This will not only make the task easier, but it will also ensure that your final product is of high quality. Here’s what you’ll need to start your beaker drawing:
- Pencils: A range of pencils from H to B is ideal for sketching and shading your beaker. HB pencils work well for initial outlines, while softer pencils like 2B or 4B are great for dark shading.
- Erasers: An eraser is a must-have for correcting mistakes and refining edges. A kneaded eraser is especially useful as it can be shaped to erase small details without affecting the surrounding areas.
- Rulers and Compasses: Straight lines and perfect circles are essential in a beaker drawing. Use a ruler for the straight edges and a compass for the circular opening of the beaker.
- Paper: Smooth, high-quality paper will allow your pencils to glide easily and will hold the graphite well. Consider using heavyweight paper for durability, especially if you plan on using multiple layers of shading.
- Blending Tools: Blending stumps or tortillons are useful for smudging graphite to create smooth shading and gradients that give your beaker a three-dimensional appearance.
These are the basics, but depending on the complexity of your beaker drawing, you may also want to have colored pencils, fine liners, and markers at your disposal for added detail and contrast. Remember that the quality of your supplies can greatly influence the outcome of your artwork, so choose them wisely and ensure they are suited for the task at hand. As you prepare these materials, keep in mind that practice and patience are just as important as the tools you use.
Understanding Beaker Proportions and Shapes
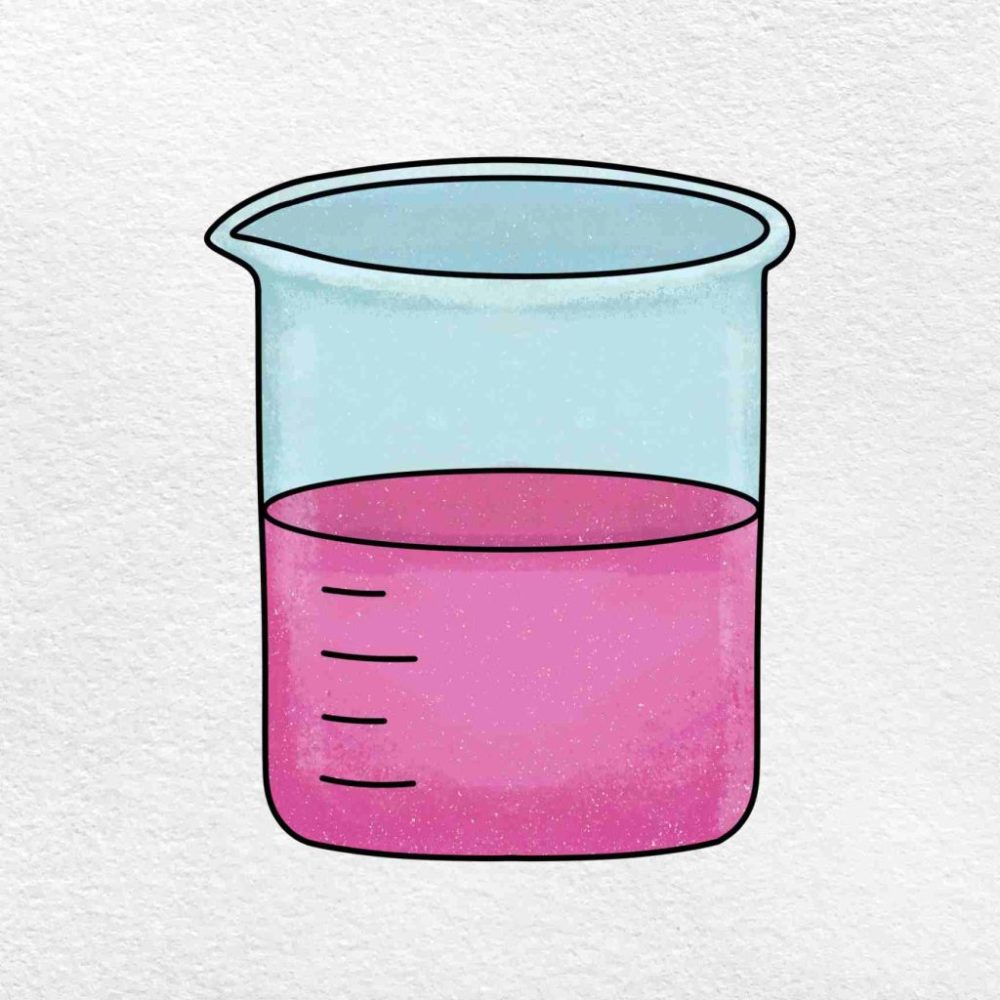
To create a convincing beaker drawing, understanding the proportions and shapes is key. A beaker is usually cylindrical, with a flat base and an open top that may slightly flare out. Here are steps to get the shapes and proportions right:
- Start with a vertical line: Draw a straight vertical line to define the height of your beaker.
- Add two circles: At the top, draw a circle for the opening. At the bottom, draw another for the base.
- Connect the circles: Use two slightly curved lines to connect the top and bottom circles on each side, creating the cylindrical body.
- Check symmetry: Make sure the left and right sides of the beaker are symmetrical.
- Top lip: Optionally add a thicker rim at the top by drawing a parallel line around the opening.
Remember to keep these tips in mind to ensure your beaker drawing has accurate proportions and a realistic shape. With a bit of practice, these shapes will become second nature.
Step 1: Outlining the Basic Beaker Structure
Starting the beaker drawing with a solid outline is essential. Here’s a simplified process to follow:
- Draw the Base First: Begin with the flat bottom of the beaker. Use your ruler to ensure it’s horizontal and even.
- Vertical Lines for Height: From the base, draw two vertical lines upward, keeping them parallel. These will determine the beaker’s height.
- Sketch the Opening: At the top of the vertical lines, sketch a circle or an oval for the beaker’s mouth. Use a compass for accuracy.
- Create the Body: Connect the base and the mouth with curved lines on each side. This forms the main cylindrical body.
- Add the Lip: Most beakers have a lip. Above the opening, draw a slightly thicker, parallel line to represent this.
Your basic beaker structure should now be complete. It’s important to check the symmetry and make adjustments as needed. This outline lays the groundwork for further detailing and shading to bring your beaker drawing to life. Keep the outline light so that you can easily make corrections at this stage. Practice getting this right, as a strong foundation is vital for a realistic beaker drawing.
Step 2: Adding Details and Measurements
Once you have outlined the basic structure of your beaker drawing, it’s time to add details and measurements to give it depth and accuracy. Precise measurements ensure your beaker looks realistic and correct in scale. Here’s how to enhance your drawing:
- Mark the Height Sections: Divide the height of the beaker into equal sections using horizontal lines. This helps to place measurement marks accurately.
- Draw the Measurement Lines: Along the vertical lines of the beaker, add short, horizontal lines to indicate measurements. Make them evenly spaced.
- Detail the Pouring Spout: If your beaker has a pouring spout, sketch it in. It usually appears as a small triangular notch on the rim.
- Include Volume Markings: Add volume markings on the side of the beaker. Small, vertical lines or numbers represent these markings.
- Sketch the Thickness: Show the beaker’s thickness by drawing a thin, parallel line inside the beaker’s top edge.
With these added details, your beaker drawing will start to look more functional and technical. Remember to use light strokes for these details, so they can be erased or adjusted if needed. During this step, regularly compare your drawing to a real beaker if possible to ensure accuracy. Keeping consistent measurements is crucial for maintaining the realism of the drawing. Practice, and don’t rush this stage; careful attention to detail will pay off in the finished product.
Step 3: Shading and Texturing Techniques
To bring your beaker drawing to life, mastering shading and texturing is vital. These techniques add depth and realism. Let’s explore how to apply them effectively.
- Identify Light Source: Determine where the light is coming from. It will guide the shadows and highlights in your drawing.
- Lay Down Base Shades: Use soft pencils like 2B to gently shade the areas away from the light. Keep strokes even.
- Build Up Shadows: Increase the pressure with a 4B pencil for darker shadows. Focus on the beaker’s underside and sides.
- Highlight the Edges: Use an eraser to create highlights where the light hits the beaker. This adds dimension.
- Blend for Smoothness: Use a blending stump to smoothen out the shading. This creates a soft transition between light and dark.
- Add Textures: If your beaker has scratches or a matte finish, lightly create these textures with a pencil.
- Refine Shading with Layers: Layer your shading until it looks natural. Pay attention to the curvature of the beaker.
Shading and texturing take time to master. Practice these techniques and notice how they add realism to your beaker drawing.
Step 4: Refining and Perfecting Edges
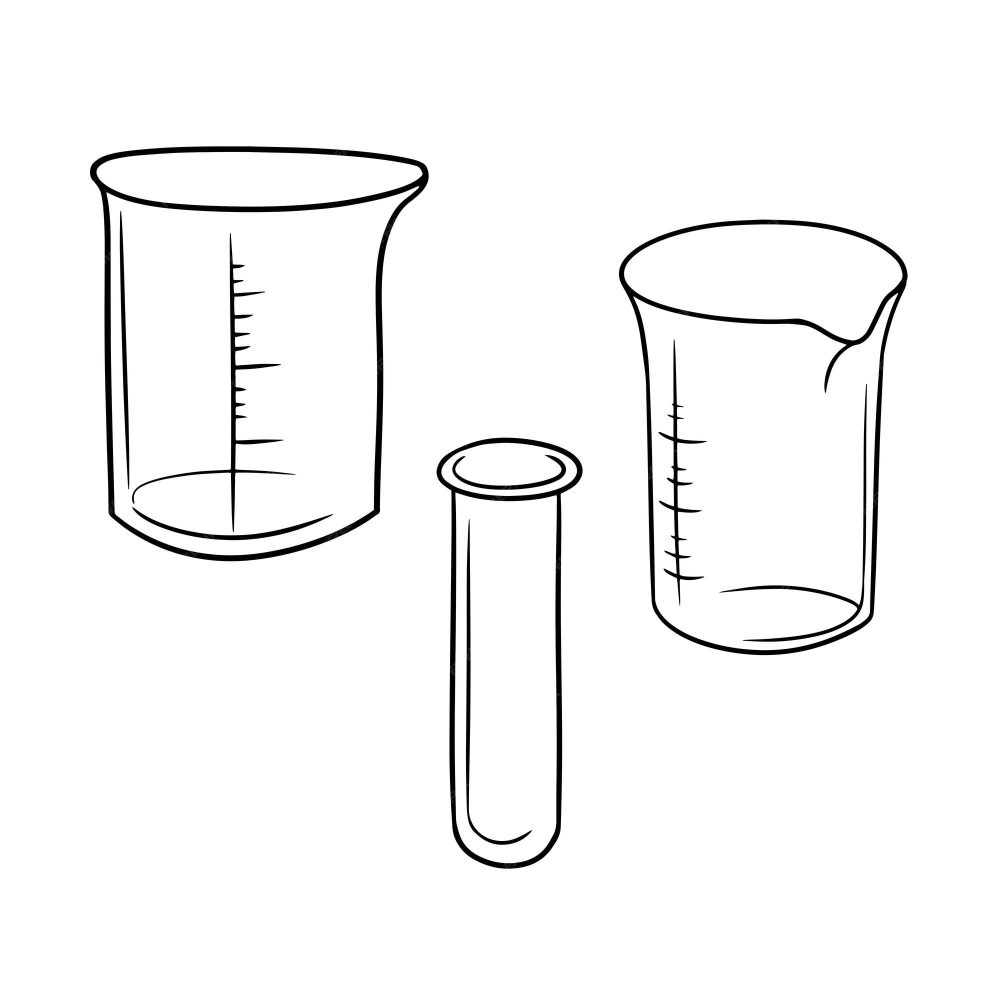
After laying down the details and shading, your beaker drawing needs refined edges for a crisp, professional look. Here’s how to refine and perfect the edges of your beaker drawing:
- Use a Sharp Pencil: Select a sharp HB pencil to clean up the beaker’s outline. This sharpens the edges and gives your beaker a polished finish.
- Erase Extra Lines: Take your eraser and clean up any excess lines that blur the edges. Your aim is to have clear and distinct lines.
- Adjust the Lip Edge: Focus on the beaker’s lip. Ensure it has a smooth and even edge. Use a ruler if needed for straightness.
- Check the Body Edges: Closely examine the curved body of the beaker. Any bumps or irregularities can make it look uneven. Correct them with precise strokes.
- Enhance Symmetry: Be sure both sides of the beaker match perfectly. Adjust lines as needed for optimal symmetry.
- Fine-tune the Base: The base needs to be perfectly horizontal. Double-check and straighten this edge for solid grounding.
With a steady hand and careful attention, you can transform your beaker drawing from a basic sketch to a finely detailed representation. Remember to step back and review your work from a distance. This helps you spot any areas that need improvement. The art of beaker drawing hinges on precision and patience, so take the time needed to master this final crucial step.
Drawing Beakers in Different Perspectives
Embracing various perspectives in beaker drawing can add depth and interest to your artwork. Here’s how to approach this challenge:
- Straight-On View: Start with what you know. Draw the beaker as if it’s directly in front of you. Keep the lines straight and the measurements accurate.
- Three-Quarter View: Turn the beaker slightly. Show one side more prominently. This view requires careful observation of the ellipse shapes at the top and bottom.
- Side View: Profile drawings highlight the depth. Focus on the side curve and the base width.
- Top-Down View: Illustrate the inside of the beaker. The circular opening will now appear as an ellipse.
Remember to maintain correct proportions and use your knowledge of ellipses to make the beaker look convincing from different angles. Use light lines to sketch the initial shapes and adjust as necessary. This stage calls for a strong spatial understanding, but keep practicing, and it will become more intuitive. By mastering different perspectives, your beaker drawings will achieve greater realism and versatility.
Tips for Achieving Realism in Beaker Drawings
Achieving realism in beaker drawings involves attention to detail and practice. Here are some tips for creating drawings that look almost real.
- Observe Real Beakers: Studying actual beakers helps you understand light reflection and shadow placement. Keep one as a reference.
- Use Reference Images: If a real beaker isn’t available, find clear photos to study different angles and effects.
- Consistency is Key: Keep shading consistent across your drawing. This makes it cohesive and realistic.
- Practice Proportions: Incorrect proportions can ruin realism. Measure and compare to maintain accuracy.
- Emphasize Contrast: Use dark shades next to light areas. This contrast brings out the three-dimensionality.
- Add Reflective Highlights: Where the light is strongest, leave areas white or use an eraser to suggest reflection.
- Mind the Edges: Sharp and clean edges give solidity to the drawing. Use a sharp pencil for the outline.
- Layer Your Shading: Build up shading gradually. Start light and add darker layers where needed.
By applying these tips, your beaker drawing will start to look more lifelike. Keep refining your skills; realistic drawing comes with time and practice. Be patient and don’t rush the process.
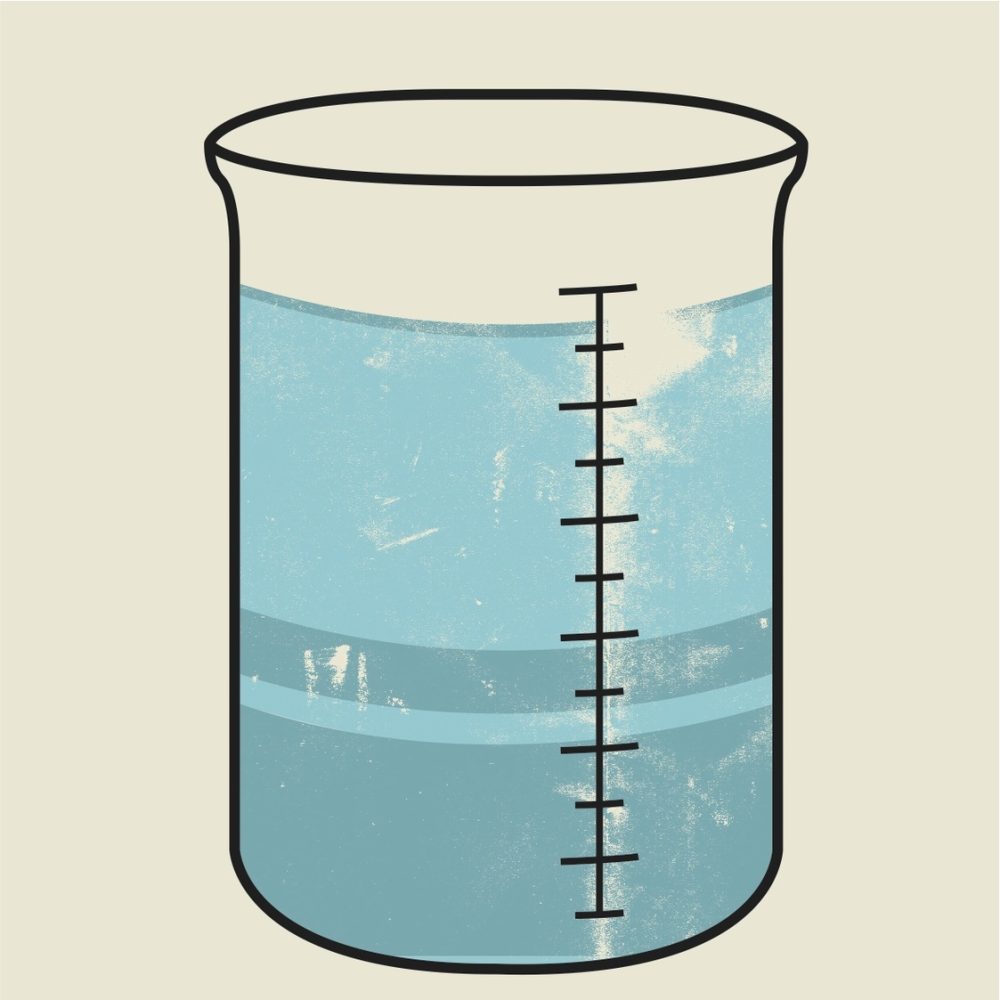
Incorporating Beakers into Scientific Illustrations
Scientific illustrations can greatly benefit from the accurate representation of lab apparatus like beakers. When done correctly, including beakers enhances the educational value of these illustrations. Here are steps to incorporate beakers effectively:
- Study the Context: Understand where the beaker fits within the illustration. Know what the illustration aims to convey.
- Sketch the Beaker: Use the steps outlined earlier to draw the beaker accurately. Practice makes perfect.
- Scale Accurately: Make sure the beaker’s size is in proportion to other elements in the illustration.
- Integrate with Other Elements: Draw the beaker in a way that complements other scientific tools and symbols in the image.
- Detail with Purpose: Add measurement lines and labels as needed to serve the illustration’s purpose. Keep them clear and readable.
- Consistent Shading: Apply shading techniques that match the light source of the overall illustration for a cohesive look.
- Revise for Clarity: Review your drawing to ensure the beaker is clear and its purpose is understood. Ask for feedback if possible.
Drawing beakers in scientific illustrations is not just about creating a visually accurate representation; it’s about contributing to a learning tool that can help students and professionals understand complex concepts. By applying the tips from previous sections of this guide, you can achieve the precision and realism that scientific illustrations require. Remember to keep practicing your beaker drawing skills to maintain consistency and reliability in your artwork.
