Introduction to Laboratory Glassware
Laboratory glassware is essential for various scientific experiments. Researchers and technicians use items,The beaker vs erlenmeyer flask for precise operations. These tools differ in design and usage, tailored to specific laboratory needs. Let’s explore these differences to utilize them effectively.
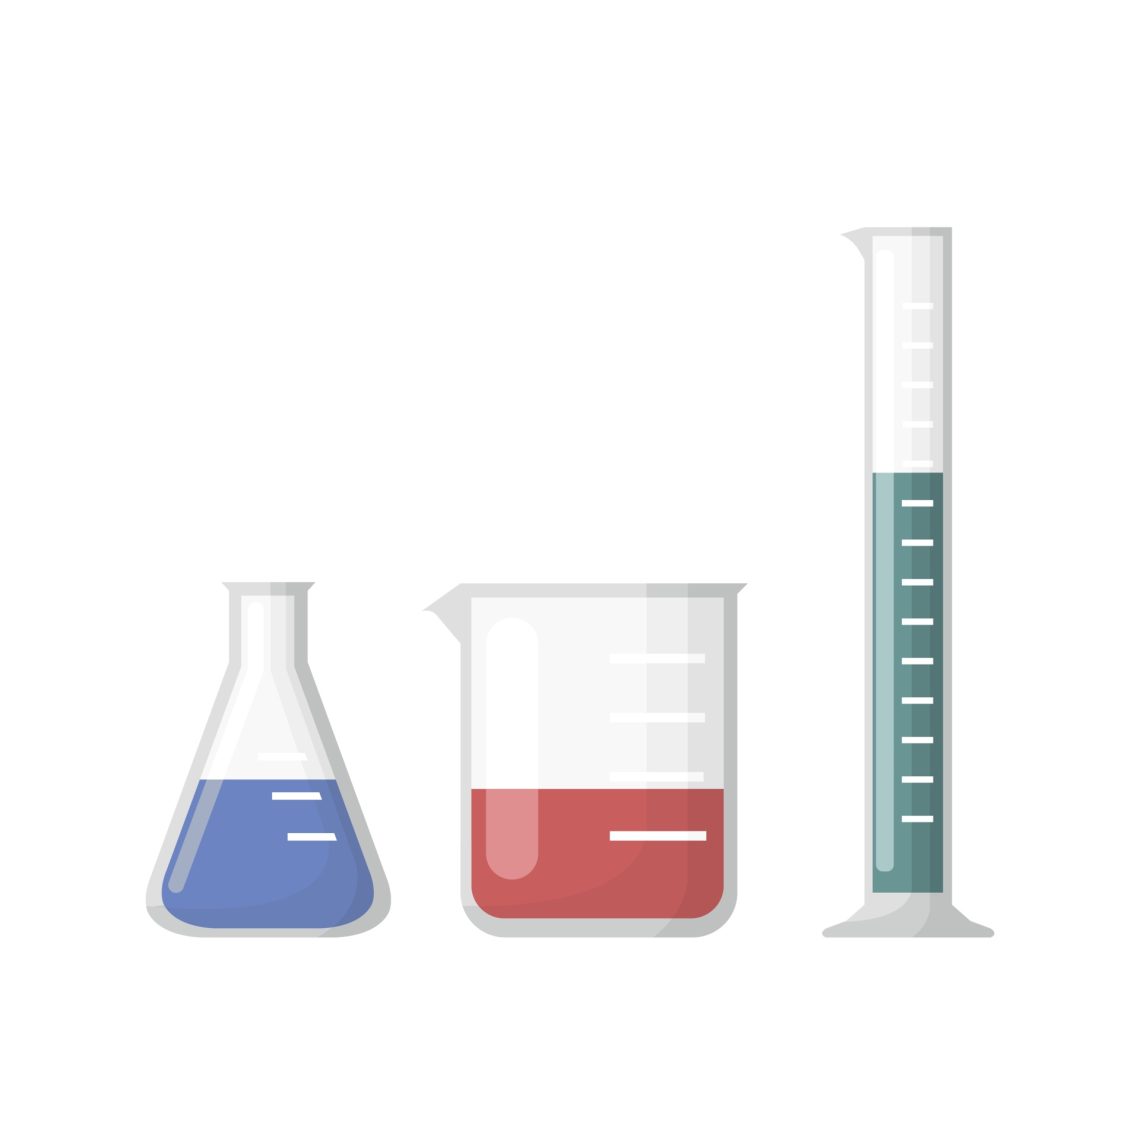
Explore the fascinating world of laboratory glassware with our in-depth comparison of beaker vs erlenmeyer flask. Both essential tools for any lab setting, these vessels serve distinct purposes that are crucial for successful experimentation. Discover the key characteristics that differentiate a beaker from an Erlenmeyer flask, including their shapes, sizes, and material compositions. Beakers are wide-mouthed and cylindrical, designed primarily for measuring, mixing, and heating liquids, while Erlenmeyer flasks feature a narrow neck and a broad base, making them ideal for mixing without the risk of spills and for minimizing evaporation.
The Erlenmeyer Flask: Design and Uses
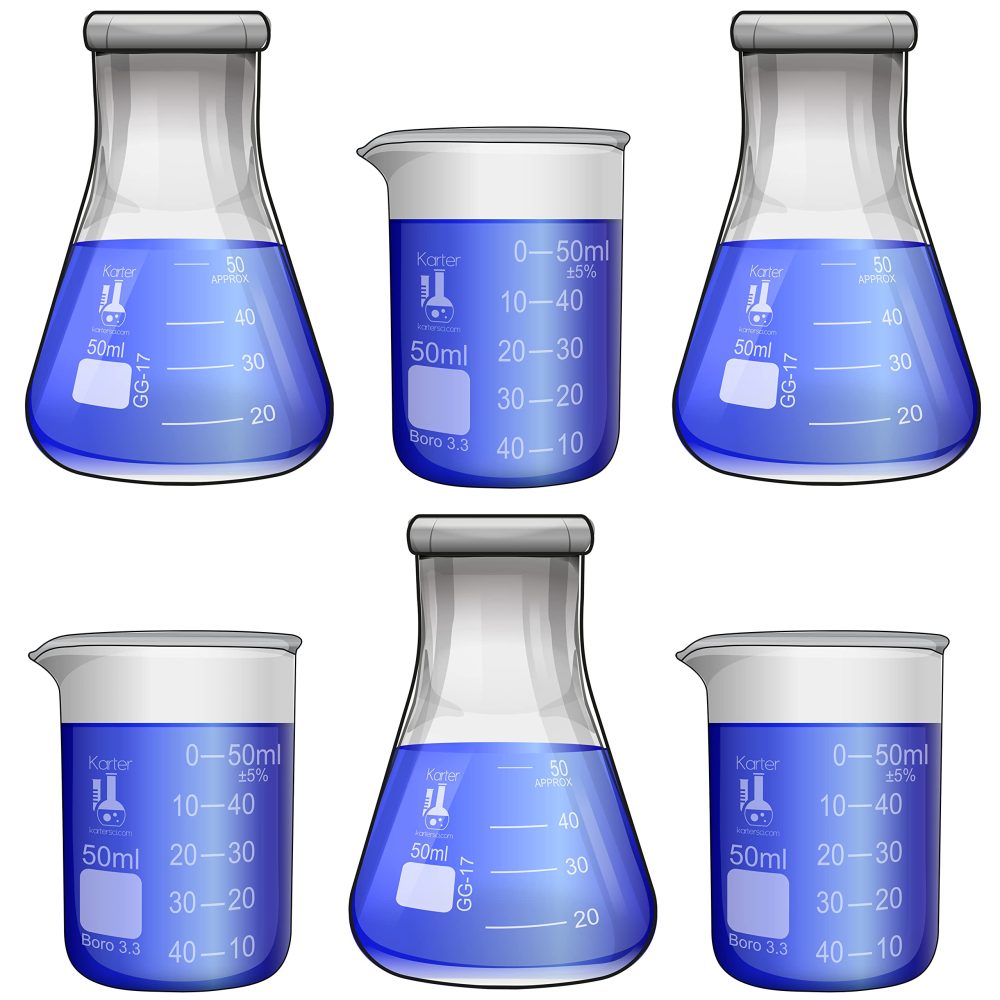
The Erlenmeyer flask stands out with its conical body and narrow neck. Its unique design serves several lab functions efficiently. The flask’s broad base offers stability during experiments. The tapered shape makes swirling and mixing solutions easy. This design also reduces the risk of spillage when handling liquids.
Applications of Erlenmeyer Flasks in the Lab
Erlenmeyer flasks have many uses in a lab setting. They are ideal for heating and cooling liquids. Their narrow neck prevents evaporation and splash-out during vigorous shaking. Scientists often use these flasks when performing titration experiments. They are also suitable for culturing microbes as they allow for easy shaking and oxygenation.
Advantages of Using Erlenmeyer Flasks
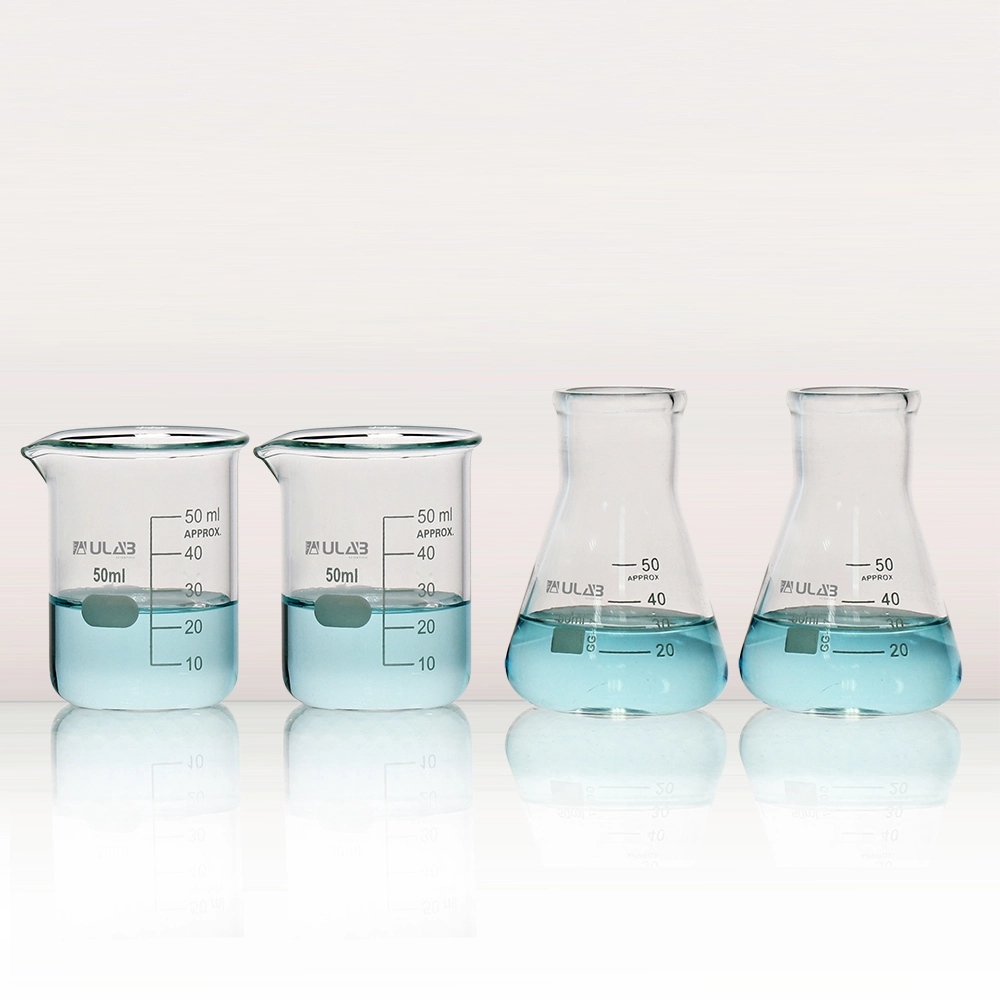
There are several benefits to using Erlenmeyer flasks. Their shape allows for consistent mixing of solutions. The narrow opening can be easily sealed with stoppers. This is helpful for preventing contamination. They are also graduated, offering guidance on approximate volumes. While they should not be used for precise measurements, they provide a useful estimate for many applications.
The Beaker: Features and Functions
Beakers are widely recognized for their cylindrical shape with a flat bottom. Unlike the Erlenmeyer flask, beakers have straight sides and often include a spout for ease of pouring. They are primarily made from heat-resistant materials like borosilicate glass or durable plastics such as polypropylene. This design makes them highly versatile and suitable for a variety of laboratory tasks including mixing, heating, and measuring liquids.
Applications of Beakers in Scientific Settings
Beakers serve many purposes in the lab. They are perfect for mixing solutions and can handle both heating and cooling processes. Their open top allows for easy addition or removal of materials. Beakers are also commonly used for transporting liquids from one location to another within the lab. Their spout design minimizes spill risks, making them ideal for pouring liquids.
Benefits of Beakers in Laboratory Work
Choosing beakers offers several advantages. Their clear markings provide approximate measurements, facilitating experiments that require rough volume estimates. The wide mouth design significantly reduces the risk of evaporation during heated reactions. Also, beakers’ robust construction enhances their longevity, making them a cost-effective option for labs handling various substances regularly.
Material Considerations: Glass vs Plastic Options
Choosing the right material for lab glassware is crucial. Glass and plastic are the primary options. Each material has unique characteristics suited for different lab activities.
Glassware in the Laboratory
Glass is prized for its clarity and chemical resistance. It’s ideal for observing reactions and withstanding high temperatures. Borosilicate glass, often used for lab equipment, is durable and less likely to crack.
Plastic Options for Laboratory Use
Plastic, like polypropylene and polycarbonate, is lightweight and less fragile than glass. It’s a good choice for short-term storage and less rigorous tasks. It’s not suitable for high-heat applications.
Glass vs Plastic: Which to Choose?
For harsh chemicals or repeated use, choose glass for its longevity. For everyday use where weight and breakage are concerns, plastic may be more practical.
Safety and Handling: Tips for Beaker vs Erlenmeyer Flask
Proper use and handling of laboratory glassware is critical to ensure safety and maintain the integrity of experiments. Here are some key safety and handling tips tailored for Erlenmeyer flasks and beakers that you should keep in mind:
Safety Tips for Flasks
- Always inspect flasks for cracks or chips before use to prevent breakage.
- Use a clamp or support stand when heating flasks to avoid tipping.
- When mixing or swirling, hold the flask by the neck to minimize the risk of spillage.
- Always add acids to water, never the reverse, to prevent dangerous reactions.
Handling Beakers with Care
- When transferring liquids, use the spout to pour and prevent spills.
- Avoid touching the inside of a beaker to prevent contamination.
- Handle beakers with both hands if they contain hot or hazardous substances.
- Use appropriate protective gear, such as gloves and goggles, when handling chemicals.
Following these guidelines will reduce the likelihood of accidents and contribute to successful laboratory procedures. Remember to always adhere to your lab’s specific safety protocols.
Cleaning Protocols for Laboratory Glassware
Proper cleaning of laboratory glassware is essential for precise and safe experiments. Here are key steps for maintaining cleanliness and reliability in lab glassware:
Step-by-Step Cleaning Procedure
- Rinse glassware immediately after use to prevent residues from hardening.
- Use hot water and a mild detergent for thorough cleaning.
- Scrub with a soft brush to remove stubborn residues.
- Rinse thoroughly with distilled water to avoid mineral deposits.
- Dry glassware in a designated drying rack or oven.
Special Cleaning Tips for Stubborn Stains
- For organic residues, soak glassware in a solution of hot water and detergent.
- For inorganic salts, use a weak acid like hydrochloric acid, then rinse well.
- For oily substances, use an organic solvent like acetone, followed by soap and water.
Sterilization Methods for Laboratory Use
- Heat sterilization: Autoclave glassware at 121 degrees Celsius for 15 minutes.
- Chemical sterilization: Use solutions like ethanol or bleach, appropriate for the material.
These protocols ensure that your beakers and Erlenmeyer flasks remain clean, functional and ready for any lab task.
Selecting the Right Glassware for Your Experiments
Choosing the correct glassware for your lab is vital. It can affect the accuracy of your results and safety. Here are tips to select the best beaker vs erlenmeyer flask for your needs.Explore the differences between beaker vs erlenmeyer flask. Learn about their uses in the lab, best practices for each, and how to choose the right glassware for your experiments.
Consider Your Experiment’s Requirements
Think about your experiment’s goals first. Do you need to heat substances, or measure them? Erlenmeyer flasks are great for heating and reducing spillages. Beakers are good for measuring and pouring liquids.
Look at Durability and Heat Resistance
Check the glassware’s material. Borosilicate glass can handle heat well, making it good for experiments with high temperatures. Plastics like polypropylene are not for heating, but they last and don’t break easily.
Choose According to Precision Needs
If your work needs precise measurements, go for equipment that is more exact. Erlenmeyer flasks are not great for exact measurements, but offer a stable base for reactions. Beakers have clear markings, but they are best for rough volume estimates.
Factor in The Cleaning Process
Think about the cleaning process too. Complex shapes may be harder to clean but might fit your experiment better. Simple shapes like the beaker’s are easier to wash and dry.
Match Glassware to Safety Needs
Match your choice to safety needs. If your experiment involves dangerous chemicals, choose a flask with a narrow neck to reduce exposure. When handling hot liquids, a beaker’s straight sides might be harder to manage safely.
By keeping these points in mind, you can make an informed decision on the best glassware for your experiments. Remember, each piece has its strengths and is designed for specific lab tasks.
