Introduction to Beakers in the Lab
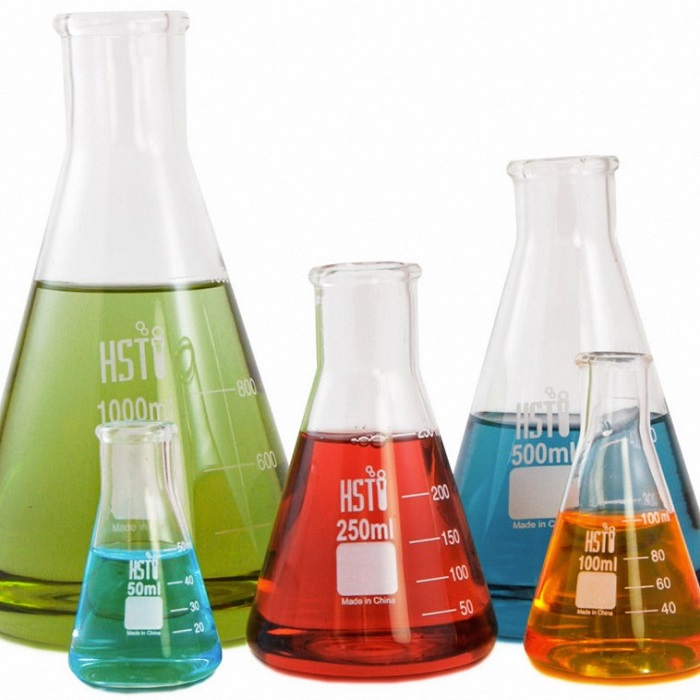
In science labs, beakers play a crucial role. These cylindrical vessels help scientists mix, heat, and observe reactions. Beakers are often made of glass. This makes them resistant to heat and chemicals. They also come with pour spouts. These spouts make transferring liquids easy without spills. Beakers are marked with volume gradations. These marks guide you to measure liquids. But remember, these measurements are not very precise. For more accuracy, you’ll need different tools like pipettes or graduated cylinders.
While using beakers, always stay safe. Wear protective gear like gloves and goggles. This ensures you avoid accidents with chemicals or heat. In labs, beakers are essential but straightforward tools. They hold liquids for experiments and allow us to observe chemical behaviors clearly. Their design is practical, making them a staple in any lab setting. Next, we will explore how to select the right beaker for your lab tasks. Picking a suitable beaker can save you time and ensure you conduct experiments safely and effectively.
Selecting the Right Beaker
Choosing the correct beaker is key to lab efficiency and safety. Consider these points:
Size matters:
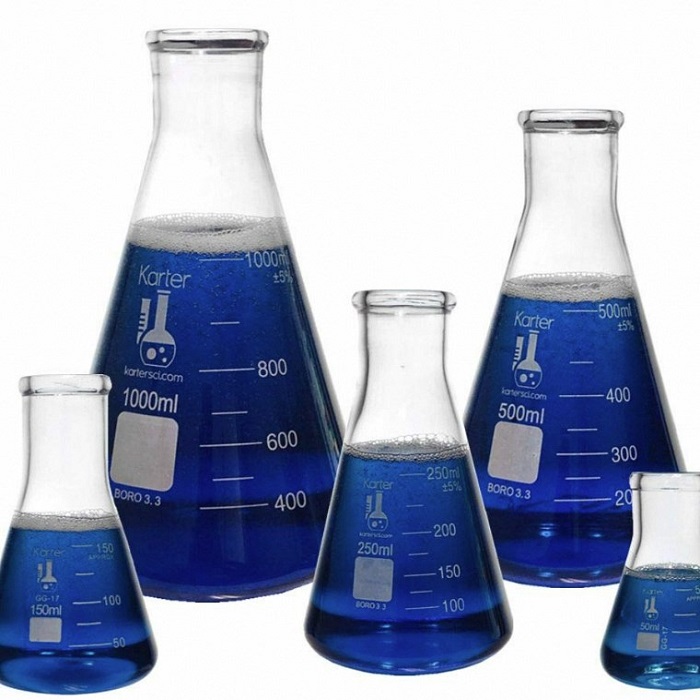
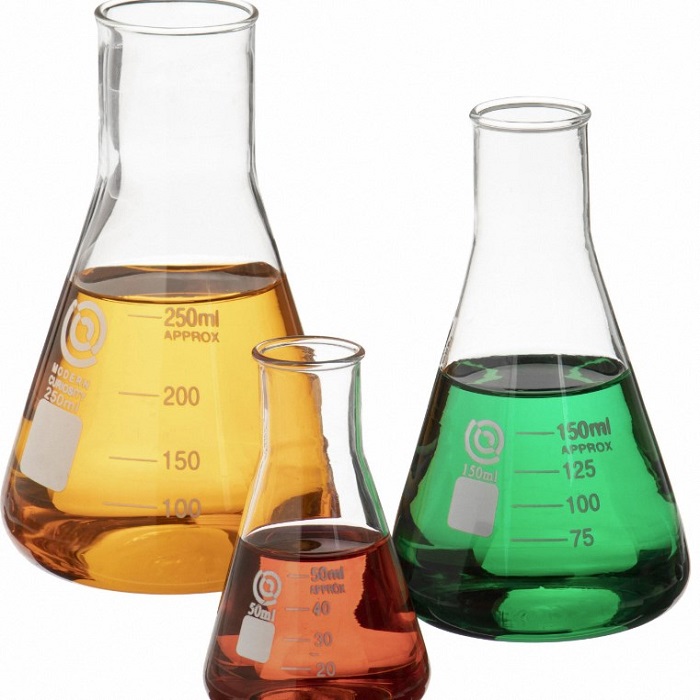
Match the beaker size to your volume needs. Beakers range in capacity from small to very large. Pick one that exceeds your maximum volume, but not by much.
Material is important:
Glass beakers resist heat and chemicals. Some beakers use plastic or metal. Choose based on your experiment’s needs.
Think about shape:
Beakers come in tall and low-form varieties. Tall beakers are good for liquids prone to splashing. Low beakers work well for stirring and mixing.
Look for quality:
Invest in scientific-grade glassware. It lasts longer and withstands lab conditions.
Graduation marks:
These help with estimating volumes. Remember, they are not for precise measurements.
Pour spout design:
A good spout prevents spills when transferring liquids.
Selecting the right beaker ensures your work goes smoothly and safely. Always check for any damage before use to avoid accidents in the lab. Keep these tips in mind when choosing to maximize efficiency and maintain high safety standards.
The Importance of Cleaning Before Use
Before using a beaker, ensure it’s clean. This avoids contamination that can affect your results. Here’s how to clean a beaker properly:
- Wash with soap and water: Remove any residue from previous use.
- Rinse thoroughly: Use distilled water to prevent mineral build-up.
- Inspect for debris: Check for any left behind particles.
- Dry completely: Before use, make sure the beaker is dry to avoid dilution.
- Sterilize if needed: For sensitive experiments, consider sterilization methods.
Why clean beakers before each use? Doing so removes unwanted variables from your experiments. This leads to more reliable outcomes. Plus, it extends the life of your glassware, which is a good investment for the lab.
Remember, safety first. Wear gloves and goggles while cleaning. This protects you from any harmful substances.
Cleaning is not just a one-time task. Make it a routine every time the beaker returns to the shelf. This ensures it’s always ready for the next experiment, maintaining efficiency and safety in your lab.
Accurate Liquid Measurement Techniques
When measuring liquids in the lab, precision is critical. Here’s how to measure accurately using a beaker:
- Use the right tools: For precise measurements, don’t rely on beaker gradations. Instead, use a graduated cylinder or pipette.
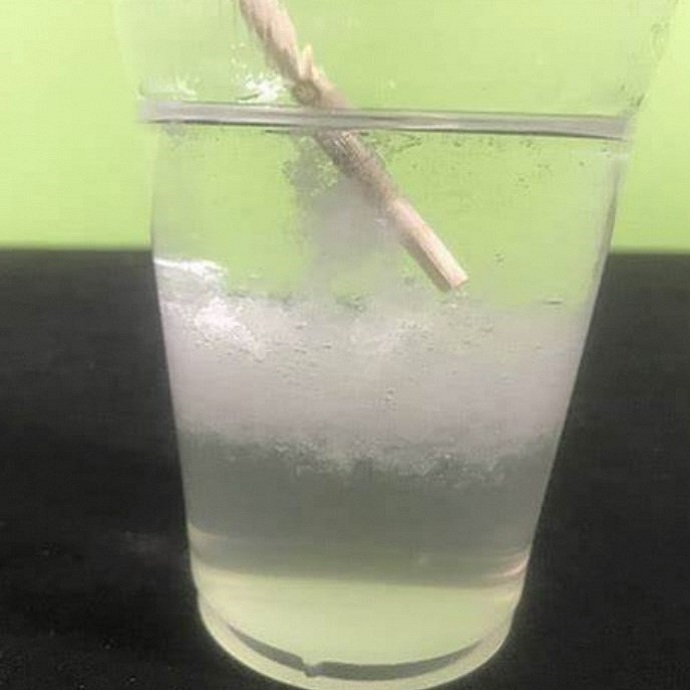
- Check the meniscus: Liquid forms a curve in the cylinder. Always read at eye level at the bottom of this curve.
- Measure multiple times: Repeat the process to confirm the volume. This ensures the accuracy of your measurement.
- Avoid parallax errors: Align your eye directly with the volume mark to prevent misreading the liquid level.
- Note the temperature: Liquids expand or contract with temperature changes. Consider the temperature when measuring volume.
Employing these techniques allows for accurate assessments of liquid quantities. This is vital for experiment success and reproducibility. With careful measurement, you can trust your results and establish a strong foundation for your scientific work.
Safe Liquid Handling and Pouring
Handling and pouring liquids in the lab require caution to avoid spills and accidents. Here are some tips to ensure safe and efficient liquid handling using a beaker:
- Use the beaker spout: Pour liquids with the beaker’s spout to prevent spills. A spout directs the flow, keeping your workspace clean.
- Don’t overfill: Fill beakers only to 2/3 of their capacity. This helps avoid spills when moving or stirring.
- Keep steady: Hold the beaker firmly. Use a slow, controlled pour to transfer liquids.
- Use a funnel: When pouring into a container with a small opening, use a funnel. This can reduce the risk of spillage.
- Support the bottom: While pouring, support the beaker from the bottom with your other hand. This gives better control.
- Work over a tray: Pouring over a containment tray can catch any overflows. It keeps the area clean and safe.
- Clean spills immediately: If a spill occurs, clean it up right away. This avoids hazardous conditions or contamination.
By following these simple steps, you ensure safety and efficiency in liquid handling in the lab. Remember, always wear appropriate protective equipment like gloves and safety goggles during these procedures to protect yourself from any potential hazards.
Heating Liquids in Beakers Safely
Using beakers to heat liquids is a common task in the lab. To do it safely, follow these guidelines:
- Choose the right heat source: Use a Bunsen burner or hot plate that’s suitable for your liquid’s properties.
- Stay under the maximum fill line: Never fill the beaker more than 2/3 full before heating.
- Use a water bath for gentle heating: This can prevent overheating sensitive liquids.
- Monitor the temperature: Always use a thermometer and watch the heat level.
- Heat evenly: Use an asbestos mesh or wire gauze to spread the heat under the beaker.
- Handle with care: Use tongs or heat-resistant gloves when moving the hot beaker.
By following these steps, you avoid accidents and control the heating process. This keeps you and your liquids safe. Always put safety first and never leave a heating liquid unattended. And remember to let the beaker cool before handling it directly.
Effective Mixing and Stirring Methods
To mix or stir liquids effectively in a beaker, follow these tips.
- Use the right tool: A stir rod or magnetic stirrer can mix liquids without splashing.
- Move carefully: When using a stir rod, move in a steady, circular motion.
- Control the speed: With magnetic stirrers, adjust the speed to avoid creating a vortex.
- Position correctly: Place the stirrer in the center for even distribution of heat and mixtures.
- Mix at intervals: For long periods, stop and start stirring to prevent overheating.
- Avoid contamination: Make sure your stirring tools are clean before use.
- Consider volume: Don’t fill the beaker too much to give room for movement.
Adhering to these methods ensures liquids are mixed safely and thoroughly in the lab. This maintains consistency in your experiments.
Proper Disposal and Cleanup Post-Use
After you complete your lab work with a beaker, it’s vital to dispose of the contents properly. Here are some steps for effective disposal and cleanup:
- Dispose of hazardous liquids safely: Follow your lab’s guidelines for getting rid of dangerous chemicals.
- Don’t pour chemicals down the drain: Unless instructed, avoid putting substances into the sewage system.
- Clean the beaker thoroughly: Use soap and water to remove any residues. Rinse with distilled water after.
- Check for cracks or damage: Inspect your beaker for any signs of wear or breakage before storing.
- Store the beaker properly: Place it upside down on a clean, dry rack to avoid dust collection.
Remember, proper disposal and cleanup are as important as the experiment itself. These steps keep you and the environment safe. They also ensure beakers are ready for their next use, maintaining lab efficiency.
Understanding the Limitations of Beaker Measurement Accuracy
When working with beakers, it’s important to recognize that they have limitations when it comes to measuring accuracy. Beakers come with graduation marks, but these are generally used for rough estimates rather than precise measurements. Here are some factors to consider about beaker measurement accuracy:
- Graduations are approximate: The lines marked on the side of a beaker are guides and can have a margin of error.
- Varied thickness: Glass thickness can vary, which may distort readings slightly.
- Human error: Reading the meniscus from an angle, instead of eye level, can lead to inaccurate measurements.
- Temperature effects: Heat causes liquids to expand; cooler temperatures make them contract. This affects the volume inside the beaker.
Given these factors, precision tasks require more reliable measuring tools like graduated cylinders, pipettes, or burettes. These tools are designed for accuracy, with clearer marks and narrower shapes to reduce error.
For general uses, beakers serve well, but for tasks demanding high precision, it’s crucial to use more suitable equipment. Acknowledging the limitations of beakers ensures you use them appropriately and avoid compromising the quality of your experiments. Always remember to cross-check important measurements with precise instruments for accurate results in the laboratory.


